How to Fix a Dent in Engineered Hardwood Floor: Easy 10 Steps [DIY]
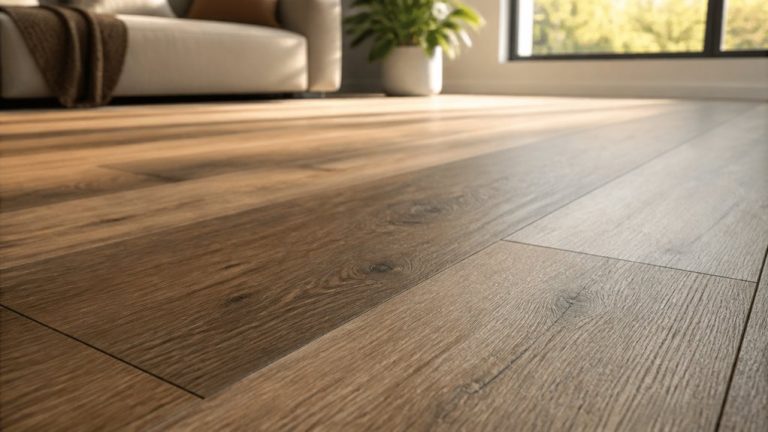
If you have an engineered hardwood floor in your home, you know that it’s a beautiful and durable flooring option. However, accidents happen, and sometimes you may end up with a dent in your engineered hardwood floor.
Don’t worry, though; fixing a dent in engineered hardwood is possible, and you can do it yourself with a few tools and some patience.
First, you need to assess the damage by checking the depth and size of the dent. Then, prepare the area by removing any dirt or debris.
There are two main methods to fix the dent: the abrasion method, which involves sanding the area, or the wood filler/putty method, which involves filling the dent with a wood-colored putty or filler. After the dent is filled, sand the area and refinish it with a matching stain.
Here, we will provide you with step-by-step instructions on how to fix a dent in your engineered hardwood floor, so you can keep your floor looking beautiful.
How Do You Fix a Dent on an Engineered Hardwood Floor?
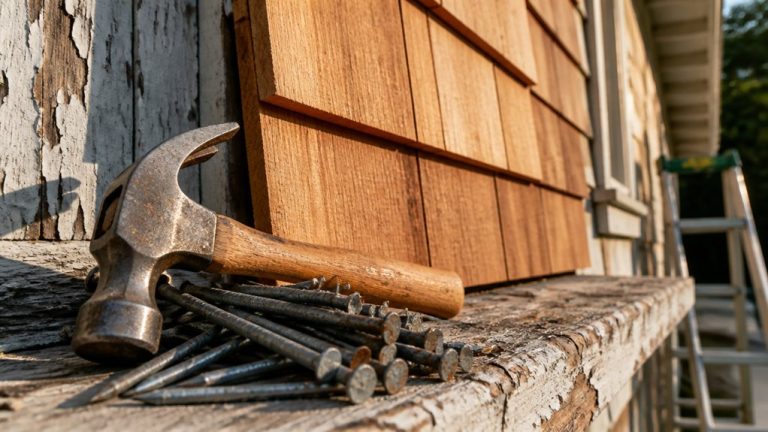
So, you’ve got a dent on your engineered hardwood floor. Here are the steps to get it fixed:
- Step 01: Assess the Damage
- Step 02: Prepare the Area
- Step 03: Abrasion Process
- Step 04: Wood Filler/Putty Application
- Step 05: Sanding and Refinishing
- Step 06: Water Test
- Step 07: Apply Heat
- Step 08: Repeat if Necessary
- Step 09: Final Touches
- Step 10: Apply a Protective Finish
Step 01: Assess the Damage
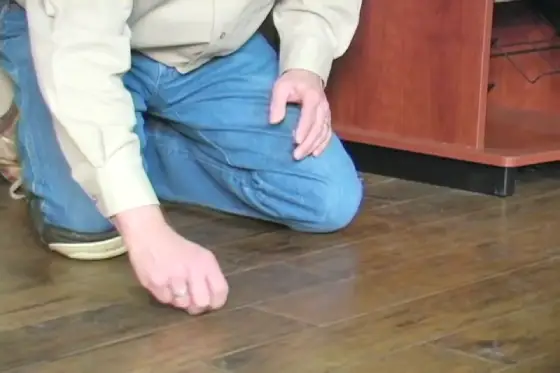
Before grabbing your tools and getting to work, it’s important to assess the severity of the dent in your engineered hardwood floor.
Here are some things you should look out for when assessing the damage:
- Depth: Shallow dents may be easier to fix than deeper ones requiring board replacement.
- Size: The size of the dent may also affect the level of difficulty in fixing it. Larger dents may require more work and materials.
- Location: The location of a dent may also affect how difficult it is to fix it. Dents in high-traffic areas or near furniture may require extra care to ensure the repair lasts.
- Type of wood: Different types of engineered hardwood may require different repair methods. Make sure to research the specific type of wood you have before attempting any repairs.
- Finish: The finish of the hardwood may also affect the repair process. If the finish is damaged, it may need to be refinished after the dent is fixed.
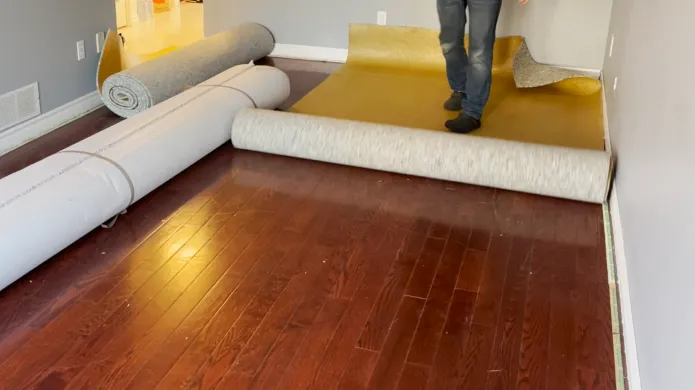
Step 02: Prepare the Area
To get started, it’s important to ensure that the area around the damaged spot is clean and free of debris, allowing for a smooth surface. Begin by sweeping the area with a broom or vacuuming it to remove any loose dirt or debris.
Next, use a damp cloth or mop to wipe the area clean. Make sure to dry the floor completely before proceeding to the next step.
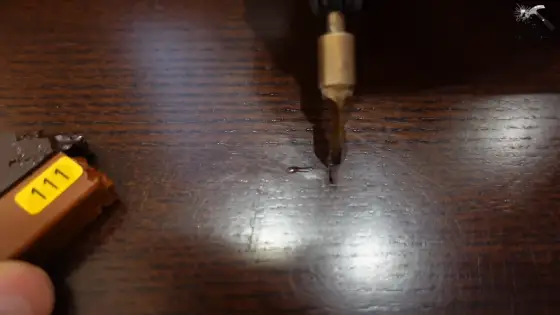
Once the area is clean, you can begin preparing it for repair. If the dent is small, you can use a wood filler to fill the gap. However, if the dent is larger, it may require a board replacement.
In this case, use a circular saw to cut out the damaged board and replace it with a new one. Make sure to match the color and grain of the new board with the existing flooring for a seamless repair.
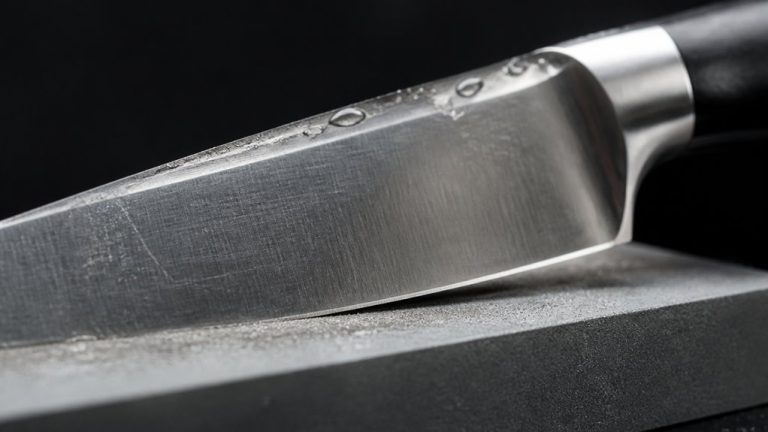
Step 03: Abrasion Process
Using a fine steel wool pad, gently rub in the direction of the wood grain to smooth out any shallow scratches or imperfections on your flooring. Be sure to choose a steel wool pad with fine grit, as a coarser pad can cause additional damage to the floor’s surface.
As you work, be careful not to apply too much pressure, as this can cause further denting or scratching.
Step 04: Wood Filler/Putty Application
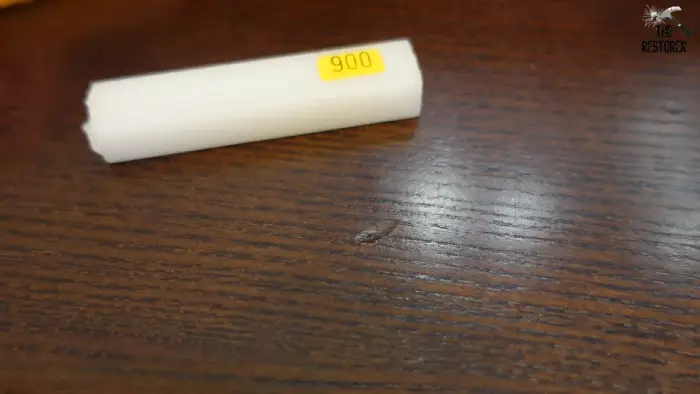
When it comes to repairing deep gouges in your beautiful wooden flooring, wood filler or putty might just be the perfect solution. Start by selecting a product that matches the color of your flooring, and ensure it’s suitable for use on engineered hardwood floors. You can find these products at a hardware store or online.
Next, apply the filler or putty to the dent, using a putty knife to level it off. Ensure the filler completely fills the dent and is flush with the rest of the floor.
Allow the filler to dry according to the manufacturer’s instructions, which usually takes several hours. Once the filler is dry, sand it down using fine-grit sandpaper until it’s smooth and level with the surrounding floor.
Step 05: Sanding and Refinishing
Start sanding the repaired area using fine-grit sandpaper. Begin with low-grit sandpaper and move to higher grits until the repaired area is flush with the surrounding floor.
Be careful not to sand beyond the repaired spot, as this can lead to unevenness in the surface. Once you have sanded the area, use a vacuum cleaner or a tack cloth to remove any dust or debris.
Step 06: Water Test
After refinishing, it is important to test the floor for moisture. To start, you’ll need to wet the dent by applying a small amount of water directly to it. This will allow the wood to soak up the moisture and expand, which can help to push the dent out.
Once you’ve applied the water, remove any excess so that you don’t end up with a waterlogged floor.
Next, place a damp cloth or paper towel over the dent to add even more moisture and protect the wood from any heat you may need to apply later on.
Step 07: Apply Heat
To effectively apply heat, you’ll need to ensure that your clothes iron is heated to its highest setting. Carefully run it over the affected area in slow, circular motions, ensuring not to stay too long at one spot to avoid scorching.
The heat and moisture from the iron will help the wood fibers expand, reducing the appearance of the dent. Here are a few tips to keep in mind when applying heat to your engineered hardwood floor:
Keep the iron moving: You want to ensure that you leave the iron in one spot for a short time, as this can cause scorching. Keep it moving in slow, circular motions to evenly distribute the heat and moisture.
Use a damp cloth or paper towel: To ensure that the wood fibers are properly moistened, place a damp cloth underneath the iron. This will help the fibers to expand and fill in the dent.
Check the progress: After a few passes with the iron, check the progress to see if the dent is starting to disappear. If it’s not, continue with a few more passes, but if it’s starting to look better, you can stop to avoid any potential damage to the floor.
Be patient: It may take a few passes with the iron to see results, so be patient and keep at it until the dent is no longer visible. Remember to keep the iron moving and wipe it with a damp cloth or paper towel to avoid scorching and ensure proper moisture.
Step 08: Repeat if Necessary
If the dent in your engineered hardwood floor is still visible, don’t worry. You can repeat the water and heat method until you’ve achieved the desired results.
Begin by dampening the cloth with hot water and placing it directly over the dent. Use the iron to heat the cloth, focusing on the dent for several minutes until the wood fibers begin to swell. Once the wood has expanded, remove the cloth and allow the wood to dry completely before handling it.
If the dent is still noticeable, repeat the same process as many times as necessary until you achieve the desired results.
Remember to use caution when applying heat to your hardwood floors and to never overheat the area, as this can cause further damage.
Step 09: Final Touches
Before considering the job complete, inspecting the area for any remaining flaws is essential. Using high-grit sandpaper, gently smooth out any imperfections that are still visible. Don’t apply too much pressure, as it could cause new dents or scratches.
Once you’re satisfied with the surface’s smoothness, clean the area again to remove any residue.
Step 10: Apply a Protective Finish
Now, it’s time to give your newly repaired flooring a polished and glossy appearance by applying a protective finish that will safeguard the surface and enhance its natural beauty.
Begin by selecting a varnish or polyurethane finish that’s compatible with engineered hardwood flooring. Read the manufacturer’s instructions carefully and ensure the product is suitable for the level of foot traffic in the area.
Next, apply the protective finish using a high-quality brush or roller, working in the direction of the grain. Let the first coat dry completely before applying a second coat. Depending on the product, you may need to sand lightly between coats to achieve a smooth finish.
Be sure to follow the manufacturer’s instructions for drying times and recoating intervals. Once the final coat is dry, your flooring will be protected and ready for use.
How Do You Prevent Engineered Wood from Denting?
To keep your engineered wood floor looking its best, make sure you’re taking steps to prevent dents.
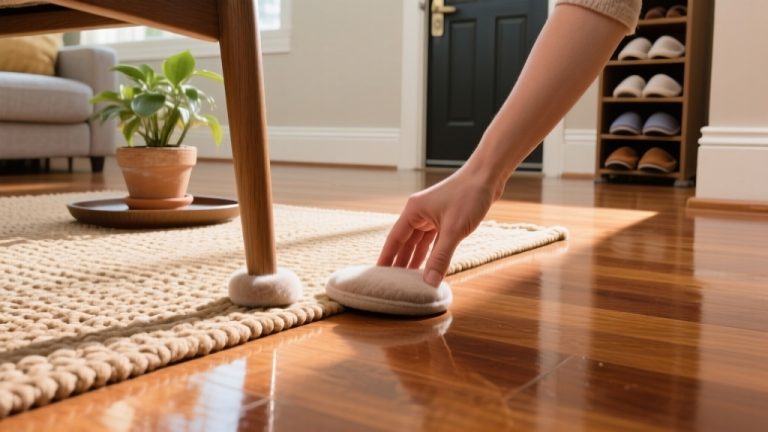
Using furniture pads or coasters under heavy items is important to distribute the weight evenly and avoid unnecessary pressure on the floor. Additionally, avoid wearing high heels or shoes with sharp, pointed heels that can cause dents. Instead, opt for soft-soled shoes or go barefoot to reduce the impact on the floor.
Another way to prevent dents is to place rugs or mats in high-traffic areas and under furniture to provide cushioning. This will help to reduce the impact on the floor and protect it from scratches.
Regularly sweeping and cleaning the flooring is also important to remove debris and prevent scratching.
Why does a hardwood floor dent so easily?
Furniture and heavy objects can easily damage hardwood flooring due to the natural fibers in the wood being compressed under pressure. This is especially true for engineered hardwood flooring, which comprises multiple layers of wood and can be more prone to denting than solid hardwood.
Here are three reasons why hardwood flooring dents so easily:
1. Hardwood flooring is made up of natural fibers that are susceptible to compression. Even small amounts of pressure can cause the wood fibers to bend or break, creating dents or scratches on the floor’s surface.
2. The finish on hardwood flooring isn’t as durable as the wood itself. While hardwood flooring is known for its durability and longevity, the finish on the surface of the wood can be easily scratched or dented by furniture and other heavy objects.
3. Hardwood flooring is often installed in high-traffic areas of the home, such as the living room or entryway. This means that it’s constantly exposed to foot traffic, which can wear down the finish over time and make the wood more susceptible to damage.
How often should I refinish my engineered wood flooring to prevent dents?
Refinishing an engineered wood floor every 5 to 10 years, depending on wear and traffic, can help maintain its appearance and protect it against daily life’s wear and tear. Regular refinishing can prevent the formation of dents and other damages that may occur due to heavy furniture, high heels, or pet claws.
Additionally, refinishing your engineered wood flooring can help to restore its original shine and luster, making it look brand new again. It can also help to prevent the wood from getting discolored or faded due to exposure to sunlight.
Say Goodbye to Dents: Restore Your Engineered Hardwood Floor Effortlessly
Fixing a dent in your engineered hardwood floor is a simple process that you can do yourself. By assessing the damage, preparing the area, and choosing between the abrasion or wood filler method, you can easily rejuvenate your flooring and restore it to its former beauty.
Remember to sand and refinish the area with a matching stain for a seamless finish. However, prevention is always better than cure, so invest in high-quality, durable flooring to avoid future mishaps. Nevertheless, if a dent does occur, embrace it as part of your home’s character and uniqueness.