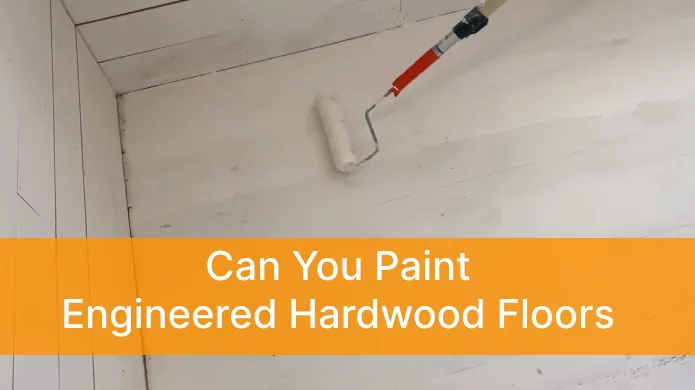
Can You Paint Engineered Hardwood Floors: The Truth
Do you want to give your engineered hardwood floors a fresh and updated appearance? You might be wondering if you can paint engineered hardwood floors.
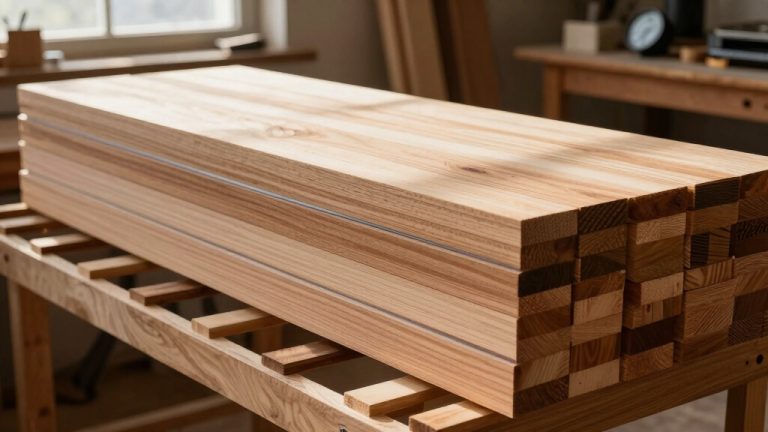
You can paint engineered hardwood floors, but it requires careful preparation and the right materials.
Painting the engineered hardwood floors requires thorough surface preparation, including cleaning and sanding the floor. After that, you need to apply a primer. Then you have to paint the surfaces.
We’ll guide you through painting your engineered hardwood floors and give you all the necessary information.
How Do You Paint Engineered Hardwood Floors?
If you’re looking to give your engineered hardwood floors a new look, painting them is a great option. Follow these steps and you’ll have beautifully painted floors in no time:
- Step #1: Prepare the Surface
- Step #2: Sand and Clean the Surface
- Step #3: Apply Primer
- Step #4: Paint the Floor
- Step #5: Apply a Protective Finish
- Step #6: Allow for Drying and Curing
Let’s get into the details.
Step #1: Prepare the Surface
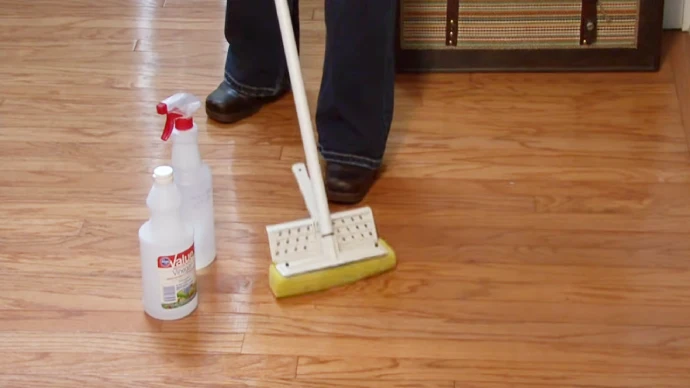
Before painting engineered hardwood floors, it’s essential to begin with a clean and smooth surface. Start by clearing the room of furniture and rugs and thoroughly cleaning the floor. This will help ensure that the paint adheres properly to the surface and doesn’t peel or chip over time.
To clean the floor, use a broom, vacuum, or damp mop to remove any dirt, dust, or debris. Allow the surface to dry completely before proceeding. If there are any scratches or imperfections on the floor, it’s important to address them before painting.
Consider filling them with wood putty and sanding them smooth to create an even surface. This will not only improve the overall appearance of the floor but also help the paint adhere more evenly.
Once the surface is clean and smooth, you can prepare the space for painting. This includes taping off edges and applying a primer.
Step #2: Sand and Clean the Surface
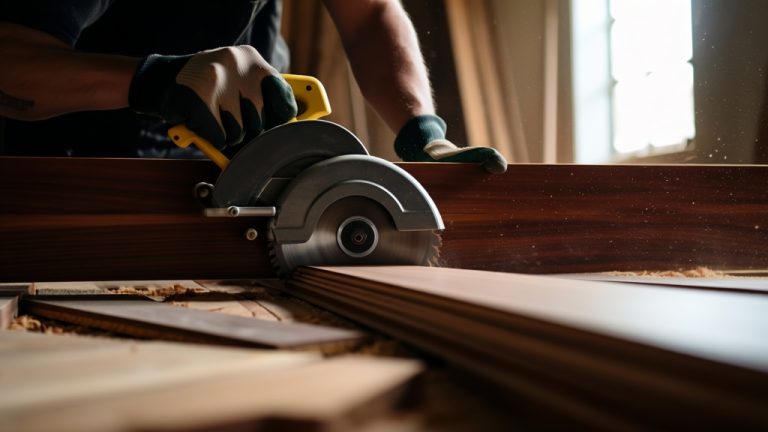
Once the surface has been cleaned and any imperfections have been addressed, it’s crucial to lightly sand the area to create a better bonding surface for the paint. This step is essential as it helps the paint adhere to the surface more effectively and ensures a longer-lasting finish.
Use a medium-grit sandpaper of around 120 to 150 grit or an orbital sander for sanding the surface gently. Be cautious not to sand too aggressively, as it may damage the veneer layer.
After sanding, it’s essential to thoroughly clean the floor again to remove any sanding residue and ensure a clean surface for painting. Use a vacuum or damp cloth to wipe away dust and debris.
Any remaining dust or debris can affect the paint’s adhesion, leading to a less-than-desirable finish. Once cleaned, allow the floor to dry completely before proceeding to the next step.
Step #3: Apply Primer
Now it’s time to transform your laminate or synthetic surface by applying a high-quality primer to ensure a seamless and long-lasting finish, so get ready to see your flooring shine like never before!
A primer is essential for painting engineered hardwood floors because it provides a base that helps the paint adhere better to the surface. The paint may not stick properly without a primer, resulting in an uneven finish that will quickly fade away.
When choosing a primer, make sure to select one that is specifically designed for laminate or synthetic surfaces. This will ensure that the primer is compatible with your flooring and will provide the best possible results.
Use a brush or roller designed for latex paint to apply an even coat of primer to the floor. Make sure the surface is completely dry before moving on, and follow the manufacturer’s instructions about drying time.
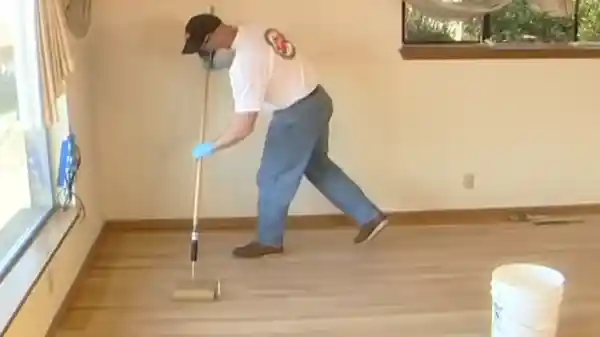
Step #4: Paint the Floor
As you stir the paint thoroughly for an even color, get ready to give your flooring a stunning makeover with a high-quality primer and a brush or roller designed for latex paint.
Once you’ve applied the primer and allowed it to dry completely, it’s time to start painting the floor. As you begin painting, follow the natural grain direction of the wood and apply thin, even coats of paint.
Avoid excessive brushstrokes or roller marks that could result in an uneven finish. Allow each coat to dry completely before applying additional coats, and be sure to take your time to ensure a flawless finish.
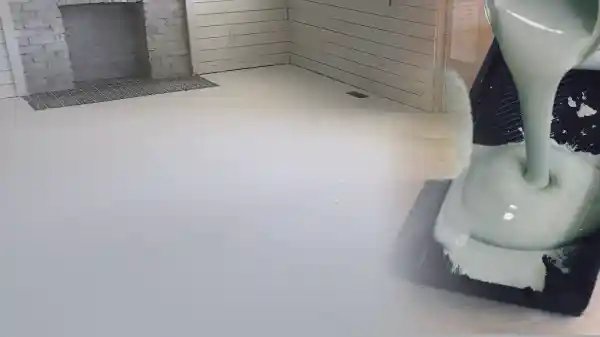
Step #5: Apply a Protective Finish
To ensure the longevity and resilience of your newly painted engineered hardwood floors, it’s crucial to apply clear polyurethane or sealant as a protective finish. This step will not only enhance its durability but also make it easier to clean and maintain.
Without this protective layer, the painted surface may be vulnerable to scratches, stains, and fading over time.
Step #6: Allow for Drying and Curing
After applying the protective finish, it’s important to allow for complete drying and curing before subjecting the surface to regular use.
This process can vary depending on factors such as temperature and humidity and the type of paint and finish used. Generally, it’s recommended to wait at least 24-48 hours before placing furniture or heavy objects on the painted floor.
To better understand the drying and curing times for your specific project, it’s important to refer to the manufacturer’s instructions for the paint and finish products used.
Additionally, monitoring the temperature and humidity levels in the room can help ensure that the floor is drying and curing properly.
What type of paint is suitable for painting engineered hardwood floors?
Oil-based and water-based enamel paints are both viable options for painting engineered hardwood floors due to their durability and ease of use.
High-traffic areas love oil-based paints because they’re durable and wear well. They provide a long-lasting and attractive finish, but they also come with some drawbacks.
Oil-based paints have a strong odor, require paint thinner for clean-up, and take longer to dry and cure compared to water-based enamel paints.
On the other hand, water-based enamel paints are easier to work with, have low odor, and offer quick drying times. These paints are also less likely to yellow over time, making them a great choice for light-colored floors.
They are environmentally friendly, and clean-up is a breeze with just soap and water. However, water-based paints are less durable than oil-based paints and may require more frequent touch-up and reapplication.
Ultimately, the choice between oil-based and water-based enamel paints depends on your personal preferences and the needs of your floors.
How many coats of paint on hardwood floors?
Based on the color of the hardwood floor and the desired final color, the number of coats of paint needed can vary. To achieve a smooth and even finish, it is generally recommended to apply at least two coats of paint.
Applying three to five coats may be necessary to ensure proper coverage and opacity if you are transitioning from a darker to lighter paint color. Letting each coat dry thoroughly before applying the next to achieve optimal results is crucial.
Keep Your Engineered Hardwood Floors Looking Great with the Right Paint
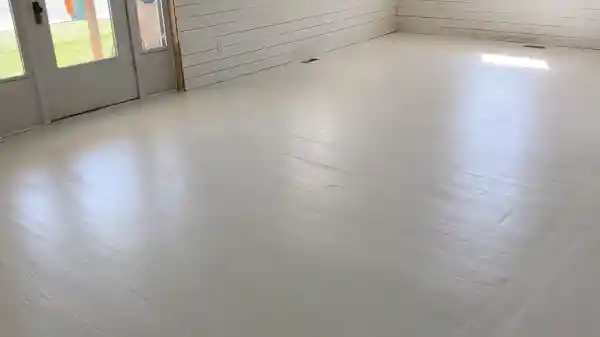
You now know the truth about painting engineered hardwood floors. You’ve learned that it’s possible to paint them, but it requires some preparation and knowledge.
Before painting, you must ensure the floors are clean, dry, and debris-free. You also need to choose the right type of paint and apply it correctly to ensure the finish is durable and long-lasting.
So, what type of paint should you use? It’s best to choose a paint that’s specifically designed for use on floors. This type of paint is more durable and resistant to wear and tear than regular interior paint.
It’s important to apply at least two coats of paint to ensure that the finish is even and long-lasting. Remember, the key to successfully painting your engineered hardwood floors is preparation and attention to detail.