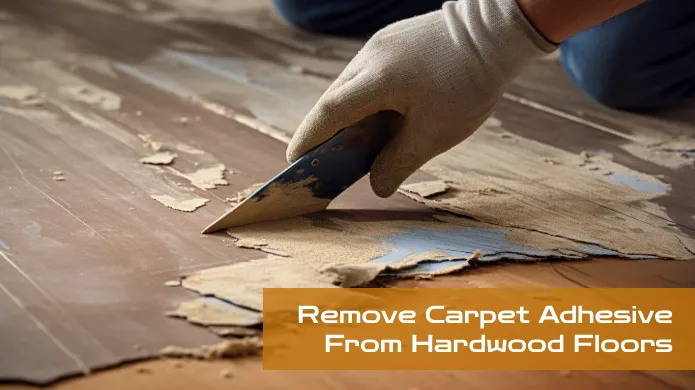
How to Remove Carpet Adhesive from Hardwood Floors: 8 Proven Steps
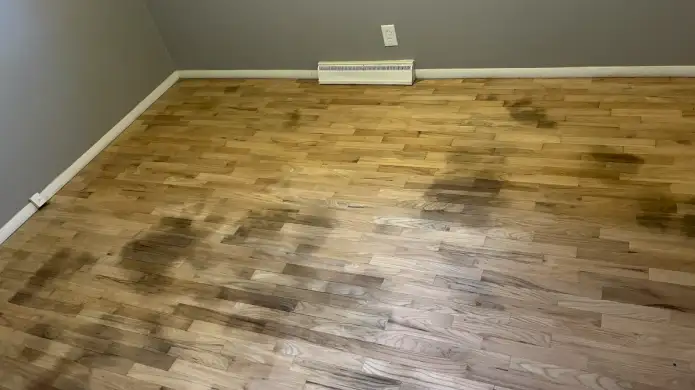
Are you tired of battling with stubborn carpet adhesive on your beautiful hardwood floors? If so, then you know how difficult it is to remove this residue without damaging the floor’s surface. Now what should you do?
Prepare the area by removing furniture and obstacles and protecting surrounding surfaces. Then test the compatibility of your chosen solvent and scraper to avoid damaging the hardwood.
Proceed with hand removal of the carpet and excess glue, ensuring you remove as much as possible. And gently scrape away the remaining glue using a scraper or putty knife, being careful not to damage the hardwood surface.
Here, we will explain to you the process of removing carpet adhesive using simple yet effective techniques. You’ll discover how heat can be your secret weapon and if baking soda can work wonders in tackling those pesky residues.
How Do You Remove Carpet Adhesive from Hardwood Floors?

When removing carpet adhesive from hardwood floors, carefully and systematically preserve the wood’s integrity. Before getting started, you will need hardwood floors, a compatible adhesive cleaner, plastic putty knife, rubber gloves, cloth or sponge, old towel or rags, and clean water.
Now follow the five key steps:
- Step 1: Prepare the area
- Step 2: Test solvent and scraper compatibility
- Step 3: Hand removal of carpet and excess glue
- Step 4: Apply adhesive remover
- Step 5: Gently scrape away the glue
- Step 6: Clean up residue
- Step 7: Allow drying and ventilation
- Step 8: Further restoration
Let’s take a closer look at each of these steps.
Step 1: Prepare the Area
Ensure you have opened the windows and doors to allow fresh air in and put on rubber gloves to protect your hands from the adhesive remover and chemicals. Creating a safe and comfortable working environment is crucial when removing carpet adhesive from hardwood floors.
Here are the steps to prepare the area for the task:
- Clear the room of any furniture or objects that may hinder your progress.
- Ensure that all loose dirt and debris are removed from the floor by sweeping or vacuuming.
- Use a scraper or putty knife to scrape off any loose or raised adhesive gently.
Step 2: Test Solvent and Scraper Compatibility
Once you’ve cleared the room and prepared the area, testing the solvent and scraper compatibility is important to ensure they work effectively.
Start by selecting a small, inconspicuous area on the hardwood floor to conduct the test. Apply a small amount of the adhesive remover onto this test area and let it sit for several minutes. This will help determine if the remover has any adverse reactions with the wood or finish.
After the allotted time, gently use a plastic putty knife to scrape off a small portion of the adhesive. This step will demonstrate the effectiveness of the adhesive remover and give you an idea of how easily the adhesive comes off without causing any harm to the wood.
Make sure to observe the results closely and adjust your approach accordingly.
Step 3: Hand Removal of Carpet and Excess Glue
Starting at a corner, carefully lift the carpet away from the hardwood floor. Use your hands to peel back as much of the carpet as possible. Once you’ve removed the carpet, you might notice patches of excess glue left behind on the floor.
Gently work these areas with the plastic putty knife, employing controlled and light scraping motions to avoid causing any damage to the wood surface.
Step 4: Apply Adhesive Remover
To make the process easier, generously coat the sections with residual glue with adhesive remover, allowing it to sit for about 15-20 minutes.
This step is crucial in effectively removing carpet adhesive from hardwood floors. The adhesive remover penetrates and softens the glue, making it easier to remove.
Applying a generous amount of remover and allowing it to sit gives it enough time to break down the adhesive, making the removal process much smoother.
During this waiting period, the remover will work its magic, loosening the glue and preparing it for removal.
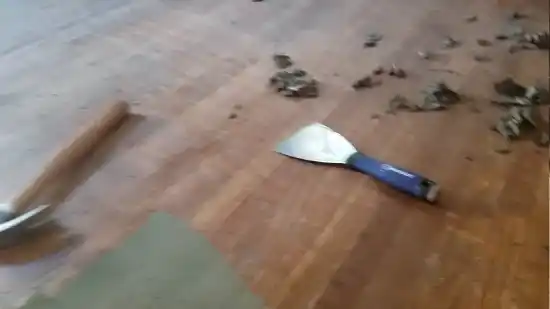
Step 5: Gently Scrape Away Glue
Now that you’ve applied the adhesive remover and allowed it to work its magic, it’s time to move on to the next step: gently scraping away the softened glue. This step requires caution and precision to avoid causing any damage to your beautiful hardwood floors.
Here’s what you need to do:
- Grab a plastic putty knife.
- Apply gentle pressure as you scrape.
- Follow the direction of the wood grain.
- Keep your movements controlled and steady.
- Continue scraping until the majority of the softened adhesive is removed.
Step 6: Clean Up Residue
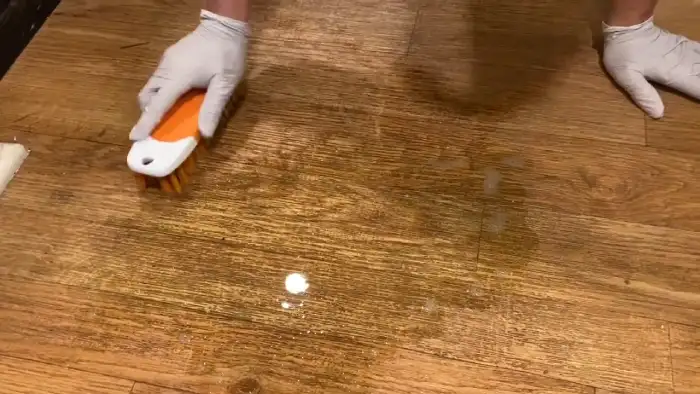
After scraping away most of the softened glue, you’ll want to dampen a clean cloth or sponge with adhesive remover to wipe down the area and remove any remaining residue.
This step is crucial in ensuring that all traces of carpet adhesive are completely removed from your hardwood floors. Make sure to use a clean cloth or sponge that is free from dirt or debris.
Gently wipe the dampened cloth or sponge over the affected area, applying slight pressure to effectively lift off the adhesive residue. Take your time to thoroughly wipe down the entire surface, paying attention to any stubborn spots.
This will ensure that your hardwood floors are left clean and free from any adhesive residue.
Step 7: Allow Drying and Ventilation
After completing the removal process, allow the hardwood floor to air dry completely before moving any furniture or items back into the area. Properly drying the floor ensures that it’s ready for use and prevents any potential damage if items are placed on damp surfaces.
Keep the windows open for a minimum of 24 hours to allow for adequate ventilation, which will help disperse any lingering fumes from the adhesive remover.
Step 8: Further Restoration
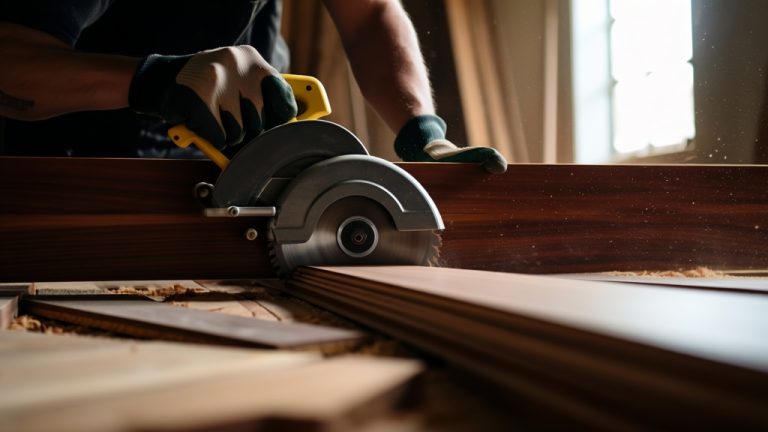
To fully restore the floor’s appearance and protect it long-term, you might want to consider sanding, sealing, or staining it.
Sanding the hardwood floor will help remove any remaining adhesive residue and create a smooth and even surface. This can be done using a floor sander with coarse grit sandpaper and finer grit sandpaper for a polished finish.
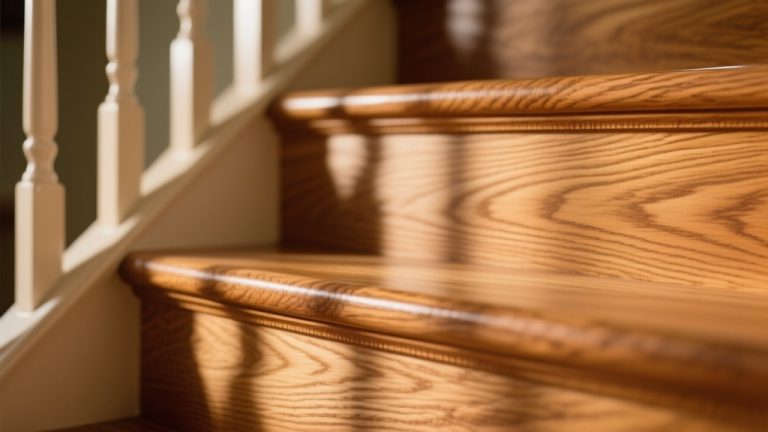
After sanding, it is important to seal the floor to protect it from future damage and wear. A high-quality sealant will help prevent moisture penetration and keep the floor looking its best.
If you want to enhance the color of the wood or give it a fresh look, staining is another option. Choose a stain color that complements your decor and apply it evenly with a brush or cloth. Remember to let the stain dry completely before applying any sealant.
Note: Here are some important tips to keep in mind:
- Choose an adhesive remover specifically designed for hardwood floors to avoid causing damage.
- Avoid using household solvents like paint remover, vegetable oil, or WD-40, as they can harm the wood.
- Take necessary precautions, such as wearing gloves and working in a well-ventilated area, to minimize exposure to solvents.
- Be patient and persistent, as some adhesives might require multiple attempts to completely remove.
- If you’re unsure about any step or if the task becomes too challenging, seek professional assistance.
Can I use heat to remove the adhesive from the hardwood floor?
Heat can be used to remove the adhesive from the hardwood floor by using a heat gun to soften it. This method is effective because heat helps to break down the adhesive, making it easier to scrape off.
However, it is important to exercise caution to avoid overheating the wood, as excessive heat can cause damage. To remove the adhesive, start by setting the heat gun to a low or medium setting. Hold the heat gun a few inches away from the adhesive and move it back and forth to evenly distribute the heat.
Once the adhesive has softened, gently scrape it off with a scraper or putty knife. Remember to work in small sections and be patient. You can successfully remove carpet adhesive from your hardwood floors by combining heat with scraping.
Does baking soda remove floor adhesive?
Using baking soda alone is ineffective in removing floor adhesive residue. While baking soda is useful for many cleaning purposes, it is not strong enough to break down the adhesive on hardwood floors. However, there are other methods you can try to remove floor adhesive effectively.
Here are five alternatives to consider:
- Heat gun: Applying heat to the adhesive can soften it and make it easier to scrape off.
- Solvent: Using a solvent specifically designed for adhesive removal can dissolve the sticky residue.
- Acetone: This strong solvent can effectively dissolve the adhesive, but be cautious as it can also damage the hardwood.
- Commercial adhesive remover: There are various products available in the market that are specifically formulated to remove floor adhesive.
Can I speed up the drying process after removing the adhesive?
While it’s important to allow the floor to air dry naturally for at least 24 hours to prevent warping, you can do a few things to help expedite the process.
Firstly, ensure the room is well-ventilated by opening windows and using fans to circulate the air. Consider using a dehumidifier to remove excess moisture if the humidity is high.
You can also use a high-powered vacuum to suck up any remaining adhesive bits. Finally, wiping the area with a damp cloth can help remove any last traces of residue. Once completely dry, you can proceed with your chosen flooring project.
The Secret to Safely Removing Carpet Adhesive from Hardwood Floors
Removing carpet adhesive from hardwood floors requires a systematic and patient approach to safeguard the beauty and integrity of the wood. By meticulously following the steps outlined above, you can navigate the intricacies of adhesive removal while minimizing the risk of damage.
From testing solvent compatibility to gently scraping away residue, each step contributes to a successful restoration process. As you embark on this endeavor, always prioritize safety through proper ventilation and protective gear.
Despite the time and effort required, the end result, restoring your hardwood floors to their original glory, will undoubtedly be worth the effort.