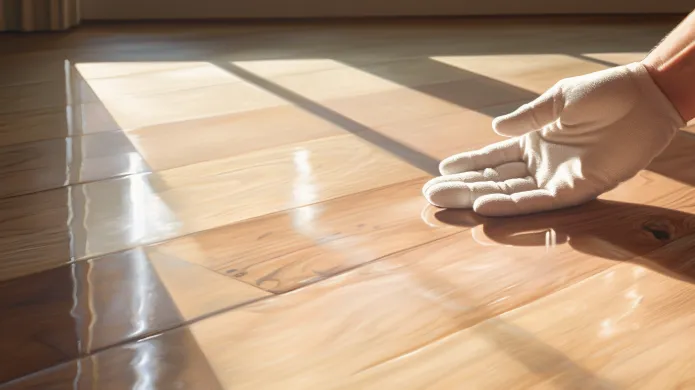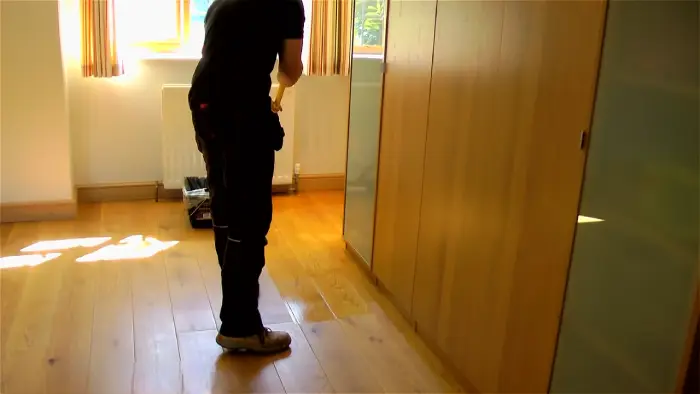
Can You Lighten Engineered Hardwood Floors: 4 Easy Methods [Explained]
Whenever you’re tired of your engineered hardwood floors’ dark, outdated look, you may wonder if you can lighten them.
You can lighten your engineered hardwood floors, but it’s crucial to choose the right method and products that work well with your current wood and finish.
There are several methods you can use, including bleaching, lime washing, staining, and glazing. Each method achieves a different look and feel, so it’s important to research and choose the one that best fits your desired outcome.
Sanding and refinishing is another popular method that can change the color of your floors. We’ll explain all the methods with proper steps, so keep reading.
How to Lighten Engineered Hardwood Floors: Different Methods to Try
How about lightening your engineered hardwood floors? Well, there are different methods you can try.
- Method #1: Staining
- Method #2: Bleaching
- Method #3: Lime Washing
- Method #4: Glazing
Here are the steps with details:
Method #1: Staining
If you’re looking to lighten your engineered hardwood floors, staining is a great option. First, you’ll need to prepare the floor by cleaning and sanding it.
Next, choose a light-colored stain to achieve the desired result. Apply the stain, wipe off the excess, and allow it to dry completely before assessing the final outcome.
Step 1: Prepare the Floor
To get those hardwood floors shining like the sun, you gotta start by prepping the surface – sweep it clean and sand it down gently, like a gentle breeze on a sandy beach. This step is crucial to ensure that the stain adheres properly and the finish is smooth and even.
Use a vacuum or a broom and dustpan to remove any debris, and then lightly sand the floor to remove the existing finish and open up the pores of the wood. This will also help the stain to penetrate deeper and create a more vibrant color.
Make sure to use fine-grit sandpaper and work in the direction of the grain, being careful not to over-sand or damage the surface. Once you’re done, give the floor a good wipe-down to remove any dust or residue, and you’re ready to move on to the next step.
Step 2: Choose a Light-Colored Stain
Start by selecting a light-colored wood stain that matches the desired lightening effect, ensuring it achieves the desired color by testing it on a small, inconspicuous area.
When choosing a stain, remember that the lighter the stain, the more it will lighten the floor. Look for stains with names like ‘natural’ or ‘light oak’ for the best results.
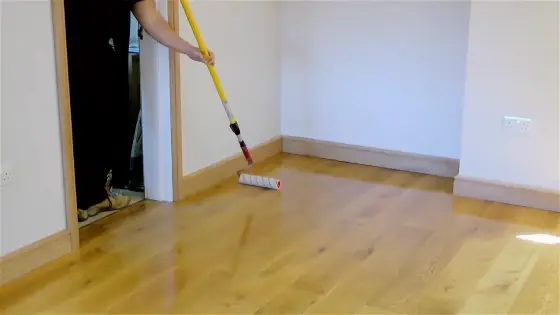
Once you’ve chosen a stain, apply it evenly to the floor using a brush or a roller, following the manufacturer’s instructions. Allow the stain to dry completely before applying a topcoat or sealant.
Remember that staining engineered hardwood floors can be tricky, so it’s important to take your time and work carefully to achieve the desired results.
Step 3: Apply the Stain
Now it’s time to apply the stain onto your floor, ensuring even coverage along the grain of the wood. Did you know that the average size of a section to work on is around 4 square feet? Keep this in mind as you work to achieve a consistent result.
To ensure that your floor comes out looking light and bright, follow these tips for applying the stain:
- Use a brush or rag to apply the stain evenly onto the floor. This will help you to achieve a consistent look and avoid any blotches or streaks.
- Work in small sections rather than covering the entire floor at once. This will give you greater control over the application and help ensure you don’t miss any spots.
- As you work, follow the grain of the wood. This will help to create a natural look that blends in with the rest of the floor.
- Take your time and be patient. Applying stain can be a slow process, but it’s important to take your time and ensure you achieve the desired result.
Step 4: Wipe Off Excess Stuff
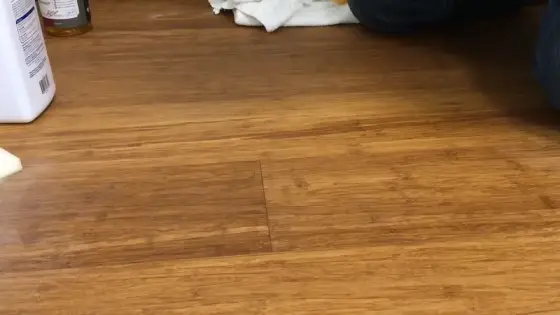
After applying the stain, use a cloth to wipe any excess off the surface, achieving a natural and even tone for your newly stained floor.
This step makes sure that the stain is evenly distributed and that there are no blotches or dark spots on your engineered hardwood floors. As you wipe off the excess, pay close attention to the corners and edges where excess stain accumulates.
A gentle but firm wiping motion will do the trick, and you can use multiple cloths if necessary. Remember to dispose of the used clothes properly to avoid any fire hazards.
Step 5: Allow Drying and Assessment
As the stain dries, you’ll notice the transformation of your flooring, and the protective clear coat will enhance its beauty even further.
Take a moment to assess the color and determine whether it meets your expectations. If it’s not quite what you were hoping for, don’t worry – there are ways to lighten engineered hardwood floors.
Whether you want a subtle change or a dramatic effect, you can customize the color of your floors to fit your style. Just remember to follow the proper steps and use the right products to ensure a successful outcome.
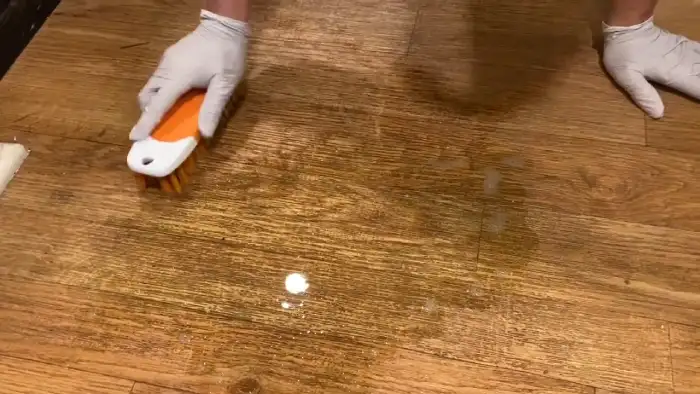
Method #2: Bleaching
If you want to lighten your engineered hardwood floors, another method you can try is bleaching. Here are the steps:
Step 1: Start by Preparing the Floor
To begin the process of lightening your engineered hardwood floors, you should prepare the surface by removing all furniture and rugs.
Thoroughly clean the floor to ensure that there is no dirt or debris left behind, as this can interfere with the bleaching process.
Remove all furniture and rugs from the area. Sweep or vacuum the floor to remove any loose debris. Clean the floor with a hardwood floor cleaner according to the manufacturer’s instructions
Rinse the floor thoroughly with clean water. Allow the floor to dry completely before proceeding.
Step 2: Choose a Bleach Product
Selecting a bleach product designed for hardwood floors is the next crucial step in achieving a uniform and successful lightening effect on your engineered hardwood flooring.
Follow the manufacturer’s instructions and safety guidelines carefully, as each product may have different application requirements.
Consider the type of bleach product you want to use – whether it’s a two-part bleach system that requires mixing, or a single-part bleach that is ready to use.
Additionally, consider the type of wood your flooring is made of, as some bleach products may work better on certain types of wood than others.
Step 3: Apply the Bleach
Now that you have chosen your preferred bleach product, it’s time to apply it to your engineered hardwood floors.
Remember to wear protective gloves and ensure proper ventilation before you begin. Using a brush or sponge, apply the bleach evenly to the floor, working in small sections.
This will help you achieve an even and consistent lightening effect on your floors. To help you keep track of your progress and ensure that you are working efficiently, consider using a table to record the time and area where you apply the bleach.
This will help you avoid overlapping areas and ensure that you achieve the desired effect. With proper care and attention, your engineered hardwood floors will look brighter and more vibrant in no time.
Step 4: Allow the Bleach to Sit
After letting the bleach sit, you’ll be amazed at the transformation of your once dull and lifeless flooring.
It’s important to let the bleach do its job and penetrate the wood for the recommended amount of time specified by the manufacturer. This allows for an even lightning effect and ensures that the floors are properly treated.
Don’t rush the process and be patient, as the results will be worth it. Once the bleach has sat for the recommended time, you can move on to the next step.
Step 5: Neutralize and Rinse
Once the bleach has worked its magic, it’s crucial to neutralize and rinse the floors with a mixture of water and vinegar to stop the bleaching process and remove any remaining bleach residue. This step is essential to ensure that your engineered hardwood floors don’t get damaged or discolored from the bleach.
Here are the three things you need to keep in mind while neutralizing and rinsing your floors with water and vinegar:
- Make sure to mix the vinegar and water in a bucket before using it on the floors.
- Use a mop or a cloth to apply the mixture on the floors, making sure to cover every inch of the surface.
- Rinse the floors with clean water after the vinegar mixture has been applied to ensure that no residue is left behind.
Step 6: Dry and Assess
Make sure the floor is completely dry before evaluating the lightening effect and applying a clear coat polish to protect and enhance its appearance.
Once the floor is dry, assess the lightening effect and determine if you are satisfied with the result. If you are not satisfied, you may need to repeat the neutralizing and rinsing process or try a different method altogether.
If you are satisfied with the result, it is recommended to apply a clear coat polish to protect the floor from future damage and enhance its appearance.
The clear coat polish will provide a layer of protection against scratches, stains, and general wear and tear.
Method #3: Lime Washing
Now, let’s talk about lime washing as another method to give your engineered hardwood floors a new look.
Step 1: Prepare the Floor
Before you begin, imagine a clean and dry floor free of any dust or debris. You’ll want to ensure that your engineered hardwood floors are fully prepped before moving on to the next step.
To properly prepare the floor, follow these steps:
- Start sweeping or vacuuming the floor to remove any loose dirt or debris.
- Next, use a cleaner specifically designed for engineered hardwood floors to clean the surface thoroughly. Be sure to follow the manufacturer’s instructions and rinse the floor with clean water.
- Allow the floor to dry completely before moving on to the next step. This may take several hours, so be patient.
Step 2: Mix Lime Wash Solution
To achieve a unique and rustic look for your hardwood flooring, start by diluting lime wash powder or paint according to the manufacturer’s instructions.
This will create a lime wash solution that will lighten the color of your engineered hardwood floors.
Mix the solution thoroughly and ensure it is evenly distributed before applying it to the floor. The lime wash will penetrate the wood grain and create a whitewashed effect, giving the floor a vintage and timeless appearance.
It’s important to note that the lime wash mixture you use will determine the intensity of the final color, so it’s best to start with a small amount and gradually add more until you achieve the desired result.
Step 3: Apply the Lime Wash
When applying the lime wash solution onto your flooring, imagine yourself as an artist painting a canvas.
Use a brush or roller to create a masterpiece of unique and rustic colors. Remember to work in small sections and apply the solution evenly to ensure a consistent look. Don’t be afraid to apply multiple coats to achieve the desired lightening effect.
With each stroke of the brush or roll of the roller, you’ll begin to see your engineered hardwood floors transform into a work of art.
This transformation will leave you and your guests in awe. So, go ahead and let your creativity flow. Enjoy transforming your floors into a stunning feature of your home.
Step 4: Wipe Off Excess
As an artist creating a masterpiece, don’t forget to wipe off any excess lime wash solution with a cloth or sponge. This will help you achieve a more natural and textured look on your engineered hardwood floors.
By wiping off the excess, you’ll reveal the true beauty of the wood, adding character and depth to your home. The process is simple and easy, so just take your time and thoroughly remove any excess solution.
Step 5: Allow Drying and Assess
Once the lime wash has been applied, let it dry completely before assessing the color and deciding if a protective clear coat is needed for added durability.
It’s important to be patient as the lime wash may take a few days to cure and lighten further fully.
Once the floor is completely dry, take a close look at the color and determine if it meets your expectations.
If you find that the color is not quite right, you may need to apply another coat of lime wash or consider applying a clear coat to protect the finish.
Method #4: Glazing
If you want to add a unique look to your engineered hardwood floors, glazing is a great option. Here’s how:
Step 1: Prepare the Floor
Start by cleaning your floor thoroughly, making sure to remove all dust and debris. Then, lightly sand the surface to create a smooth base for your new finish. This step ensures that the glaze adheres properly to the engineered hardwood floor.
Here are three things to keep in mind when preparing your floor:
1) Use a vacuum cleaner or broom to remove all dust and debris.
2) Let the floor dry completely before sanding to prevent any damage.
3) Use fine-grit sandpaper to avoid any scratches on the surface.
Once you’ve completed this step, you’ll be good to go in the glazing process.
Step 2: Choose a Glaze Product
To achieve a stunning shine on your sleek surface, select a glaze that suits your style, ensuring it is specially formulated for your stunning, smooth surface. A glaze product designed for use on hardwood floors will help you achieve the desired lightening effect.
Consider the features and price of each product before making your final decision. Remember that a higher price may indicate better quality and durability, but ultimately the choice is yours.
Step 3: Apply the Glaze
Now it’s time to add some shine to your sleek surface by evenly applying the glaze with a brush or roller, following the manufacturer’s instructions for application and drying times.
Work in small sections to ensure that the glaze is applied evenly and smoothly. Use a light hand when applying the glaze, as too much pressure can cause streaks or unevenness.
Follow the recommended drying times before walking on the floor or applying additional coats of glaze.
Step 4: Wipe Off Excess
It’s time to wipe that off and reveal the subtle beauty of your newly glazed surface. Don’t worry; wiping off the excess won’t ruin the color, it actually enhances it.
So grab a clean cloth or sponge and gently wipe off that excess glaze. You’re one step closer to achieving the beautiful, nuanced look you’ve been dreaming of.
Step 5: Allow Drying and Assess
Once the glaze has dried completely according to the manufacturer’s instructions, take a moment to assess the achieved color and effect. Keep in mind that reapplication may be necessary over time.
It’s important to note that glazing may not be as permanent as other methods of lightening engineered hardwood floors. So, it’s crucial to monitor the appearance of your floors and make adjustments as needed.
Step 6: Seal and Protect
To ensure long-lasting results, protecting your newly glazed floors with a clear coat or sealant is important. Applying a sealant not only protects the glaze, but also provides durability to the floor, making it resistant to scratches and stains.
Read the instructions provided with the sealant product carefully before applying it to the floor.
Make sure the floor is completely dry before applying the sealant. Moisture can lead to uneven application and may cause the sealant to peel off later.
Choose a high-quality sealant that is appropriate for the type of engineered hardwood flooring you have.
Use a clean, dry cloth or applicator to apply the sealant. Apply it in thin, even coats, and allow each coat to dry completely before applying the next.
Once the sealant has dried completely, avoid walking on the floor for at least 24 hours to allow it to cure properly.
What type of clear coat or sealant should you use to protect the lighted floor?
For hardwood floors that have been lightened, it’s recommended to use a clear coat or sealant specifically designed for protection such as polyurethane. This popular choice offers durability and resistance to scratches, spills, and UV rays.
Water-based polyurethane is a suitable option, drying quickly with low odor and offering good protection without yellowing over time. However, if you prefer a slightly more maple amber tone in flooring, oil-based polyurethane is a superior option in terms of durability.
Will lightening engineered hardwood floors affect their durability and lifespan?
Lightening engineered hardwood floors should not significantly affect their strength and sustainability. Their durability and lifespan are primarily determined by the quality of the wood itself, as well as proper installation and maintenance.
While lightening the floors can enhance their appearance, it should not be a cause for concern regarding their durability and longevity.
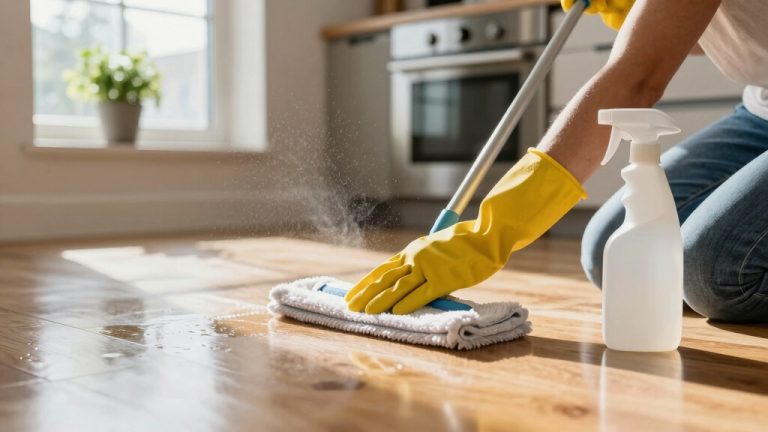
Get the Look You Want with Lightened Engineered Hardwood Floors
You now know that you can lighten your engineered hardwood floors and how to do it.
Lightening engineered hardwood floors can be done through different methods, such as using a wood bleach, sanding, or applying a light-colored stain.
Remember to choose a clear coat or sealant that won’t yellow over time and to test it first on a small area of the floor before applying it to the entire surface.
As for the durability and lifespan of the floor, lightening it should only affect it if you follow the right procedures and use high-quality products.
![How to Clean Scratched Hardwood Floors: 7 DIY Steps [Effective]](https://anyshelter.com/wp-content/uploads/2023/06/How-to-Clean-Scratched-Hardwood-Floors.webp)