How to Varnish Hardwood Floors: Get the Durable Shine
To varnish hardwood floors, first thoroughly clean and sand the surface using progressively finer grits to remove old finishes and guarantee smoothness. Choose a suitable varnish, either water-based for quick drying or oil-based for durability.
Apply thin, even coats with the grain, allowing proper drying and lightly sanding between layers. Maintain good ventilation and avoid traffic until fully cured. Proper preparation and application are key to a flawless, lasting finish.
Continue to explore proven techniques for the best results.
Key Takeaways
- Thoroughly clean and prepare the hardwood floor, removing furniture, dust, and repairing any damage before varnishing.
- Sand the floor progressively with coarse to fine grit sandpaper, ensuring smoothness and removing old finishes.
- Choose the appropriate varnish type (water-based or oil-based) based on durability, drying time, and finish preference.
- Apply multiple thin coats of varnish using a brush and applicator, sanding lightly between coats for an even finish.
- Allow proper drying and curing time, avoid foot traffic, and maintain ventilation to ensure a durable varnished floor.
Preparing the Hardwood Floor for Varnishing
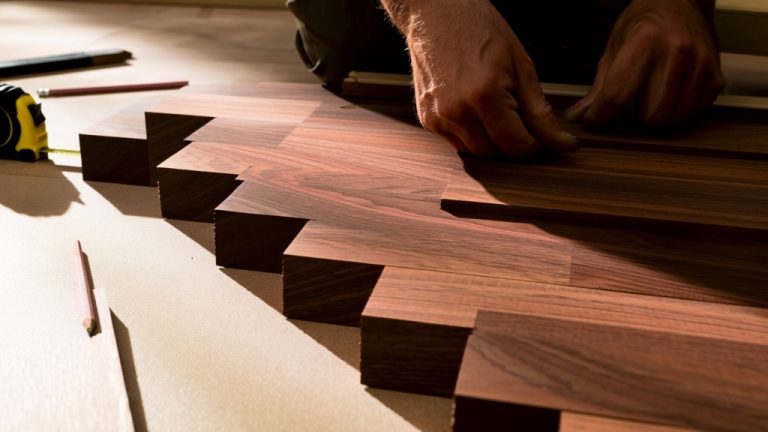
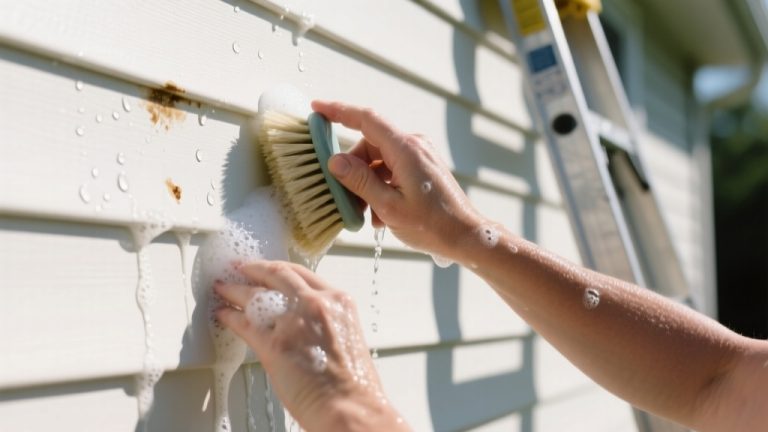
Before you start varnishing, you need to prepare the hardwood floor meticulously to guarantee a durable, flawless finish. Remove all furniture and rugs to access the entire surface.
Thoroughly prepare your hardwood floor by clearing the space for a smooth, lasting varnish finish.
Sweep or vacuum thoroughly using a soft brush attachment to eliminate dust and abrasive particles that could scratch or impair adhesion. Wipe the floor with a damp microfiber cloth but avoid excess moisture, as it can swell wood and compromise the finish.
Maintaining proper humidity levels during this process helps prevent wood expansion or contraction. Inspect for loose boards, protruding nails, or damage; repair or replace as needed. Fill gaps and nail holes with wood filler, sanding smooth once dry. Remove old caulk at edges.
Secure squeaky boards with countersunk screws. Ensure the floor is completely dry before proceeding, as residual moisture hinders varnish adhesion and causes cloudiness. For floors with minor wear, refinishing hardwood floors is easier and less expensive than sanding to bare wood and can often be done without full sanding.
Choosing the Right Varnish for Your Floor
When selecting varnish for your hardwood floor, you’ll need to contemplate the specific type that best balances durability, appearance, and environmental factors.
Water-based polyurethane varnish offers a clear, bright finish with low VOC emissions, drying quickly and preserving the wood’s natural color. It is also known for its quick drying time and ease of application, making it a popular choice for DIY projects.
Additionally, water-based finishes typically provide excellent scratch resistance while maintaining a natural look. Oil-based polyurethane provides a harder, more durable coat with a warm amber tone but requires longer drying time and strong ventilation due to higher VOCs.
For commercial-grade resilience, conversion varnishes deliver superior chemical and abrasion resistance but demand professional handling. Avoid shellac or lacquer for high-traffic floors. They dry fast but lack moisture and scratch resistance.
Choose a varnish that aligns with your floor’s expected wear, aesthetic preference, and indoor air quality considerations to ensure a lasting, safe finish.
Essential Tools and Materials Needed
Selecting the right varnish sets the foundation, but executing a flawless finish relies heavily on having the proper tools and materials at hand.
You’ll need sanding equipment such as a drum sander for initial rough sanding, an edger for corners, and a handheld orbital sander for detailed areas.
Use 36 to 80 grit sandpapers progressively, plus screening pads for final smoothing. Protect yourself with goggles, respirators, hearing protection, knee pads, and safety shoes.
After sanding, employ a vacuum to remove dust thoroughly. It’s important to seal air vents and doorways to prevent dust from spreading to other areas during sanding.
Clean the floor using hardwood cleaner or a white vinegar solution applied with a terry-cloth mop. For varnishing, use polyurethane varnish with T-bars and applicators to ensure even coats. Finally, maintain ventilation to disperse fumes effectively during application.
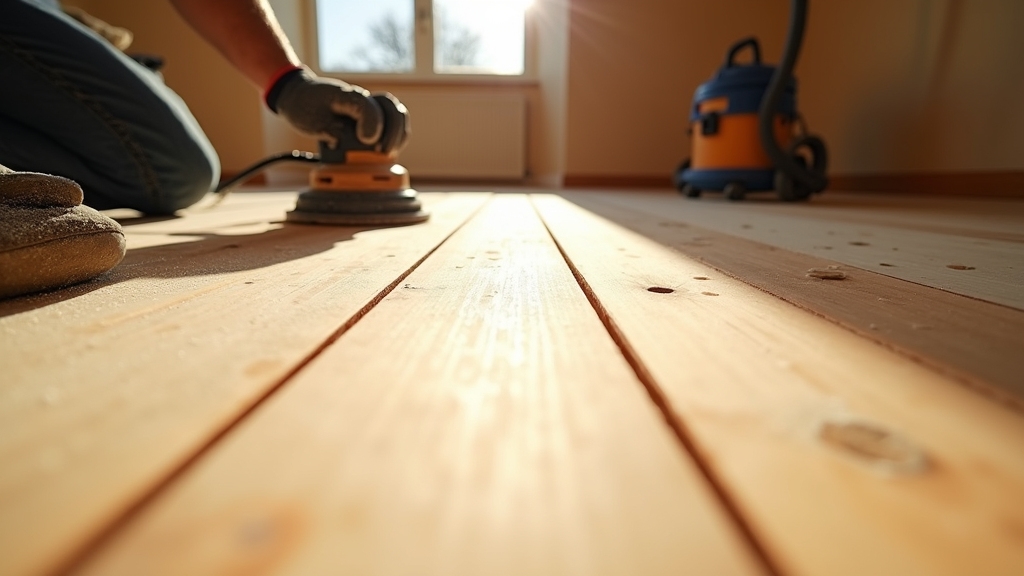
Step-by-Step Sanding Process
Although sanding hardwood floors can seem straightforward, executing each step methodically is essential to achieve a flawless surface.
Start by selecting the appropriate grit sequence based on wood hardness and damage severity. Use a drum sander diagonally to level uneven floors, then sand along the grain to prevent scratches. Severely scarred or water-damaged floors may benefit from sanding at an angle to the grain to speed up cleaning and leveling during rough sanding.
For edges, employ an edging sander following the same grit progression, blending edges smoothly with the main floor.
| Step | Sandpaper Grit Example |
|---|---|
| Coarse sanding | 16, 24, 40 |
| Intermediate sanding | 60, 80 |
| Fine sanding | 120, 150, 220 |
Cleaning and Dust Removal Techniques
Since dust and debris can quickly compromise the finish and longevity of hardwood floors, you must implement rigorous cleaning and dust removal techniques.
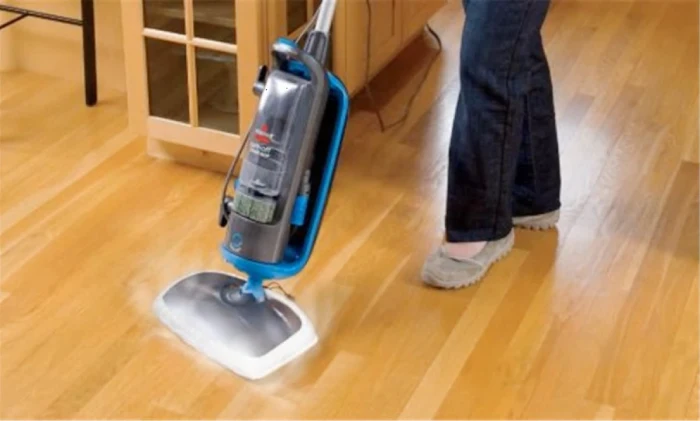
Start by sweeping daily with a soft-bristled broom or using pre-treated microfiber dust mops to prevent scratches while removing loose particles. Hardwood’s denser surface requires careful cleaning to avoid abrasion and maintain its matte finish.
Vacuum weekly with a hard-floor setting or a robot vacuum without a beater bar to eliminate embedded dust without damaging the surface. However, vacuuming with a new bag and horsehair wand helps remove loose drywall dust more effectively, though it may leave a fine dust haze behind.
Regular dust mopping is essential to prevent dirt accumulation and maintain finish integrity.
For stubborn dust lodged in wood grain, employ hand scrubbing or power scrubbing with appropriate tools. Hand scrubbing involves using brushes with the right stiffness and scrubbing along the wood grain to loosen drywall dust embedded in the grain and facets.
Use doormats to minimize dirt ingress and apply floor protectants to enhance dust resistance. Consistency in cleaning frequency and tool selection ensures your hardwood floors remain pristine and ready for varnishing.
Applying Primer and Base Coats
Before applying primer and base coats, make certain your hardwood floor is impeccably prepared. Proper adhesion depends on a clean, sanded surface free of dust and imperfections.
Ensure your hardwood floor is perfectly clean and sanded for optimal primer and base coat adhesion.
Select a primer formulated for hardwood; match water-based primers with water-based finishes to avoid adhesion issues. Apply with an 8 mm nap microfiber roller, cutting in edges with a 50 mm brush.
Work in sections, rolling thin coats along the wood grain to prevent drips and ensure uniform coverage. Allow primer to dry thoroughly (2–4 hours for water-based), then sand lightly with 240-grit paper to smooth imperfections.
Vacuum and tack cloth before applying the base coat. Apply the base coat similarly, maintaining a wet edge and using thin, even layers for maximum durability and finish quality. During the initial weeks after application, avoid water-based cleaning methods to allow the finish to cure fully and prevent damage.
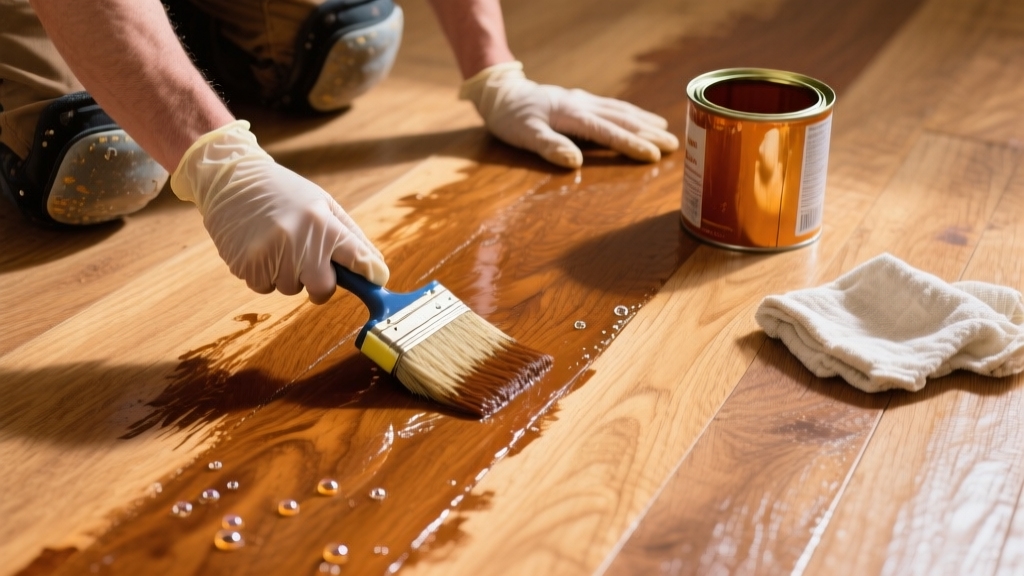
Techniques for Applying Varnish Smoothly
How you apply varnish directly impacts the floor’s final appearance and durability. Work in small sections, pouring thin lines and maintaining a wet edge to prevent lap marks. Regular cleaning with vacuuming hardwood floors before varnishing can help remove dust that may interfere with the finish.
Always spread varnish with the wood grain using long, steady strokes. Cut in edges first with a fine-bristle brush, then use lambswool or a T-bar applicator for main areas.
Avoid thick coats to prevent drips and uneven drying; thin, uniform layers ensure ideal bonding and smoothness. Stir (don’t shake) the varnish and pour into a separate container for consistency. To ensure the varnish bonds well and dries evenly, vacuum thoroughly before applying additional coats.
| Step | Recommended Tool | Key Technique |
|---|---|---|
| Cutting edges | Fine-bristle brush | Apply carefully, steady strokes |
| Main area | Lambswool/T-bar applicator | Spread with grain, maintain wet edge |
| Coverage | Thin coats | Avoid pooling, overlaps slightly |
| Between coats | Fine sanding | Lightly de-nib for smooth finish |
Proper Drying and Curing Times
Although varnish may feel dry to the touch within hours, you must understand the critical difference between dry time and cure time to protect your hardwood floors properly.
Dry time indicates when the finish can withstand gentle walking, typically 2–8 hours for water-based and 8–24 hours for oil-based varnishes. Ensure proper ventilation during drying to reduce the buildup of harmful emissions.
Cure time, however, is the period required for the finish to fully harden, ensuring maximum durability: 7–14 days for water-based and up to 30 days for oil-based variants. Note that during this period, the finish undergoes a chemical process to develop maximum hardness.
You should avoid foot traffic for at least 24 hours after drying and postpone moving furniture or rugs until full curing completes. Environmental factors like temperature and humidity profoundly influence these times, so always consult the product’s technical data sheet and maintain adequate ventilation to achieve ideal curing and long-lasting floor protection.
Troubleshooting Common Varnishing Issues
When varnishing hardwood floors, you’ll inevitably encounter common issues such as peeling, bubbling, or alligatoring if surface preparation or application conditions aren’t meticulously controlled.
Peeling often results from inadequate abrasion between coats, contamination, or moisture. It requires sanding to bare wood and thorough cleaning for correction.
Additionally, removing old varnish and residues completely is essential to ensure a proper new finish. Proper surface preparation also includes verifying the absence of old finishes that can block adhesion, as indicated by a water drop test.
Bubbling arises from surface residues, temperature extremes, or overworking the finish. Screening and recoating typically resolve this. Maintaining consistent application and drying conditions can help prevent uneven drying that contributes to bubble formation.
Alligatoring, characterized by cracked ridges, stems from poor wetting, contamination, or incompatible finishes. It demands full drying, screening, or complete refinishing in severe cases. Polyurethane beads form in expansion gaps under fluctuating humidity and must be manually removed.
Sidebonding, mostly with waterborne finishes, causes boards to stick and gap. It is preventable via oil-modified sealers and humidity control, but sometimes necessitates floor replacement if damage is extensive.
Caring for and Maintaining Varnished Floors
To preserve the durability and appearance of your varnished hardwood floors, you must implement a consistent maintenance routine tailored to their specific needs.
Maintaining varnished hardwood floors requires a consistent, tailored care routine to ensure lasting durability and beauty.
Sweep or vacuum daily using a soft broom or a vacuum with a hard floor attachment to eliminate abrasive dust. Clean spills immediately with a non-oil-based, hardwood-specific cleaner to prevent staining.
Maintaining proper humidity levels in your home can help prevent the wood from expanding or contracting excessively, reducing the risk of gaps or damage.
Damp mop weekly with a microfiber mop, ensuring it’s not overly wet. Place walk-off mats at entrances and felt pads under furniture legs to prevent scratches. Verification methods like CAPTCHAs are designed to ensure security and prevent automated abuse on digital platforms, emphasizing the importance of security measures.
Inspect monthly for wear patterns and plan for recoating every few years. Avoid harsh chemicals, wax, and excessive water exposure.
For long-term care, use restoration products like RENEW or maintenance oils and consult professionals annually for deep cleaning and recoating advice to maintain ideal finish integrity.
Frequently Asked Questions
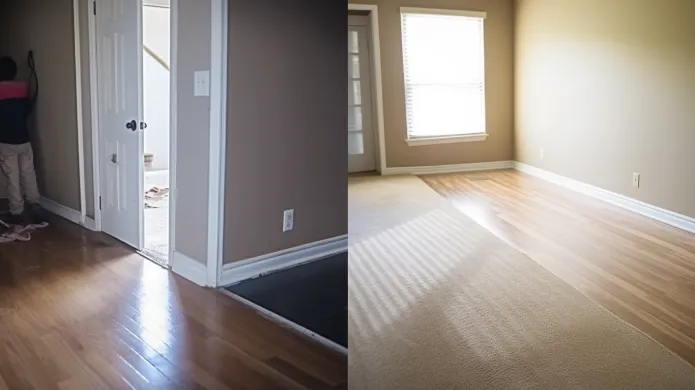
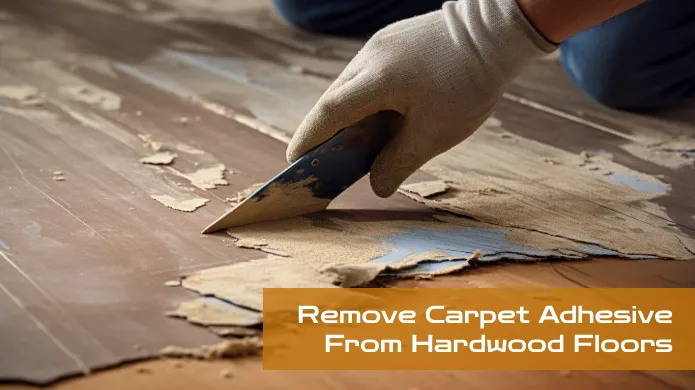
Can I Varnish Hardwood Floors Over Existing Carpet or Tile?
You can’t varnish hardwood floors over existing carpet or tile because these layers prevent proper adhesion and sanding. Carpet’s softness and tile’s hardness both block the varnish from bonding securely, causing peeling and failure.
To achieve a durable, smooth finish, you must remove carpet or tile entirely, exposing raw wood for sanding and varnishing. Skipping this essential step guarantees poor results and wasted effort in floor refinishing.
How Do Pets Affect the Varnished Floor’s Durability?
Pets reduce your varnished floor’s durability by causing scratches from claws and chemical damage from urine. Claws abrade the finish, accelerating wear and exposing wood. Urine penetrates and breaks down varnish and wood fibers, leading to discoloration and structural weakening.
Frequent pet traffic increases friction and impact damage, demanding more frequent refinishing. Without proper care, these factors substantially shorten your floor’s lifespan and compromise its aesthetic integrity.
Is It Safe to Stay Home During Varnishing?
You shouldn’t stay home during varnishing, especially while applying and drying. You’ll inhale volatile organic compounds causing headaches, nausea, and respiratory irritation. You’ll risk exposure to flammable vapors that can ignite. You’ll increase indoor toxin levels that persist for weeks.
Instead, vacate the area, ventilate thoroughly, and wear respirators if present. Only return once finishes fully cure and air quality tests confirm safety. Your health depends on it.
Can I Use a Roller Instead of a Brush for Varnishing?
Yes, you can use a roller instead of a brush for varnishing hardwood floors, especially for large, flat areas.
Rollers provide faster, more even coverage and maintain consistent application rates. However, be cautious near edges and baseboards, as rollers struggle with precision there.
Also, some varnishes may not suit roller application, risking bubbles or uneven thickness. Combining a roller for main surfaces and a brush for edges often yields ideal results.
What Are Eco-Friendly Varnish Alternatives for Hardwood Floors?
You can choose water-based polyurethane for durability and low VOCs. Hardwax oil finishes offer a breathable, natural sheen. Shellac provides a quick-drying, non-toxic gloss.
Plant-based polyurethanes offer renewable resources and scratch resistance. Natural oil finishes nourish wood fibers without harmful solvents.
Each option minimizes chemical emissions, improves indoor air quality, and provides effective protection. This allows you to refinish sustainably while maintaining your hardwood floor’s beauty and longevity.
Transform Worn-Out Floors into a Long-Lasting, Glossy Masterpiece
By following these steps, you’ll transform your hardwood floor into a durable, glossy surface that lasts. For example, a homeowner I worked with restored her worn oak floors by carefully sanding, applying three coats of polyurethane varnish, and allowing proper curing time.
This resulted in a stunning finish that withstood heavy foot traffic for years. With precise preparation and application, you can achieve professional results that protect and enhance your floors for the long term.