How to Strip Hardwood Floors for a Smooth & Even Surface
To strip hardwood floors, first clear and clean the area, sealing vents to control dust. Choose a wood-safe, low-VOC chemical stripper and apply it evenly with proper ventilation and protective gear.
Scrape off the softened finish carefully using sharp, non-damaging tools. Then, sand progressively from coarse to fine grits, cleaning between passes, before refinishing with stain or sealer.
Follow safety protocols throughout. Detailed steps will guide you through achieving a flawless, restored floor surface.
Key Takeaways
- Clear the area by removing furniture and sealing vents to prevent dust and chemical spread during stripping.
- Choose a safe, wood-specific chemical stripper with low VOCs, and wear protective gear in a well-ventilated space.
- Apply the stripper evenly, wait the recommended time, then gently scrape softened finish with a plastic or carbide scraper.
- Sand the floor progressively from coarse to fine grit, cleaning thoroughly between grits and sanding with the wood grain.
- Dispose of chemical residues following hazardous waste rules and maintain safety by using eco-friendly products when possible.
Preparing Your Hardwood Floor for Stripping
Before you begin stripping your hardwood floor, you need to thoroughly prepare the area to ensure effective and safe work.
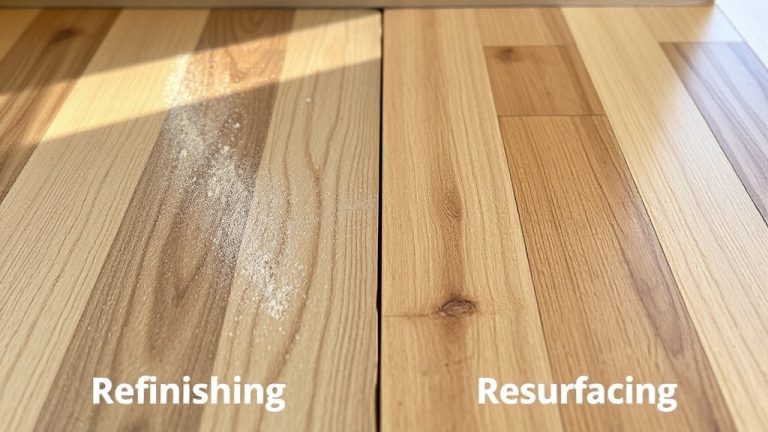
Start by inspecting the floor for deep scratches, previous coatings, and wear to customize your approach. Conduct a water droplet test on a small area to identify if refinishing is needed.
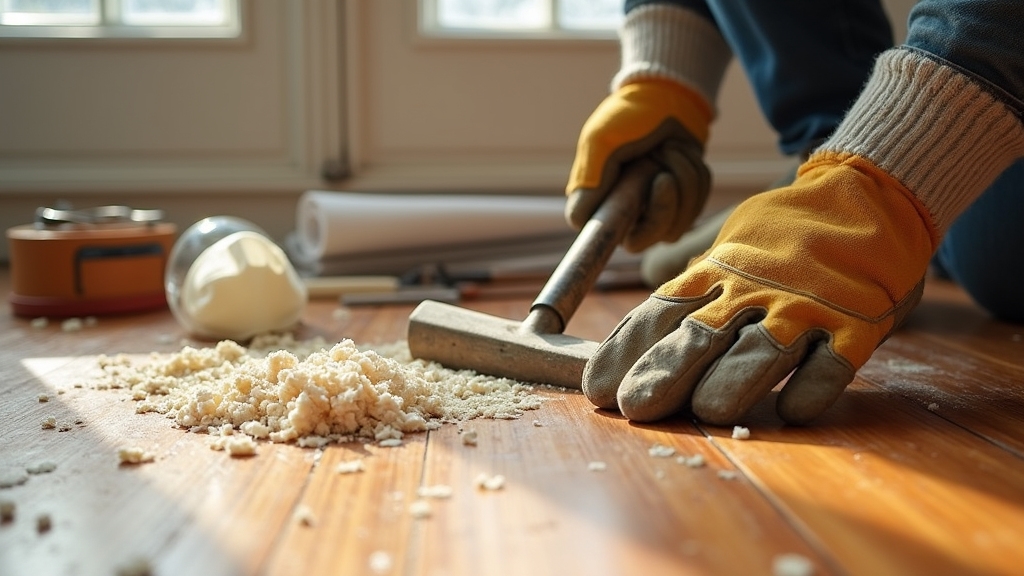
Remove all furniture and movable objects to access every inch. Protect fixed surfaces from dust and chemicals by covering them properly. Secure any loose floorboards or nails to prevent damage during stripping.
Seal heating vents and outlets to control dust spread. Next, vacuum the floor rigorously, then clean with a compatible solution to eliminate grease and residue. Allow the floor to dry completely before stripping.
Remove baseboards if needed, and use a tack cloth to capture fine dust. These steps ensure a clean, stable surface, optimizing stripper performance and safety.
Selecting and Applying the Right Stripping Products
When selecting stripping products for hardwood floors, you must prioritize both effectiveness and safety by choosing formulations specifically designed for wood surfaces.
Opt for mineral spirits-based strippers or biochemical and non-toxic types with low or no volatile organic compounds (VOCs) to minimize wood damage and health risks.
Avoid harsh caustic agents like lye on unsealed wood, which cause swelling or finish lift. Many commercial heavy-duty strippers are designed for intensive floor stripping tasks but may not be suitable for delicate hardwood finishes.
Consult labels carefully to ensure compatibility; some commercial wax removers contain chemicals unsuitable for hardwood. Always wear protective gear, including gloves, goggles, and respirators, and work in well-ventilated areas.
Non-toxic strippers may require longer dwell times but reduce environmental and respiratory hazards. Several products, such as those available in 1-gallon size, provide convenient options for both small and large projects.
Prioritize products with ingredients such as triethyl phosphate, benzyl alcohol, or ethanolamine for effective yet safer stripping.
Effective Techniques for Removing Old Finish

Although chemical strippers can effectively dissolve old finishes, combining them with mechanical scraping guarantees thorough removal without damaging the hardwood.
Begin by selecting a stripper formulated for hardwood; apply it evenly with a brush, adhering to the manufacturer’s dwell time. Using soft-bristled attachments during subsequent cleaning helps protect the wood surface.
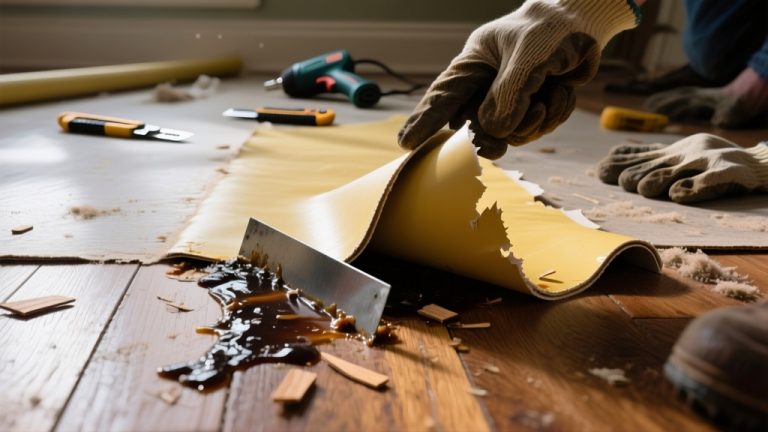
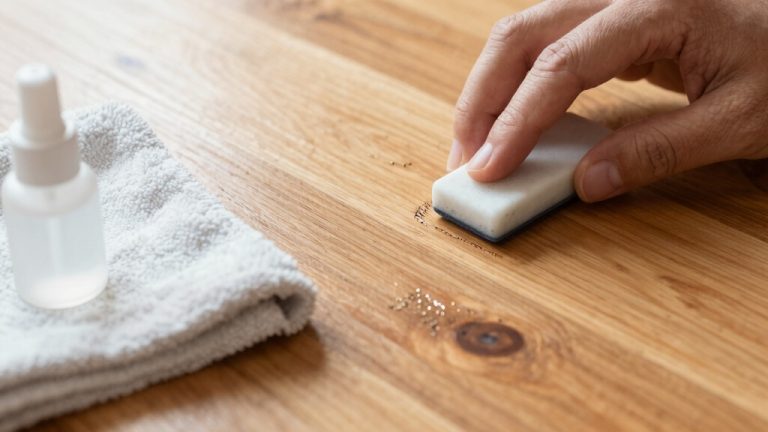
Once the finish softens, use a sharp carbide or plastic scraper to lift layers, applying steady pressure in manageable sections. Keep blades sharp and clean residue frequently to prevent re-depositing dissolved finish.
Scraping dry finish works best, so avoid over-wetting. Protect your knees with pads during manual scraping to reduce fatigue. For stubborn multi-layer finishes or embedded paint, reapply stripper and scrape aggressively.
Always ensure proper ventilation and wear protective gear to handle chemicals safely. This is essential because chemical stripping involves applying a paint stripper across the entire surface, which can release fumes requiring proper ventilation.
Sanding and Refinishing the Floor Surface
Since sanding sets the foundation for a flawless finish, you’ll want to select the appropriate grit sequence based on your floor’s condition and wood hardness.
Start with coarse grits (36-40) for damaged or hard wood, progressing through medium (60-80), fine (100-120), and finishing with very fine (150-220) grits. Multiple passes with progressively finer grits are necessary for proper refinishing.
Use a drum sander for main areas, edgers for borders, and a fine orbital sander for final smoothness. It is important to consider leveling surfaces underneath the floor to ensure a smooth transition in multi-material flooring.
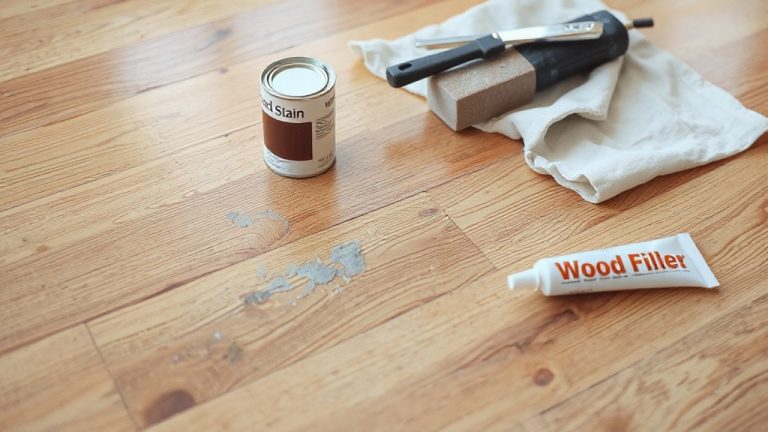
Clean thoroughly between grit changes to avoid scratches, and sand consistently with the grain. After sanding, vacuum and wipe the floor, fill gaps with wood filler, and ensure dryness before refinishing.
Apply sealer or stain evenly, allow proper drying, and lightly scuff sand (220 grit) between 2-3 finish coats for adhesion and durability.
Ensuring Safety and Environmental Responsibility
Proper sanding and refinishing set the stage for restoring hardwood floors, but protecting yourself and the environment throughout the stripping process demands equal attention.
Always wear chemical-resistant gloves and safety goggles to shield skin and eyes from caustic strippers. Confirm adequate ventilation to reduce exposure to volatile organic compounds. It is important to maintain moisture control during the process to prevent damage to the wood.
Wear chemical-resistant gloves, safety goggles, and ensure proper ventilation when handling caustic floor strippers.
Follow manufacturer instructions meticulously; dilute chemicals with cool water, avoid mixing products, and verify compatibility with your floor type to prevent damage. It is crucial to test in inconspicuous areas before full application to ensure the chosen method is safe for your specific flooring.
Use low-VOC or eco-friendly strippers when possible, and limit chemical use by preferring mechanical methods. Regular cleaning and proper maintenance after stripping will help preserve the floor’s finish and durability.
Dispose of solvent-soaked rags and residues per hazardous waste guidelines to minimize fire and environmental risks. Conduct a risk assessment and maintain Material Safety Data Sheets on-site.
Frequently Asked Questions
How Long Does the Entire Hardwood Floor Stripping Process Usually Take?
You should expect the entire hardwood floor stripping process to take between 3 to 5 days. This includes preparation, sanding, cleaning, and finishing steps. Smaller rooms may finish in 1 to 2 days, while larger or more damaged floors demand more time.
Drying and curing finishes add several days depending on the type used. Planning your schedule accordingly guarantees you accommodate all stages without rushing or compromising quality.
Can I Strip Hardwood Floors Myself or Should I Hire a Professional?
You can strip hardwood floors yourself, but it requires specialized equipment, safety precautions, and significant labor. Without industrial-grade tools and dust containment systems, you risk damage, excessive dust, and prolonged project time.
Hiring a professional ensures efficient, safe stripping with superior results and less physical strain. If you value quality and time savings, entrust the job to experts; otherwise, prepare for a challenging, time-consuming DIY process with potential risks.
What Are the Signs That My Hardwood Floor Needs Stripping?
Wondering when your hardwood floor needs stripping? Look for visible scratches, deep gouges, or peeling finish. If the surface appears dull, cloudy, or has uneven wax buildup, that’s a clear sign. Persistent stains or discoloration beyond the polish layer also indicate stripping is necessary.
Additionally, rough texture underfoot, creaking boards, or finish wear exposing bare wood confirms it’s time. Regular maintenance intervals and chemical damage further justify stripping.
How Often Should Hardwood Floors Be Stripped and Refinished?
You should strip and refinish hardwood floors every 7 to 10 years in high-traffic areas, and every 10 to 15 years in low-traffic zones. If your home has heavy foot traffic, plan for refinishing as often as every 3 to 7 years.
Engineered hardwood may require stripping less frequently, often only once or twice in its lifespan. Monitor wear, scratches, and finish loss to determine exact timing.
What Are the Best Ways to Maintain Stripped and Refinished Hardwood Floors?
Think of your refinished hardwood floors as a delicate ecosystem. You’ll want to maintain them by controlling humidity between 35%-45% and temperatures from 60-80°F to prevent warping.
Clean daily with microfiber mops, avoid excess water, and immediately wipe spills to preserve the finish. Use felt pads on furniture, place non-rubber mats at entrances, and recoat every 3-5 years. Regular deep cleanings and polishing keep their protective layer flawless.
Seal and Shine: Pick the Perfect Stain or Sealer for Lasting Hardwood Floors Beauty
Stripping your hardwood floors is like peeling back layers of history to reveal a fresh canvas. By carefully preparing the surface, choosing the right products, and applying precise removal techniques, you guarantee a flawless base for refinishing.
Remember to sand methodically and prioritize safety and environmental care throughout. With diligence and attention to detail, you’ll restore your floors to their original beauty, ready to shine like the polished wood in a classic artisan’s workshop.