How to Fix a Broken Sprinkler Pipe Under Concrete : 4 Steps
When a sprinkler pipe breaks, it can shoot water up into the air, causing extensive damage to your lawn and landscaping. And if the pipe is located under concrete, water can quickly seep into the concrete, causing it to crack and crumble. So, if you break your sprinkler pipe, it’s essential to fix it immediately.
It’s a hot day in your backyard, and you’re enjoying the peace and silence. An abrupt hissing noise signals the end of your peaceful afternoon because a sprinkler pipe has broken. Repairing sprinkler pipes can be incredibly troublesome, especially if you don’t know how to fix a broken sprinkler pipe under concrete.
We’ve got you covered. As you read along, we’ll show you how to fix a broken sprinkler pipe step-by-step. This guide includes all you need to know, from identifying the problem to fixing it for good.
How Do I Find Under Concrete Broken Sprinkler Pipe?
If you’re dealing with a broken sprinkler pipe, the first step is to locate the break. If the break is located under concrete, this can be tricky. So, how do you find a cracked sprinkler pipe?
First of all, there are a few signs that indicate you leak into the concrete of your sprinkler system. Here are some common syens to look out for:
- Spots of water on the concrete surface
- Cracks in the concrete
- Sunken areas of concrete
- Concrete that is discolored or flaking
- A sudden decrease in water pressure
- Water overflowing from sprinkler heads
You likely have a broken sprinkler pipe if you notice these signs. After locating the break, we need to repair it. There are a few ways to do this:
1. Check the Sprinkler Valve
Sometimes, it is difficult to find a broken sprinkler pipe. The best way to find the break is to check the sprinkler valve. If there is no water coming out of the valve, this indicates that the break is located between the valve and the pipe. You’ll need to excavate the concrete around the valve to locate the break.
Make sure there are no leaks around the valve itself. There is a good chance that the source of the problem is a leak. The valve will need to be replaced, so you will need to replace it. Also, be sure to check the valve box for any damage.
2. Check the Fire Sprinkler Heads
If sprinkler pipes are broken under concrete, ensure the fire sprinkler heads are functioning. A sprinkler with flowing water from the valve but not the sprinkler heads indicates a failure in the valve or sprinkler head assembly.
Locating the break will require you to excavate around the fire sprinkler heads. Once you’ve found the break, you’ll need to repair it using a coupling or a replacement section of pipe. If you have patience, fixing your broken fire sprinkler pipe should not be too difficult.
3. Use a Water Hose
To check for a leaky sprinkler pipe, start by disconnecting the hose from the spigot. Let the water flow through the system by turning on the valve. The break in the pipe will allow water to exit the system as it flows through it. You can locate the pipe break by following the flow of water.
Sometimes, you may need to dig up the area around the break to make repairs. The positive side of this method is that it allows you to quickly find the cause of the problem, saving you much time and effort.
4. Using Noise Locators or Correlators or An Acoustic Testing Kit
Using a leak noise locator is one method of finding underground sprinkler pipes that are broken. Sound waves are used in this device to identify leak sources. When you suspect a leak, you simply turn it on and move it around. The locator will emit a loud noise when it detects a leak.
Correlators that measure leak noise are another option. This device also uses sound waves to locate leaks, but it can be used from a distance. Using it is as simple as placing it near where you suspect a leak and listening for running water to be heard.
A water leak microphone and headset can also be used with an acoustic testing kit. This kit is specifically designed to find leaks in concrete. To use it, you simply place the microphone where you suspect the leak is and listen for the sound of running water through the headset.
Once you’ve located the break, the next step is to fix it.
How to Fix a Broken Sprinkler Pipe Under Concrete
A damaged sprinkler line that sits under concrete should be repaired immediately because a leaky supply line can lead to severe problems with the sprinkler irrigation system. If your pipe has sprung a leak, you must remove the damaged section of the pipe and replace it was a new one.
Under concrete, a leaky pipe can also damage the surface over time. Repairs to a broken sprinkler pipe are not difficult, but they require time and effort. If a sprinkler pipe breaks, it is usually best to replace the entire section. This will ensure that your sprinkler system works properly and efficiently.
Tools and Materials Needed:
- Shovel
- Hacksaw
- PVC pipe
- PVC coupling
- PVC glue
- Thread tapes
- Garden hose
1. Turn Off the Water Supply
The first step in repairing a broken sprinkler pipe is to turn off the water supply to the sprinkler system. This can usually be done by turning a knob or lever near the sprinkler system’s control panel. If you cannot find the control panel, you may need to shut off the water in your entire home.
Also, be sure to drain any water that is remaining in the sprinkler line by turning on all of the sprinkler heads. If you do this, you can prevent any water damage to your house while you make repairs.
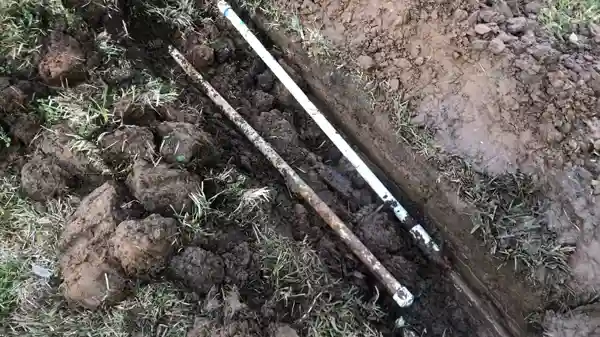
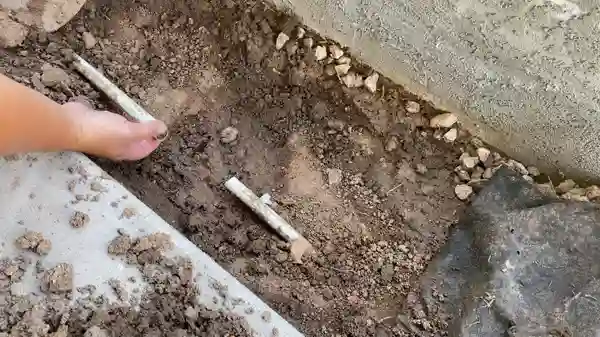
2. Dig Up the Damaged Pipe
Once the water is turned off, you must excavate the damaged pipe. Use a shovel to remove the concrete surrounding sprinkler heads. You may need to remove several inches of concrete to reach the damaged pipe. You will also need enough space to work for the repairs to be completed.
If the damaged pipe is close to a wall or other structure, you may need to use a jackhammer to break through the concrete. While digging, make sure not to damage any other sprinkler lines.
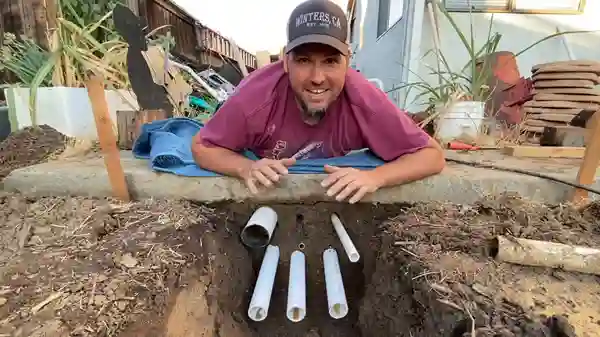
3. Cut Out the Damaged Pipe
When you have located the damaged pipe, use a hacksaw to cut out the leaking section. Cut through the pipe at both ends of the leak. A few inches of the pipe may need to be removed on either side of the leak to ensure the new pipe will fit properly.
When a pipe is damaged near a sprinkler head, you may need to remove the entire head. Make sure to take note of where each sprinkler head is located so that you can replace it in the correct spot. Before moving forward, ensure that all rubbish has been removed.
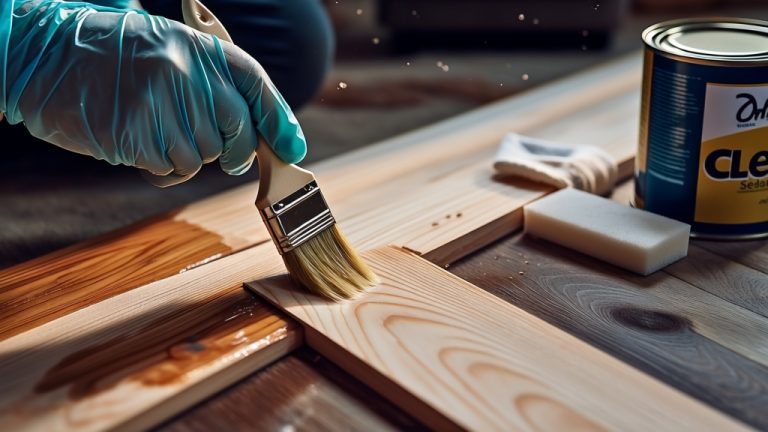
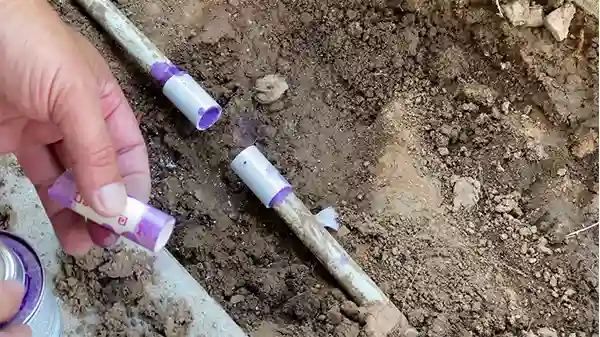
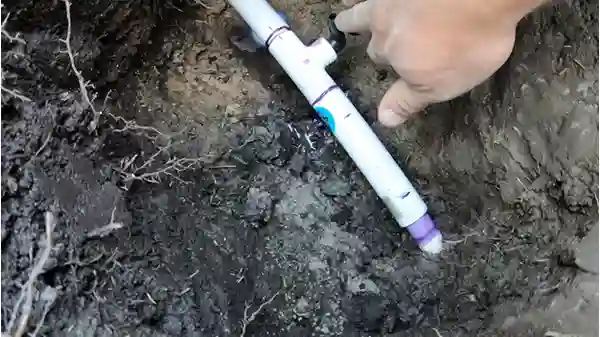
4. Install the New Pipe
Once the damaged pipe has been removed, you can install the new pipe. To do this, simply glue the new pipe into the old pipe using PVC glue. Ensure that the new pipe is a snug fit and that there are no gaps. Thread tapes should be applied outside the PVC coupling before the glue is used.
This will ensure that the seal is watertight. Ensure that any extra glue is removed by wiping it away. You may need to use PVC clamps if the new pipe does not fit snugly. A secure connection will be ensured with this method.
5. Turn On the Water Supply and Check for Leaks
After installing the new pipe, you can turn on the sprinkler system’s water supply. Check all of the connections to ensure that there are no leaks. Turn off the water and make the necessary repairs if there are any leaks.
Once you have checked for leaks and repaired them, turn on your sprinkler system and check each head to ensure it is working correctly. Make sure to put concrete back in place around the sprinkler heads.
How Deep Are Fire Sprinkler Pipe Lines Buried Under Concrete?
While the standard depth for fire sprinkler pipelines is 35 to 38 inches, deeper burial may sometimes be required. This is typically when the pipe will be subject to loadings, such as from a driveway or parking lot. In these cases, it is essential to ensure that the pipe is buried at least 36 inches deep to prevent damage.
The pipe buried less deeply may be damaged by the weight of the concrete or asphalt above it, which can lead to leaks or breaks in the line. In addition to being buried deeply, all fire sprinkler pipes must be made from approved materials.
The minimum acceptable pipe material is class 150 pipe, but class 200 pipe must be used in areas where water pressure exceeds 150 psi. If you use high-quality materials and ensure proper burial depth, your fire sprinkler system can operate effectively in an emergency.
What Are the Main Types of Sprinkler Systems?
Buildings and occupants can be protected from fire devastation with the help of a well-designed fire sprinkler system. The sprinkler system responds rapidly to a fire emergency, suppresses smoke and flames, and allows everyone to safely exit the building, regardless of the type.
There are four main types of fire sprinkler systems:
1. Wet Pipe Systems
Wet pipe systems are the most common type of sprinkler system. They are also the simplest to maintain because they do not require a constant water supply. A wet pipe system is made up of a network of pipes that are filled with water at all times. Also, heat-activated sprinklers are connected to these pipes.
In the event of a fire, the flame’s heat activates the closest sprinkler head, which then breaks open and allows water to flow onto the fire. The water pressure in the system is constantly maintained so that the sprinklers will activate even if the firefighters have turned off the water to the building.
2. Dry Pipe Systems
Dry pipe systems are typically used in buildings with a high risk of freezing, such as warehouses and manufacturing facilities. In a dry pipe system, the pipe network is filled with pressurized air or nitrogen instead of water.
When a fire sprinkler head is activated, the air pressure in the pipes drops, and water is released into the irrigation system. Because the water is not stored in the pipes, there is no risk of the pipes freezing and bursting.
3. Pre-Action Systems
Pre-action systems are similar to dry pipe systems in that they use pressurized air instead of water to fill the network of pipes. Conversely, pre-action systems also have an additional detection system that must be activated before the system releases water.
This type of system is often used in buildings where the risk of false alarms is high, such as museums and data centers. Pre-action systems, such as computer rooms, are also used in areas where water damage would be catastrophic.
4. Deluge Systems
A deluge sprinkler system is a fire suppression system most often used in industries with flammable liquids. In a deluge system, the sprinkler heads are always open, and there is no heat-sensing element in the head. Instead, an external heat or smoke sensor activates the system.
Water fills the pipes and is released through the open sprinkler heads when heat is detected. This creates a flooding effect across the entire area. Deluge systems are designed to suppress fires quickly and prevent them from spreading.
Importance of Fixing Under Concrete Sprinkler Pipes
As a homeowner, it’s important to be aware of the potential risks of having a sprinkler pipe break under concrete. While this may not seem like a big deal, it can lead to several problems, including:
Foundation Damage: The leaking water can damage your home’s foundation, leading to cracks and other issues. In extreme cases, the foundation can even collapse. If this happens, it can be extremely expensive to repair. So, it’s crucial to fix leaks as soon as possible.
Pest Infestation: Water is a major attractant for pests, so a broken sprinkler pipe can quickly lead to an infestation of ants, termites, or other pests. In addition to being a nuisance, these pests can also cause serious damage to your home.
Avoid Water Waste: A broken pipe wastes lots of water, which is terrible for the environment and can also increase your water bill. If a leak goes unrepaired, it can eventually lead to water damage in your home. This can be expensive to repair and can even lead to mold growth.
As you can see, the sprinkler pipe should be repaired immediately. The risk of serious property damage can be reduced if you take such measures.
How Do You Protect Sprinkler Pipe Under Concrete?
The sprinkler pipes can be protected by passing them through PVC conduit before concrete placement. By lining the pipes with conduit, you can protect them from impact damage and prevent concrete from bonding with them. Wrapping your pipe in insulation before pouring concrete is another way to protect it.
Drill or saw through concrete without damaging your sprinkler pipe by marking its location on the concrete. You now understand how to fix a broken sprinkler pipe under concrete and how to protect your pipes from future damage. You can avoid costly repairs and keep your home and property safe by taking these steps.