How to Clean Glue From Hardwood Floors: Solvent with Caution
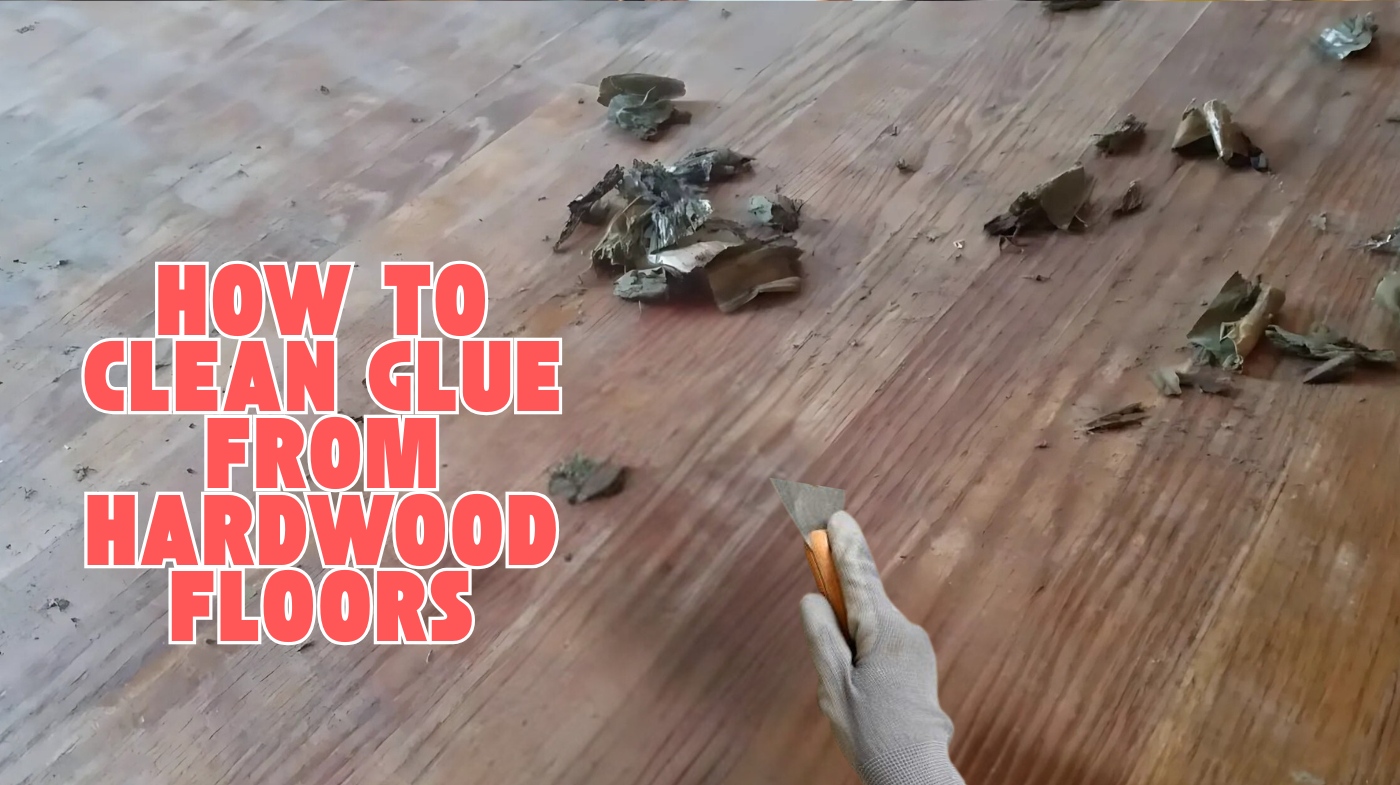
To clean glue from hardwood floors, start by softening the glue with a heat gun or hairdryer, then gently scrape it off using a flat-edged scraper or putty knife. Protect your floor by working in small sections and venting the area well.
For stubborn residue, apply a safe solvent like acetone carefully, wearing gloves and goggles. After removal, clean the floor thoroughly and avoid excess moisture. If you want to guarantee a flawless finish, there are proven steps to follow next.
Key Takeaways
- Soften dried glue using a heat gun or hairdryer before attempting removal.
- Gently scrape softened glue with a blunt scraper or putty knife to avoid floor damage.
- Apply acetone or a commercial glue remover cautiously, testing first on a hidden spot.
- Wear gloves, goggles, and ensure ventilation when using chemical solvents on hardwood.
- Clean the area afterward with a damp cloth and manufacturer-approved hardwood cleaner.
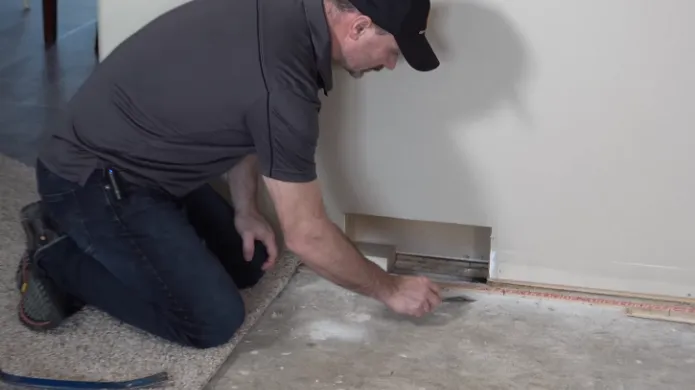
Essential Tools and Materials for Glue Removal
Before you begin removing glue from hardwood floors, gather the essential tools and materials to work efficiently and safely. You’ll need a heat gun or hairdryer to warm and soften dried glue, making it easier to scrape off with a blunt, flat-edged scraper or floor scraper.
Specialized scraping fulcrum tools and spatulas help pry loose glue residues. Applying heat carefully ensures you avoid burning the wood. Using the right adhesive remover can prevent damage to the hardwood surface and facilitate easier glue extraction.
For chemical removal, have acetone or commercial glue removers ready, along with applicators like brushes or rags. Always wear gloves, safety goggles, and a respirator mask to protect yourself during chemical use.
Select adhesives and removers compatible with hardwood to maintain floor integrity and avoid discoloration. For debris cleanup, use a vacuum, broom, dustpan, and a large magnet to collect nails or staples.
Finally, keep pliers, hammers, and utility knives on hand for removing fasteners and scoring glue edges methodically. Proper adhesive removal techniques ensure a clean surface for any subsequent flooring treatments or installations.
Preparing Your Hardwood Floor for Glue Cleaning
To guarantee effective glue removal, you’ll first need to prepare your hardwood floor by thoroughly removing all loose dirt and dust. Use a vacuum with a hardwood-safe attachment, sweep visible debris, and wipe with a microfiber cloth.
Avoid water to prevent damage. Perform regular cleaning, such as vacuuming or dust mopping to maintain the finish’s appearance. Next, isolate and protect the area by moving furniture, covering vents, and blocking access.
Inspect the floor for damage like scratches or soft spots, addressing them before proceeding. Conduct a small adhesive test with your cleaner to avoid finish damage.
Proper preparation also prevents adhesive residue from impairing the adhesion of new materials. Finally, ensure safety by ventilating, wearing PPE, and having first aid ready.
Techniques for Physical Removal of Glue
When tackling glue removal from hardwood floors, physical techniques provide direct control and effectiveness. You can start by loosening the glue with heat, then scrape it off carefully to avoid wood damage.
- Use a putty knife or flooring chisel to lift glue, applying steady pressure and starting at loose edges.
- Employ a heat gun or steam mop to soften glue, making scraping easier and more efficient.
- For stubborn areas, try oscillating tools with scraper attachments or rent a floor scraper machine. Professional equipment like floor scraping machines and oscillating tools are often rentable options that enhance removal efficiency.
- Remove loosened glue frequently with a vacuum or dustpan to keep your workspace clean and prevent scratches. Maintaining a dust-free, well-ventilated space helps ensure optimal results and safety during the process.
Work methodically in small sections, combining heat and scraping until the floor is glue-free without harming the hardwood surface.
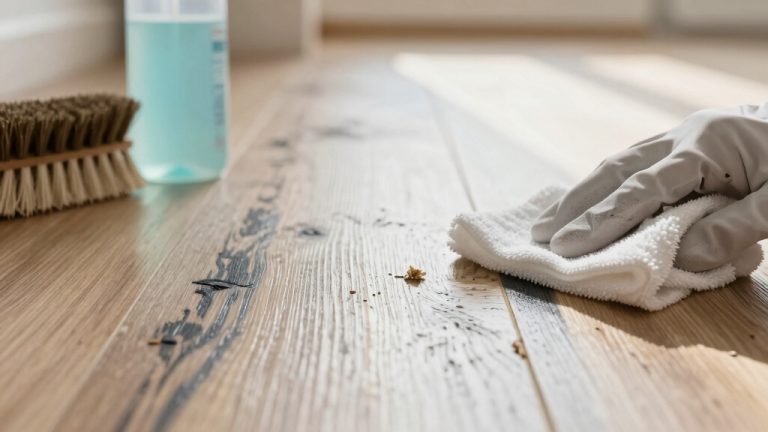
Using Chemical Solutions Safely and Effectively
Physical removal methods work well for larger glue spots, but you’ll often need chemical solutions to tackle residues or stubborn adhesive layers. Always test removers in an inconspicuous spot, wear gloves and goggles, and guarantee good ventilation.
Apply solvents with a soft cloth, not directly. Avoid excess liquid to protect the wood finish. Place a protective mat before starting work to protect the floor. Maintaining proper humidity levels can also help prevent damage during cleaning by keeping the wood stable and less prone to expansion or contraction.
| Chemical Type | Use Case | Precautions |
|---|---|---|
| Water + Dish Soap | Fresh, water-based glue | Use warm water; rinse well |
| Acetone | Solvent-based adhesives | Avoid prolonged contact |
| Commercial Removers | Various adhesives | Follow label instructions |
| Mineral Spirits | Super glue alternative | May dull finish; test first |
Repeat applications gently and clean residues promptly to avoid damage. Regular maintenance and cleaning help preserve the finish and reduce surface scratches caused by adhesive removal attempts.
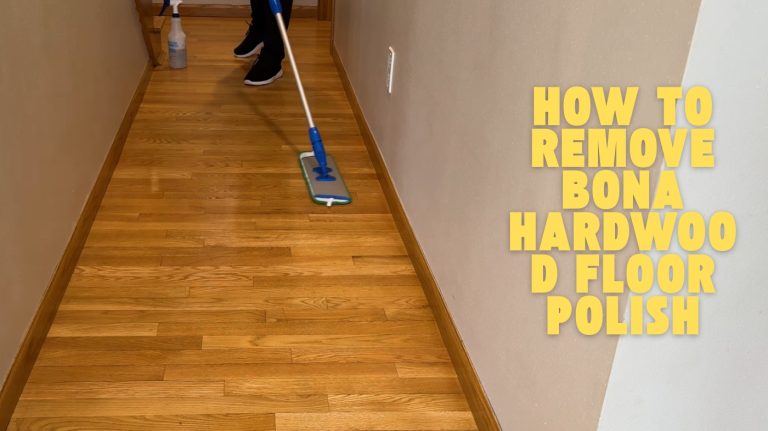
Tips for Post-Removal Cleanup and Floor Maintenance
Although removing glue is an essential step, thoroughly cleaning the floor afterward guarantees no residue or dust compromises its appearance or finish.
Start by sweeping or vacuuming to clear dust and debris. Then, wipe the surface with a damp cloth to pick up fine particles left from scraping. It’s also important to ensure the wood surface is free from contaminants before proceeding with any treatment.
Thoroughly clean floors after glue removal to eliminate dust and residue, preserving appearance and finish.
Use a manufacturer-approved wood floor cleaner to restore the finish without damage, avoiding harsh chemicals like acetone or ammonia that harm the protective layer. It is important to inspect floor thickness before deciding on any sanding or restoration to prevent damaging the hardwood.
Follow these key tips for post-removal cleanup and maintenance:
- Gently remove residual stickiness with adhesive removers and microfiber cloths.
- Avoid excessive moisture or abrasive tools that damage wood.
- Regularly clean with manufacturer-recommended products to maintain gloss.
- Inspect for remaining glue and consider light sanding or resealing if needed to ensure proper surface adhesion.
Frequently Asked Questions
Can Glue Removal Damage the Finish on Hardwood Floors?
Yes, glue removal can damage your hardwood floor’s finish if you’re not careful. Using harsh scrapers or excessive force may cause scratches or dull spots. Chemical removers with strong solvents risk discoloration or softening of the finish if misused.
You should always test products in a hidden spot and opt for gentle tools like plastic scrapers. Controlled methods and proper cleaning minimize finish damage during glue removal.
How Long Does Glue Removal Typically Take for a Large Area?
Peeling off stubborn glue is like wrestling time itself. For a large area, expect to move at roughly 10 square feet per hour if you’re thorough—removing all glue and flooring to prep the subfloor.
You’ll apply chemical removers, wait 15-30 minutes per cycle, then scrape. Multiple cycles might double or triple your time. Using power tools speeds things up but adds setup. Plan for several hours or even days, depending on glue type and workspace complexity.
Are There Eco-Friendly Alternatives to Chemical Glue Removers?
Yes, you can choose eco-friendly alternatives to chemical glue removers. Products like Krud Kutter and Klean-Strip® Green® offer water-based, biodegradable formulas that are safe for indoor use, low in VOCs, and effective on tough adhesives.
Sentinel 922 targets urethane glue on hardwood specifically. These options reduce harmful fumes and environmental impact while still softening glue efficiently, letting you clean floors responsibly without sacrificing performance.
What Is the Best Way to Remove Glue From Hardwood Floor Seams?
Like peeling back layers of an onion, start by scoring the seams with a sharp utility knife to break the glue bond. Pry gently on the tongue side using a flat pry bar, spacing pressure evenly every 8-10 inches.
Use a Dremel tool for stubborn glue or nails. After lifting boards, apply a commercial adhesive remover to soften residue, then scrape carefully with a putty knife. Clean thoroughly to prep for refinishing or new flooring.
Can Glue Stains Cause Long-Term Discoloration if Not Removed Promptly?
Yes, glue stains can cause long-term discoloration if you don’t remove them promptly. The chemical reactions between glue and your hardwood’s finish or tannins can darken the wood, leaving permanent marks.
The longer glue stays, the deeper it penetrates, making removal harder and sometimes requiring sanding or refinishing. To protect your floor’s appearance, clean spills immediately and avoid letting glue set, preventing lasting damage and uneven coloration.
Protecting Your Investment: Clean Floors to Boost Home Value
Removing glue from hardwood floors can seem intimidating, but with the right tools and methods, you’ll restore your floor’s beauty efficiently. Did you know that properly maintained hardwood floors can increase a home’s value by up to 2.5%?
By carefully preparing, using safe removal techniques, and following up with thorough cleanup, you’ll protect your investment and keep your floors looking pristine for years to come. Stay patient and methodical—you’ll get great results.