How Do You Clean Old Hardwood Floors: pH-Neutral Cleaner
To clean old hardwood floors, start by removing all furniture and debris using a soft broom or vacuum with a hardwood attachment. Use a pH-neutral cleaner diluted properly, applying it with a damp microfiber mop never soak the floor.
Address stubborn stains gently with scrapers or enzyme-based cleaners, and clear dust from crevices with narrow vacuum tools. Dry the surface thoroughly with microfiber cloths to prevent damage. Understanding these basics equips you to preserve the wood’s beauty and longevity effectively.
Key Takeaways
- Remove furniture and debris, then vacuum or sweep gently to prevent scratches before cleaning old hardwood floors.
- Use pH-neutral, plant-based cleaners and microfiber mops dampened—not soaked—to protect the wood finish.
- Clean along the wood grain with long strokes; dry immediately with microfiber cloths to avoid moisture damage.
- Scrape stubborn debris carefully with plastic tools and treat stains with gentle solutions, testing in inconspicuous areas first.
- Maintain floors with daily gentle cleaning, felt pads on furniture, and stable humidity to prevent wear and warping.
Preparing Your Old Hardwood Floors for Cleaning
Before you begin cleaning your old hardwood floors, you need to prepare the area thoroughly to guarantee effective and safe maintenance. Start by removing all furniture, rugs, and items to access the entire floor surface.
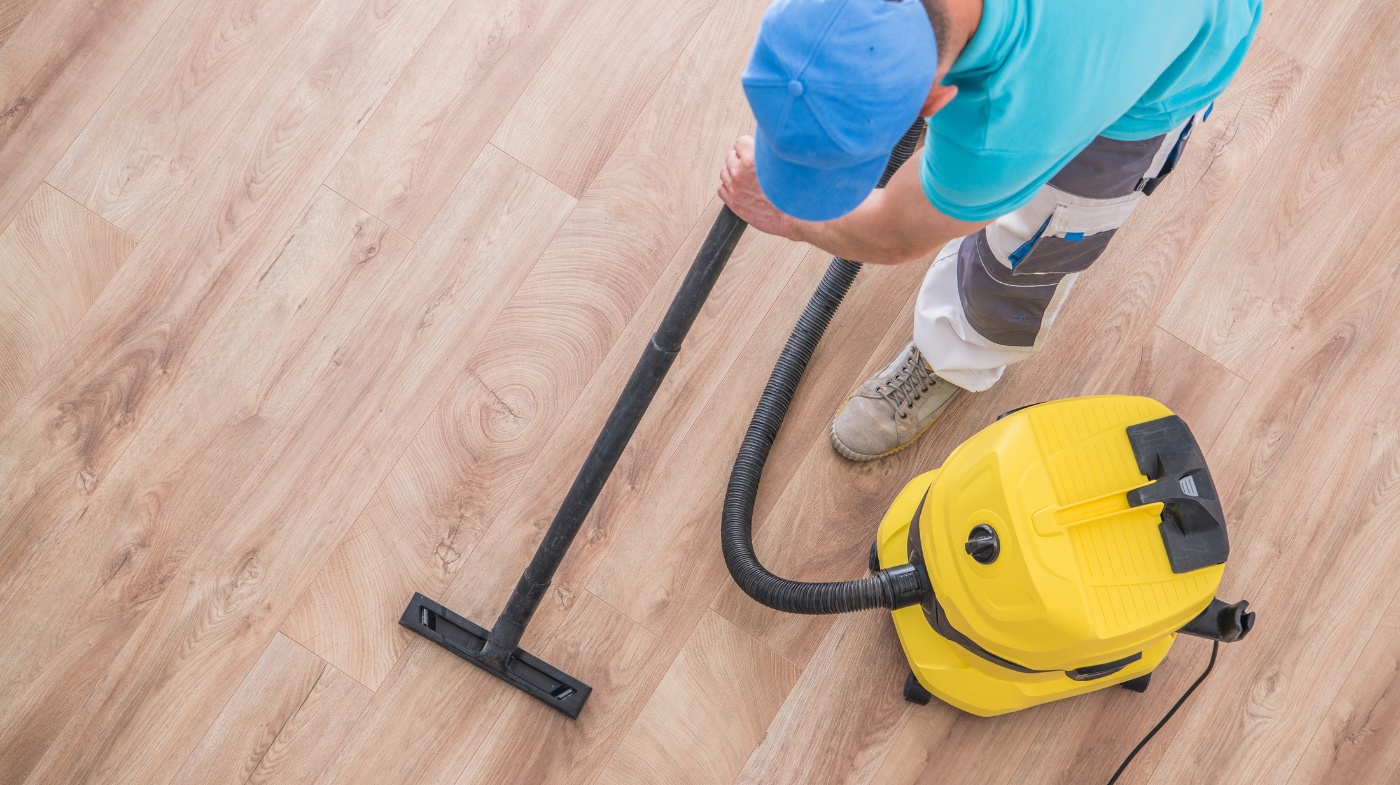
Use a soft-bristled broom or a vacuum with a hard floor attachment to eliminate loose dust and debris. Always vacuum floors before mopping to remove loose debris, as removing debris prevents scratches during cleaning.
Clear the area and gently remove dust before starting to clean your old hardwood floors.
Inspect the floor meticulously for damage, loose boards, and wear. Noting any areas that may require repair or refinishing can help you plan your maintenance effectively. Remember that engineered hardwood allows limited sanding and refinishing, so early detection of wear is important for preserving its appearance.
Protect your floor by attaching felt pads to furniture legs before moving items back. Block off the perimeter to prevent dust re-entry during cleaning.
Gather necessary tools such as a microfiber mop, distilled water, and soft cloths. Always avoid abrasives and minimize water use to protect the wood finish during preparation, as excess moisture can cause warping and damage in hardwood floors.
Selecting the Right Cleaning Agents for Older Wood
When selecting cleaning agents for older hardwood floors, you must prioritize pH-neutral formulas to preserve the wood’s finish and prevent discoloration. Choose cleaners with a neutral pH around 7, as they mimic clean water and minimize damage risk.
Avoid alkaline or acidic solutions, including ammonia, bleach, and phosphoric acid, which degrade finishes and dry fibers. Opt for plant-based, dye-free, and formaldehyde-free products; these reduce health risks and environmental impact. Avoid wet mopping frequently, as excess moisture can cause buckling or warping in the wood.
EPA Safer Choice-certified cleaners like Bona Hardwood Floor Cleaner ensure safety and efficacy, minimizing toxic exposure. These products are often tested for floor safety on finished or polyurethane-treated floors to prevent damage.
Avoid generic all-purpose cleaners that may cause residue or wax buildup. If using natural alternatives, dilute vinegar solutions carefully. Always select hardwood-specific formulations to maintain aged wood integrity and extend flooring lifespan without compromising its original character.
Essential Tools Needed for Effective Cleaning
Although selecting the right cleaning agents is crucial, having the essential tools guarantees you can effectively maintain your old hardwood floors without causing damage.
Start with a vacuum cleaner equipped with a hardwood attachment or a soft-bristled broom to remove dirt without scratching. To avoid damage to baseboards, it is recommended to protect baseboards during sanding when refinishing floors.
Use microfiber cloths for spot cleaning and a putty knife for stubborn debris. For deeper cleaning, a high-quality microfiber mop paired with a bucket for mixing solutions ensures thorough yet gentle care. It is important to avoid excessive water to prevent warping or damage during cleaning.
Focus on these indispensable tools:
- Vacuum cleaner with hardwood attachment
- Microfiber cloths and putty knife
- High-quality microfiber mop and bucket
These tools provide precision and protection, enabling you to clean your floors efficiently while preserving their integrity.
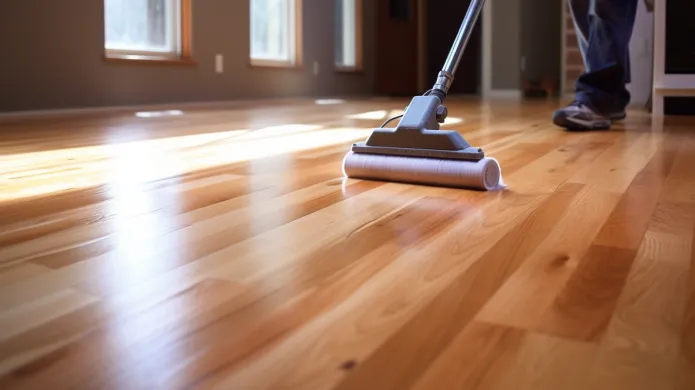
Proper Mopping Techniques to Protect Wood
Since excess moisture can cause hardwood floors to warp or swell, you should always wring your mop thoroughly before cleaning. Use a flat microfiber mop dampened just enough to clean, avoiding string or sponge mops that retain water.
Mop with the grain, applying long, smooth strokes without scrubbing. Overlap slightly and lift the mop frequently to prevent dragging dirt or moisture. After mopping, dry the floor promptly with a microfiber cloth to absorb residual moisture and maintain the finish.
Using the correct drying time after refinishing is essential to protect your floor’s finish and prevent damage during cleaning, as improper moisture control can affect floor durability.
Methods for Removing Stubborn Stains and Debris
You’ll want to start by carefully scraping off any debris using a plastic scraper to avoid damaging the wood. Using gentle methods initially is important to prevent damage to the floor’s surface. For deep stains, apply appropriate cleaning agents like hydrogen peroxide or enzyme-based solutions to break down the discoloration.
However, keep in mind that hydrogen peroxide may lighten stains but can potentially damage the floor’s polyurethane top coat. Always test your chosen method on a small, hidden area to make certain it won’t harm the floor’s finish.
Scraping Off Debris
When tackling stubborn stains and debris on old hardwood floors, using the right scraping techniques is essential to avoid damaging the wood. Begin by clearing the area and inspecting floorboards for loose debris or raised nails.
Use floor scrapers with sharp blades, working gently in the direction of the wood grain to prevent splintering. Apply light, steady pressure to avoid gouging the surface. For stuck debris, insert wooden wedges under planks to lift and loosen buildup gradually.
Wear safety gear such as dust masks and safety glasses to protect yourself during scraping. Additionally, avoid harsh chemicals and abrasive tools to preserve the floor’s protective coating. Key points to guarantee effective scraping:
- Vacuum frequently to remove loosened particles and prevent scratching.
- Use chisels or specialty scrapers for hardened adhesive.
- Feather scraped edges with abrasive pads for smooth transitions.
Always check your progress visually and by hand, and avoid excessive force to protect the floor’s integrity.
Treating Deep Stains
After scraping off debris, you might still notice deep stains embedded in the wood that require specialized treatment. First, identify the stain type grease, liquid, or other substances to select the proper cleaning method. Act quickly, as prompt action eases removal.
Prepare a gentle solution, like 50% white vinegar mixed with water, or a baking soda paste for tougher stains. Apply these with a soft cloth or sponge, avoiding abrasives to protect the finish. Using hydrogen peroxide to soak and blot the stain can help loosen deeply set discolorations.
For persistent stains, use hydrogen peroxide cautiously, and always spot test beforehand. Repeat cleaning as needed, using a semi-sturdy sponge or toothbrush for stubborn spots without over-saturating the wood.
Dry the area thoroughly and follow up with a mild cleaner to remove residue. Refinishing might be necessary if stains remain deeply embedded.
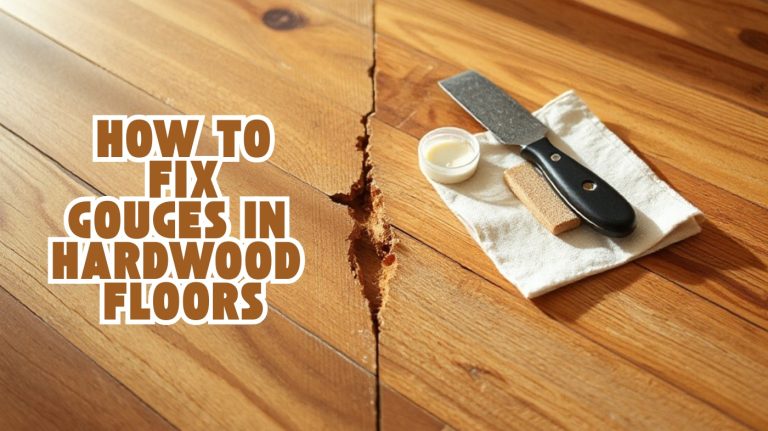
Handling Gaps and Crevices Between Floorboards
Although gaps and crevices between floorboards are common in old hardwood floors, addressing them properly prevents debris buildup and potential damage.
Start by clearing debris with a putty knife or 5-in-1 painter’s tool, then vacuum using narrow attachments to remove dust from the gaps. Use a soft-bristle brush to dislodge stubborn particles carefully.
For intricate details and hard-to-reach areas, stripping the finish may be more effective than sanding to ensure thorough cleaning. When filling gaps, choose a wood filler that matches your floor color, apply masking tape along edges, and smooth filler with a plastic putty knife.
Remove tape immediately after filling to avoid smears. Note that large gaps between planks are characteristic of some hardwood floors and may require specialized filling techniques to maintain the floor’s appearance and integrity large gaps between planks.
Remember to:
- Regularly sweep or vacuum to minimize debris accumulation
- Avoid over-filling gaps to maintain an even surface
- Consider professional advice for large or worn gaps
Drying Procedures to Prevent Damage
Because moisture trapped in old hardwood floors can cause warping, mold, and structural damage, you need to implement careful drying procedures that control humidity and temperature precisely. Start by removing furniture and standing water, then isolate the area with containment barriers.
Use LGR dehumidifiers combined with air movers and floor drying mats to extract moisture efficiently. Monitor moisture levels with penetrating meters and thermal hygrometers, and adjust temperature carefully to avoid rapid drying or over-drying, which causes cracking or brittleness.
Identify the type of wood floor beforehand to determine the appropriate drying approach and avoid further damage. Ensuring the subfloor is level and stable before drying can help prevent additional structural complications.
| Tool/Method | Purpose | Key Consideration |
|---|---|---|
| LGR Dehumidifier | Humidity reduction | Use with air movers |
| Penetrating Moisture Meter | Moisture level tracking | Check frequently |
| Floor Drying Mats | Pull moisture from subfloor | Maintain negative pressure |
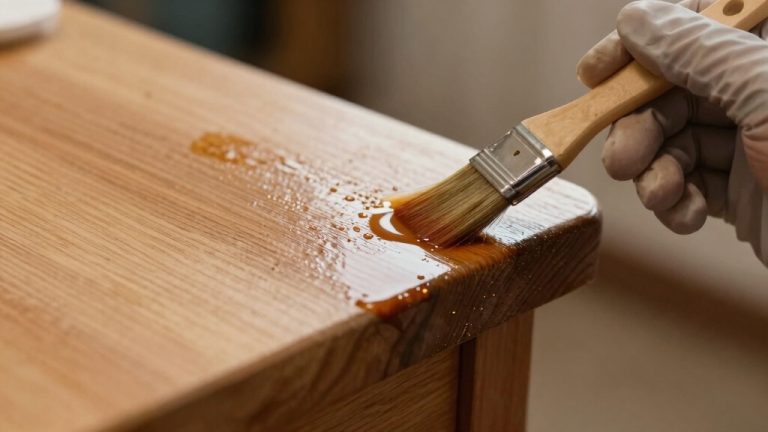
Reapplying Finish and Protective Coatings
Controlling moisture levels sets the stage for reapplying finish and protective coatings on old hardwood floors. Start by evaluating the existing finish type with rubbing alcohol and remove any nails or debris. Deep clean the floor using a diluted Pallmann Strong Clean solution, then vacuum thoroughly.
Remove any oil or wax residue beforehand with an ammonia-free glass cleaner to ensure proper adhesion of new finishes before restoring. For a smooth transition between different flooring types, consider using floor transition strips to accommodate any height differences.
Next, screen the floor with a buffer and 150-grit screen, moving with the grain to abrade the old finish. Vacuum dust regularly and tack the floor with a solvent-dampened rag. When applying polyurethane finish, follow these key points:
- Use a long-handled roller with a 1/4-inch nap cover for uniform application.
- Work in sections to maintain a wet edge and allow at least 24 hours drying time between coats.
- Ensure proper ventilation to avoid fume buildup and allow at least three hours before recoating.
Tips for Regular Maintenance of Old Hardwood Floors
When maintaining old hardwood floors, establishing a consistent cleaning routine is essential to preserve their integrity and appearance. Begin by sweeping or vacuuming with a soft-bristled broom or hardwood attachment to remove dirt, especially in corners. Embrace imperfections, especially on historic or original floors, for a unique aesthetic.
Consistent cleaning with soft tools preserves the beauty and integrity of old hardwood floors.
Dust daily using microfiber cloths to prevent scratches and capture allergens effectively. Use plant-based, pH-neutral cleaners or oil soaps like Murphy’s; avoid harsh chemicals, vinegar, and excess water to protect the finish.
Employ microfiber mops and the two-bucket method to clean thoroughly without redepositing dirt. Scrub stubborn stains with a stiff brush and remove debris carefully using a putty knife. Consider using pH-neutral cleaning solutions, such as 70% isopropyl alcohol mixed with a small amount of detergent.
After cleaning, dry the floor completely with fans or dehumidifiers to prevent moisture damage. Regularly adjusting your cleaning frequency seasonally ensures ideal floor condition year-round.
Preventative Measures to Extend Floor Longevity
Although hardwood floors are durable, taking proactive steps to protect them considerably extends their lifespan and maintains their appearance. You should minimize wear and tear by controlling foot traffic and environmental factors while enhancing durability through regular maintenance.
Key preventative measures include:
- Use area rugs and doormats to trap dirt and reduce abrasion in high-traffic zones.
- Attach felt pads to furniture legs to prevent surface scratches during movement.
- Maintain stable humidity and temperature levels to avoid warping and cracking. Use dehumidifiers or humidifiers as needed to maintain optimal humidity levels.
Additionally, promptly clean spills and avoid excessive water to prevent moisture damage. Using a pH-neutral cleaner helps safely remove dirt without harming the finish. Routine inspections and timely refinishing preserve protective finishes and restore floor integrity.
Implement these technical strategies consistently to ensure your hardwood floors remain structurally sound and visually appealing for decades.
Frequently Asked Questions
Can Old Hardwood Floors Be Cleaned With Steam Mops Safely?
You shouldn’t use steam mops on old hardwood floors unless they’re fully sealed and the manufacturer explicitly approves steam cleaning. Steam’s heat and moisture can penetrate cracks, causing warping, swelling, and finish breakdown. Even sealed floors require cautious, minimal steam exposure.
For most old hardwood, steam mops pose a high risk of damage. Instead, opt for dry or slightly damp cleaning methods to protect your floors safely.
How Often Should Old Hardwood Floors Be Professionally Refinished?
You should have your old hardwood floors professionally refinished every 7–10 years in high-traffic areas to maintain protection and appearance. In low-traffic zones, 10–15 years is typical. Factors like foot traffic intensity, finish type, and environmental exposure influence this timeline.
Regular maintenance can extend intervals, but heavy use might require refinishing as often as every 1–3 years. Consult a professional for an accurate assessment and ideal care.
What Types of Rugs Are Best for Protecting Old Hardwood Floors?
To safeguard old hardwood floors, choose low-pile wool rugs for durability and softness, minimizing scratches. Use rug pads felt for cushioning and rubber for grip to prevent slipping and surface damage. Synthetic fiber rugs work well in busy areas due to stain resistance.
Place rugs in high-traffic zones and select sizes that distribute weight evenly. Regularly clean and maintain rugs to ensure long-lasting floor protection and reduce wear.
Are There Specific Temperature Ranges to Avoid for Hardwood Floor Care?
Think of your hardwood floor as a delicate instrument that thrives within a sweet spot. You should avoid temperatures below 60°F and above 80°F because extreme cold can cause contraction and cracking, while excessive heat leads to drying and warping.
Maintain a stable indoor temperature between 65°F and 75°F to preserve your floor’s structural integrity. Consistent temperature control, paired with proper humidity, keeps your hardwood floor performing like a finely tuned masterpiece.
Can Pets Damage Old Hardwood Floors, and How to Minimize Harm?
Yes, pets can damage old hardwood floors through scratches, urine stains, and moisture exposure. To minimize harm, keep your pet’s nails trimmed regularly and clean up accidents immediately to prevent deep chemical and moisture damage.
Use rugs or protective coatings in high-traffic areas, and train pets to avoid scratching or soiling floors. Regularly inspect your floors to address minor damage early, preserving their integrity and appearance over time.
For Safe Cleaning, Stick with a pH-Neutral Solution
Cleaning old hardwood floors might seem intimidating, but with the right approach, it’s straightforward and safe. Don’t worry about damaging delicate wood; using proper cleaning agents and techniques protects and preserves your floors.
By preparing surfaces correctly, selecting gentle cleaners, and drying thoroughly, you’ll extend your floor’s life and maintain its beauty. Regular maintenance and periodic refinishing ensure your hardwood stays strong and stunning for years to come.