Can You Change the Color of Hardwood Floors: Considerations
Yes, you can change the color of hardwood floors by sanding and refinishing, staining over the existing finish, or using bleaching techniques to lighten them.
Light abrasion and pigmented coatings allow subtle color updates without full sanding, while refinishing offers a complete transformation. Each method requires proper surface preparation and curing time for durability.
You’ll also need to contemplate challenges like uneven absorption and UV effects. Exploring these options further will help you choose the best approach for your floors.
Key Takeaways
- Hardwood floor color can be changed by sanding and refinishing or applying pigmented coatings over the existing finish.
- Lightening floors requires professional wood bleaching, while darkening can be done with non-sanding colorants.
- Techniques like whitewashing, painting, or wire brushing combined with stains offer alternative color effects.
- Proper surface preparation, including dust removal and finish stripping, is critical for even color application.
- Maintaining new color involves regular cleaning, UV protection, and applying protective finishes to prolong vibrancy.
Methods to Alter Hardwood Floor Color
When you want to change the color of your hardwood floors, several methods offer varying degrees of alteration without the need for full sanding or stripping. Screening lightly abrades the finish, preparing your floor for a new stain or coating while preserving wood thickness.
Most contractors view sanding as unavoidable for dramatic color change, but newer methods can avoid this step. Note that using certain adhesives or tapes during this process can lead to surface damage if not handled carefully.
You can apply pigmented surface coatings directly over existing stain for subtle color shifts, though compatibility limits drastic changes. Non-sanding colorants darken or tone floors in good condition but provide less dramatic results.
Wire brushing enhances wood grain texture, creating rustic effects that can be combined with stains for contrast without removing significant material.
Wood bleach lightens hardwood by removing existing color, allowing lighter stains afterward; however, it requires professional application due to risks. Choose methods based on your floor’s condition and desired color outcome.
Step-by-Step Sanding and Refinishing Guide
Start by thoroughly clearing and cleaning your floor to guarantee a dust-free surface for sanding. Use progressively finer sandpaper grits, moving with the wood grain to prepare the floor evenly for staining.
Once sanding is complete, apply your chosen stain and finish carefully, following manufacturer guidelines for maximum adhesion and durability.
Ensure the floor is completely dry before applying stain to prevent damage and achieve an even finish, as excessive moisture can affect hardwood floor integrity.
Preparing the Surface
Before sanding your hardwood floors, you’ll need to clear the area completely by removing furniture, rugs, and base shoe or trim to access the edges. Vacuum or sweep thoroughly to eliminate dirt and debris. Protect adjacent surfaces with plastic sheeting to contain dust.
Furniture removal is necessary before starting sanding process to ensure effective sanding.
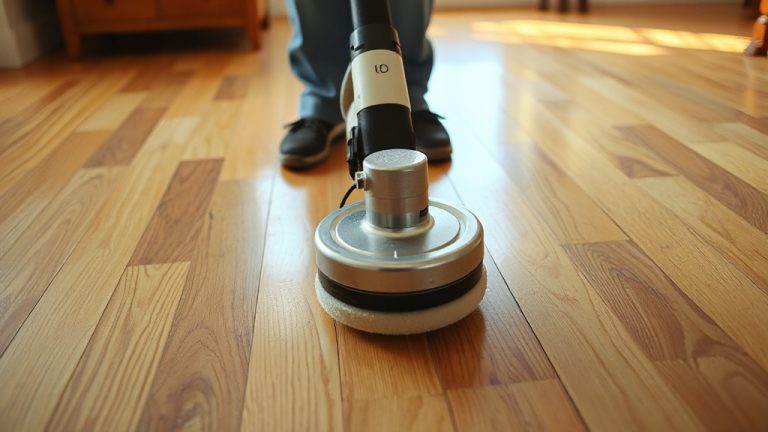
Inspect the floor for damaged or missing boards and repair or replace them as needed. Rent professional sanding equipment, drum, orbital, and edger sanders, and start with coarse grit (36–60) to strip the old finish and level the surface.
Sand following the wood grain, avoiding stationary pressure to prevent gouges. Use edge sanders for tight spots. Vacuum frequently between grit changes, progressing to finer grits (80–150) for smoothness.
After sanding, remove all dust with a vacuum and tack cloth, inspect for imperfections, and guarantee the floor is dry before proceeding.
Applying Stain and Finish
After completing the sanding process and ensuring the surface is clean and dry, you can move on to applying stain and finish. Begin by testing your chosen stain on a hidden area to verify its color.
Apply the stain with a brush or lint-free cloth along the wood grain, working in small sections for even coverage. It is important to work quickly for even coverage to prevent dry lines and patchiness.
Proper preparation of the floor surface helps the stain absorb evenly and enhances the final result. Let it penetrate for 5 to 15 minutes, then wipe off excess to avoid over-saturation. Apply multiple coats if needed, allowing proper drying between each.
Next, apply a polyurethane finish, oil or water-based, using a brush or roller, following the grain. Using a soft-bristled brush can help prevent scratching the wood while applying the finish. Allow each coat to dry fully, sanding lightly with fine-grit sandpaper between coats for adhesion.
Benefits of Sanding and Refinishing Hardwood Floors
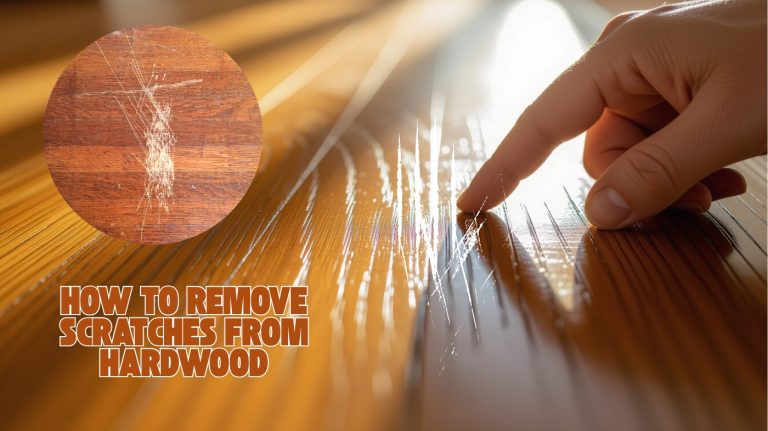
When you sand and refinish hardwood floors, you effectively remove surface imperfections like scratches and dents, revealing a smooth and even base.
This process restores the floor’s original beauty by eliminating faded layers and prepares it for a new finish that enhances durability and appearance. It also eliminates damaged surface layers, significantly extending the floor’s lifespan.
Proper techniques such as edge sanding ensure a professional finish without damaging baseboards or walls. Refinishing also lets you change the floor’s color and adds a protective barrier, extending its lifespan.
Key benefits include:
- Removal of surface damage for a flawless finish
- Restoration of natural wood aesthetics
- Enhanced durability through new protective coatings
- Ability to alter floor color with fresh stain application
- Increased property value and improved market appeal
Challenges and Important Considerations
When you change the color of hardwood floors, you risk damaging the wood if sanding or staining isn’t done correctly. Be aware of water damage signs that can arise during the refinishing process.
The project demands significant time and effort, especially for thorough preparation and multiple finish coats. Choosing UV-resistant finishes can help slow down future color changes and protect the wood from unwanted discoloration.
Potential Risks and Damage
Although hardwood floors offer timeless beauty, you must consider several potential risks that can compromise their appearance and structural integrity. Sunlight exposure, moisture, temperature fluctuations, and physical wear all pose distinct challenges.
UV and infrared light can cause uneven fading or darkening, depending on the wood species. This color deterioration often begins within weeks when floors are exposed to direct sunlight. Moisture leads to swelling, rot, and mold, weakening the wood fibers.
Temperature and humidity variations cause expansion and contraction, risking cracks and warping. Maintaining an ideal humidity range helps minimize these risks. Physical damage from scratches and heavy traffic further diminishes floor quality.
To protect your floors, monitor environmental conditions and use preventative measures:
- UV light causes uneven discoloration and fading
- Prolonged moisture results in swelling, rot, and mold
- Temperature extremes induce wood expansion and cracks
- Heavy foot traffic causes surface wear and scratches
- Furniture without pads damages floor finish and integrity
Project Time and Effort
Because changing the color of hardwood floors involves multiple detailed steps, you should prepare for a project lasting several days, with careful attention to sanding, staining, and finishing phases.
The timeline depends on floor size, wood species, and drying conditions, with staining taking 1–6 hours and multiple finish coats requiring extended curing times.
Additionally, environmental factors such as humidity and temperature can significantly affect drying times and the overall quality of the finish. Proper preparation, including cleaning and minor repairs, is essential for achieving the best staining results and avoiding issues like uneven absorption.
| Task | Duration Range | Key Consideration |
|---|---|---|
| Sanding | 1–2 days | Uniform surface prep |
| Staining | 1–6 hours | Even absorption |
| Finish Coats | 3 coats, 4–24 hrs each | Curing impacts durability |
| Preparation | 0.5–1 day | Furniture removal, repairs |
| Post-Project Cure | 2–3 days | Avoid traffic, ensure cure |
Proper scheduling and environment control minimize disruptions and guarantee consistent color and finish quality, while also helping to prevent damage and wear during the project.
Alternative Techniques to Full Sanding
If you want to change the color of your hardwood floors without the extensive labor of full sanding, several effective alternative techniques exist. These methods allow you to alter floor color while minimizing dust, time, and disruption.
You’ll need to prepare the surface properly and use appropriate chemicals or products designed for hardwood. It is also crucial to allow any treatments to dry fully before proceeding to the next step to ensure durability and prevent damage, as recommended in best practices.
Consider these alternatives to change floor color without full sanding and extensive labor:
- Bleaching: Use wood-specific bleach to lighten floors safely.
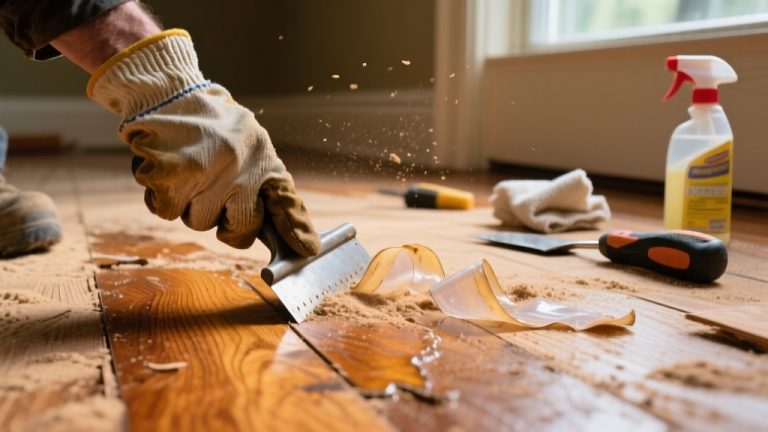
- Stripping and Restaining: Remove existing varnish chemically before applying new stain.
- Painting: Apply paint for vibrant color changes, though it covers natural grain. Protecting floors with drop cloths during painting can prevent accidental spills and keep your refinished surface intact.
- Whitewashing: Apply a diluted whitewash solution for a light, washed effect.
- Refinishing Systems: Use water-based, dust-free systems like TyKote for color changes without sanding. It is important to remove existing finish properly to ensure adhesion of new coatings.
Tips for Maintaining Hardwood Floor Color
To preserve the color of your hardwood floors, you must implement a consistent maintenance routine that addresses cleaning, protection, and timely repairs.
Use a dry mop daily to remove dust and prevent scratches. Deep clean periodically with hardwood-specific cleaners to sustain vibrancy. Remove scuff marks gently and repair scratches promptly to avoid color inconsistencies.
Apply water-based polish every two to three months for shine and protection. Protect floors from UV rays with window treatments and maintain stable humidity to prevent fading and discoloration.
Use felt pads under furniture and area rugs in high-traffic zones to reduce wear. For enhancing color, apply matching stain or color-correcting products as needed.
Finally, regularly inspect and promptly repair the finish, ensuring compatibility when recoating to maintain consistent color and durability. Additionally, installing proper underlayment can help preserve the floor’s appearance by providing cushioning and moisture resistance.
Frequently Asked Questions
How Long Does Hardwood Floor Refinishing Typically Take?
You can expect hardwood floor refinishing to take about 3–5 days for an average 800-square-foot space. Sanding usually requires 4–8 hours professionally, but DIY efforts might extend to 1–3 days.
Finishing adds 2–3 days due to multiple coats and drying time. Larger areas or damaged floors will take longer. Factors like humidity and temperature also impact drying, so plan accordingly to avoid delays.
Can I Refinish Hardwood Floors Myself or Should I Hire a Professional?
You can refinish hardwood floors yourself if you have woodworking experience and patience, but it demands time, precision, and equipment rental. Mistakes can be costly and affect finish quality.
Hiring a professional ensures expert assessment, faster completion, high-quality results, and often includes warranties. Consider your budget, skill level, and time availability to decide. Professionals offer peace of mind, while DIY may save money but requires careful execution.
What Safety Precautions Are Needed During Sanding and Refinishing?
When sanding and refinishing, you must wear safety goggles, dust masks, ear protection, and gloves to protect against debris, dust, noise, and sharp tools. Guarantee proper ventilation and clear your workspace to reduce hazards.
Keep the sander moving with light pressure and maintain equipment regularly. Monitor air quality, take breaks, and have a first aid kit ready. Always use the correct sander type for your floor to avoid damage and ensure safety.
How Does Sunlight Exposure Affect Hardwood Floor Color Over Time?
Sunlight exposure causes hardwood floors to change color through a chemical reaction with UV rays. You’ll notice some woods darken, like cherry, while others, like maple, lighten.
This color shift occurs because wood’s natural compounds react to sunlight, altering appearance without damaging structure. To manage this, you can apply UV-resistant finishes or use window treatments. Keep in mind, prolonged exposure intensifies these changes over time.
Are There Eco-Friendly Products for Staining and Finishing Hardwood Floors?
Eco-friendly stains and finishes for hardwood floors work like a gentle breeze, revitalizing your space without harsh chemicals. You’ll find low- and zero-VOC water-based stains that offer rich color while reducing emissions.
Water-based polyurethanes protect your floors with minimal environmental impact. These products clean up with soap and water, guarantee excellent durability, and maintain indoor air quality.
Your Floor, Your Way: Choosing the Right Refinishing Method
Changing the color of your hardwood floors is like repainting a classic canvas it requires precision, patience, and the right techniques.
Whether you opt for the thorough sanding and refinishing process or explore alternative methods, you’ll need to take into account the condition of your floors and desired outcome carefully.
By following proper steps and maintenance tips, you can ensure your floors not only look refreshed but also retain their durability and timeless appeal for years to come.

