How to Repair Water Damage on Hardwood Floor? Easy Fixes
To repair water damage on your hardwood floor, first identify the wood type and damage severity using moisture meters and visual inspection. Stop leaks immediately and dry thoroughly with fans and dehumidifiers to prevent mold.
Clean surfaces with pH-neutral detergents and disinfectants, then assess if sanding or board replacement is needed.
Finally, refinish with proper sanding and sealing for protection and durability. Understanding each step guarantees effective restoration and long-lasting results. Additional guidance will further clarify these processes.
Key Takeaways
- Identify the hardwood type and damage extent using moisture meters and visual signs like cupping or buckling before starting repairs.
- Stop water intrusion immediately, remove standing water, and dry floors using fans and dehumidifiers to prevent further damage.
- Clean affected areas with a pH-neutral detergent and disinfect to eliminate mold and bacteria, ensuring thorough drying afterward.
- Repair minor damage by sanding and refinishing; replace severely warped or mold-infested boards to prevent health risks.
- Sand floors progressively, apply stain if desired, and seal with multiple finish coats to restore and protect hardwood surfaces.
Assessing the Extent and Type of Water Damage
Before you begin any repairs, you need to accurately assess the extent and type of water damage affecting your hardwood floor.
Start by identifying the wood species: oak, maple, cherry, or exotic, as moisture absorption varies considerably.
Distinguish whether the floor is solid hardwood, engineered, or laminate.
Solid wood often allows drying and repair, while engineered and laminate may require replacement due to core damage.
Examine the installation method: nailed, glued, or floating, as this influences how the floor responds to water.
Check for visible signs like cupping, buckling, discoloration, or soft subfloor areas.
Use diagnostic tools such as pinless and pin-type moisture meters and infrared imaging to measure moisture levels precisely.
Document all findings since moisture over 20% signals severe damage.
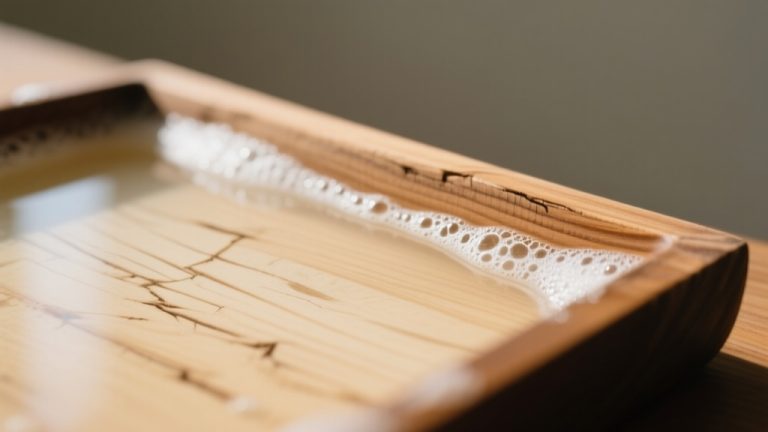
It is important to begin drying the floor within 24–48 hours to prevent mold growth and permanent damage.
Understanding the limitations of refinishing is crucial when deciding if the floor can be restored or needs replacement.
Preventing Further Water Intrusion and Immediate Drying
How can you prevent additional water damage once you’ve identified an issue with your hardwood floor?
First, immediately locate and repair any plumbing leaks to stop ongoing water intrusion. Use absorbent mats in moisture-prone areas and install waterproof barriers beneath floors in kitchens or bathrooms. Regular inspection helps identify potential leaks or damage early, allowing for timely intervention. Additionally, maintaining indoor humidity within the recommended range helps minimize moisture absorption that can exacerbate damage.
Immediately repair leaks and use absorbent mats or waterproof barriers in moisture-prone areas to prevent further water damage.
Maintain indoor humidity between 45-55% with humidifiers or dehumidifiers to mitigate moisture absorption. Conduct regular inspections to identify potential risks early.
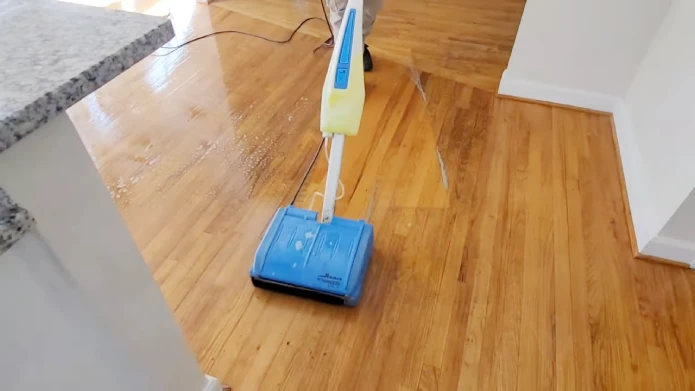
For immediate drying, promptly remove standing water using towels or a wet vacuum. Position fans to enhance air circulation and operate dehumidifiers to expedite moisture removal. Using a tack cloth or similar method can help remove fine dust and prevent residue buildup during the drying and cleaning process.
Avoid heat sources like hair dryers to prevent wood warping. Monitor the drying progress closely, ensuring uniform airflow to all affected areas.
These steps are critical to halting further damage and preparing the floor for proper restoration.
Cleaning and Disinfecting Affected Hardwood Surfaces
Once you’ve removed excess water and initiated drying, you should carefully clean and disinfect the hardwood surfaces to prevent microbial growth and further damage.
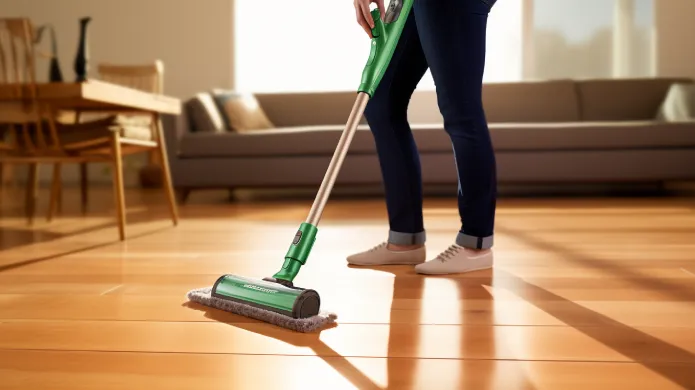
Use a mild, pH-neutral detergent labeled safe for hardwood and apply it with a damp microfiber mop or soft cloth to avoid water penetration. It is important to avoid wet mopping to prevent buckling or warping of the wood.
Follow with a disinfectant effective against mold and bacteria, allowing it to sit for the recommended duration. Use a gentle brush to prevent scratching the surface during cleaning.
Then, rinse with a well-wrung mop and dry thoroughly.
- Use non-abrasive tools to prevent scratching or finish damage.
- Ventilate the area and wear protective gloves for safety.
- Test cleaning agents on an inconspicuous spot before full application.
This precise cleaning regimen helps safeguard your hardwood floors from lasting damage and microbial contamination after water exposure.
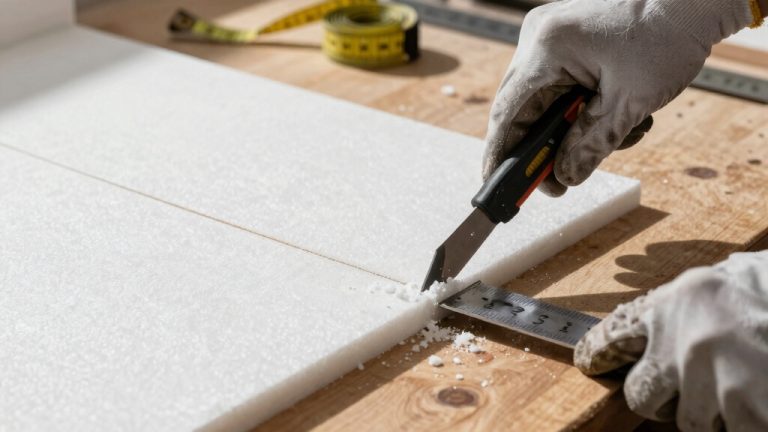
Repairing or Replacing Damaged Hardwood Flooring
Although addressing water damage on hardwood floors can be challenging, accurately evaluating the extent of damage is vital to determine whether you should proceed with repairs or opt for full replacement. Regularly maintaining the floor by applying a protective coating can also help preserve its finish and prevent future damage.
Inspect for cupping, buckling, and moisture levels. Severe cases often demand board replacement. Use proper tools such as a circular saw, drill, and hammer, along with materials like replacement floorboards and sandpaper for repairs. Mold growth beneath the floor is common in severe cases and requires immediate attention to prevent health hazards and further structural damage due to mold presence.
Compare repair costs with replacement expenses to decide cost-effectiveness.
| Damage Severity | Recommended Action | Tools/Materials Needed |
|---|---|---|
| Minor scratches | Sanding and refilling | Sandpaper, wood filler |
| Moderate warping | Gradual drying | Fans, moisture meter |
| Severe buckling | Board removal/replacement | Pry bar, hammer, new boards |
| Moist subfloor | Dry and inspect subfloor | Moisture meter, dehumidifier |
| Extensive damage | Professional intervention | Expert assessment, equipment |
Prioritize timely repairs to prevent further damage or health risks.
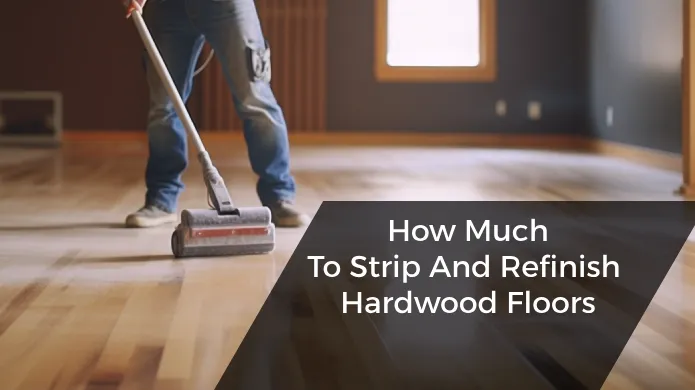
Refinishing and Sealing to Restore Hardwood Floors
When you refinish and seal hardwood floors, you restore their durability and aesthetic appeal while protecting them from future water damage.
Start by thoroughly sanding the floors, progressing from coarse to fine grit. Then vacuum and tack to remove dust. It is important to seal air vents and doors to prevent dust spread during sanding. Using proper measurement tools ensures you can plan refinishing steps accurately based on floor conditions.
Next, apply stain if desired, adding depth to the wood’s color.
Finally, apply multiple finish coats, typically three, with light sanding between each to ensure adhesion and smoothness.
For maximum results, consider these critical steps:
- Maintain a dust-free environment during sanding and coating to prevent imperfections.
- Use appropriate finishes; water-borne urethanes dry faster, while oil-based offer extended curing and durability.
- Protect floors from pets and moisture until finishes fully cure, ensuring long-term resilience.
This precise process revitalizes floors and fortifies them against water damage.
Frequently Asked Questions
How Long Should Hardwood Floors Acclimate Before Installation?
You should acclimate hardwood floors for 7 to 10 days under controlled conditions to guarantee moisture equilibrium with your home environment.
In stable settings with minimal moisture differences, 48 hours might suffice, but 5 to 7 days is typical.
Remove all packaging and cross-stack planks for airflow.
Maintain temperature between 60-80°F and humidity at 30-50%.
Proper acclimation prevents future warping or cupping after installation.
What Tools Are Best for Sanding Hardwood Floors?
Did you know using the wrong sander can cause up to 30% more floor damage?
For hardwood floors, start with a drum sander for quick, heavy-duty sanding of uneven boards.
Follow with an orbital sander for a smooth, swirl-free finish.
Use an edging sander to reach tight corners.
Don’t forget dust containment systems for safety and cleanliness.
These tools combined guarantee a professional, precise sanding job every time.
Can Water Damage Cause Hardwood Flooring to Emit Odors?
Yes, water damage can cause hardwood flooring to emit odors.
When moisture penetrates the wood, it fosters mold, mildew, and bacterial growth, producing musty or sour smells.
These odors indicate hidden microbial activity and prolonged exposure to moisture, compromising both structural integrity and indoor air quality.
You’ll need to fully dry affected areas and possibly replace damaged boards to eliminate odors and prevent further decay effectively.
How Often Should Polyurethane Coats Be Reapplied?
Think of your polyurethane coat as a shield. It needs revitalizing every 3 to 5 years to stay effective.
You should inspect it annually, especially in high-traffic areas where wear shows up sooner. Don’t wait for visible damage; reapply before the finish thins or loses its protective qualities.
Light sanding and careful cleaning prep the surface, ensuring the new coat bonds well and keeps your hardwood floor durable and looking sharp.
Are There Eco-Friendly Products for Hardwood Floor Repair?
Yes, you can use eco-friendly products for hardwood floor repair.
Water-based polyurethane finishes provide durability with low or zero VOCs and quick drying times.
Natural oil finishes like tung or linseed oils penetrate the wood, offering scratch resistance and a matte look.
Additionally, low-VOC cleaners, plant-based stains, and sealants protect and restore floors while reducing toxicity and environmental impact.
These options guarantee effective repair without compromising indoor air quality or sustainability.
Take Action Now: Protect Your Hardwood Floor from Water Damage
To effectively repair water damage on your hardwood floor, you must first assess the damage thoroughly. Then, prevent further moisture intrusion promptly.
Next, clean and disinfect the affected areas carefully, followed by repairing or replacing damaged sections precisely. Finally, refinish and seal your floor meticulously to restore its durability and appearance.
By following these steps consistently, you protect your investment, preserve your home’s value, and maintain a safe, healthy living environment.