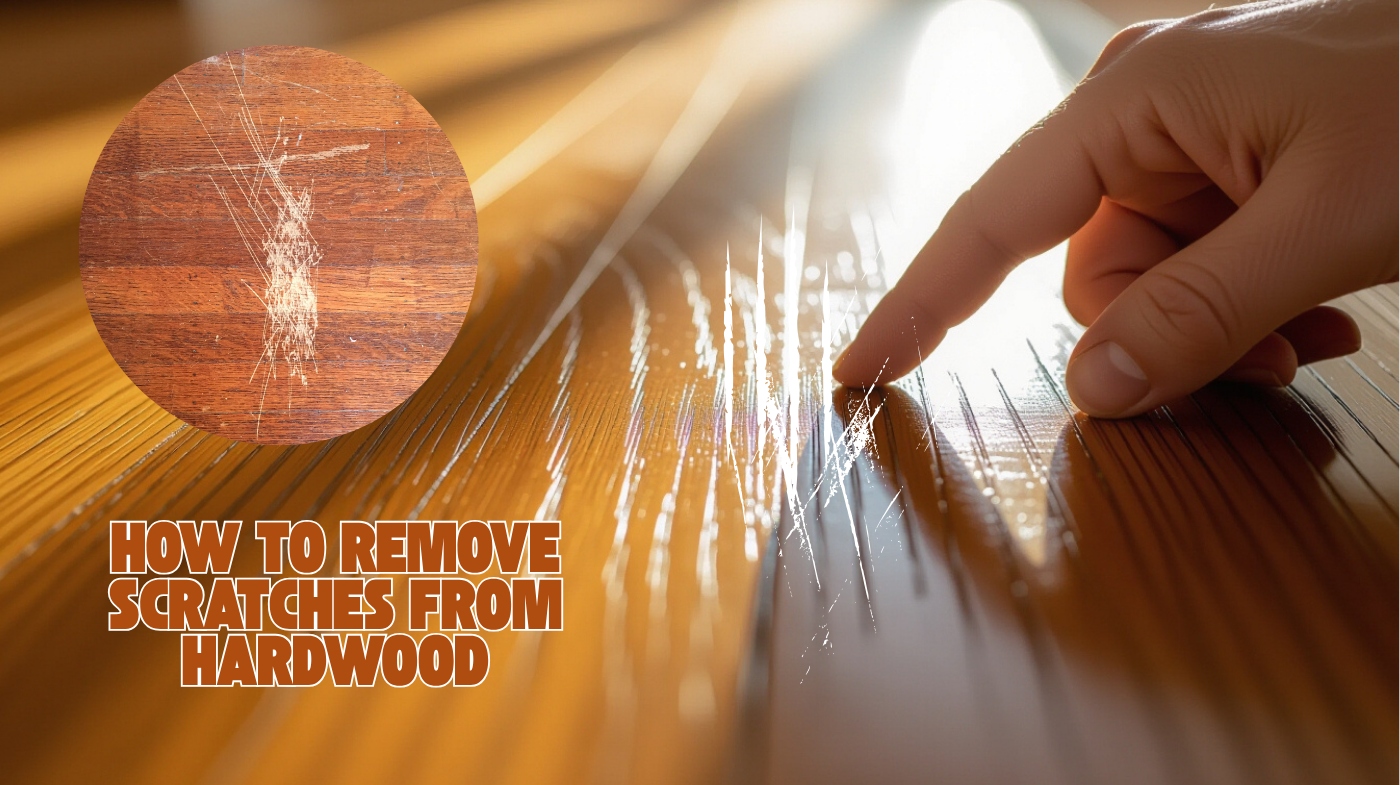
How to Remove Scratches From Hardwood: Seal the Deal
You can remove hardwood scratches by first identifying their depth of surface, minor, or deep gouges and preparing the area by cleaning and drying it thoroughly.
For light scratches, use a baking soda and olive oil paste or commercial polish; moderate scratches may need color-matching stain pens, while deep gouges require wood filler and fine sanding.
Applying natural oils can also conceal minor marks. Proper preparation and matching guarantee an effective repair. Explore further techniques to restore your floor’s finish expertly.
Key Takeaways
- Assess scratch depth by cleaning and running a fingernail over it to determine repair method.
- Clean the floor thoroughly, dry completely, and remove dust before starting any scratch repair.
- Use DIY remedies like olive oil and baking soda paste for light surface scratches to reduce visibility.
- Apply wood filler and sand flush for deep gouges, then stain and seal to match the floor.
- Protect hardwood by using rugs, felt pads, and maintaining humidity between 35%-55% to prevent future scratches.
Identifying Different Types of Hardwood Scratches
How can you accurately identify the types of hardwood scratches to choose the right repair method? First, evaluate scratch depth and finish involvement. Surface scratches affect only the finish layer and appear as white lines, making them easier to fix.
Minor scratches penetrate the protective coating and stain but leave the wood grain intact. Deep scratches and gouges expose bare wood, altering texture considerably and requiring more intensive repair.
The damage severity varies and can be assessed by cleaning the area and running a fingernail across the scratch to determine its depth.
Consider causes: foot traffic and furniture movement usually cause shallow scratches, while heavy objects produce deep gouges. Assess the wood species and finish condition since engineered hardwood resists scratches better.
Proper cleaning and maintenance, such as regular sweeping or vacuuming, can help minimize scratch formation by removing grit and abrasive particles.
Distinguish scratches from water damage, which deforms boards rather than scratching surfaces. Correct identification prevents unnecessary sanding and ensures you apply the appropriate repair technique.
Preparing the Hardwood Surface for Repair
Before starting any repair work on your hardwood floor, you need to thoroughly prepare the surface to guarantee ideal adhesion and finish quality. Begin by removing all furniture, rugs, and items to create a clear workspace.
Thoroughly prepare your hardwood floor by clearing the area to ensure optimal adhesion and finish quality.
Sweep with a soft broom, vacuum edges and corners using appropriate attachments, and mop with a natural, residue-free soap diluted in water. Rinse and lightly mist the surface before buffing with a soft cloth to reduce light scratch visibility.
Cleaning reduces debris and lightens the appearance of scratches, which forms the foundation for repair. Ensure the floor is fully dry before proceeding to avoid trapping moisture during repairs, especially if the floor has been recently refinished.
Use a tack cloth to remove fine dust particles, ensuring the floor is dry to avoid moisture trapping during repairs. Seal off the area with plastic sheeting to contain dust.
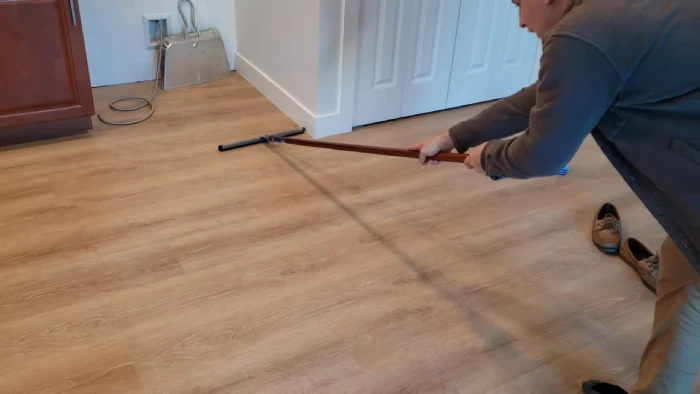
If sanding is required, use fine 120-grit sandpaper along the wood grain, then clean again with a tack cloth before proceeding. Proper dust control methods during sanding help minimize dust settling on surrounding surfaces, contributing to a cleaner repair environment.
DIY Solutions for Light Surface Scratches
You can address light surface scratches using a simple baking soda paste by mixing it with olive oil to gently reduce scratch visibility. Apply the paste carefully, let it sit briefly, then wipe and buff the area to restore gloss without leaving residue.
It is important to clean the area first to ensure the best adherence and effectiveness of the treatment. Using a microfiber or chenille pad helps apply products evenly and avoid streaks during the process.
Alternatively, commercial scratch removers offer formulated solutions designed for quick and effective scratch concealment on hardwood floors.
Baking Soda Paste
Although baking soda is a mild abrasive, it effectively smooths out light surface scratches on hardwood when prepared as a paste with water in a 2:1 ratio.
Mix the baking soda and water freshly into a thick paste, optionally adding a few drops of olive oil for added shine. Olive oil adds shine or depth, blending the scratch into the surrounding wood, especially on darker floors.
Clean the scratched area thoroughly before application. Apply the paste sparingly with a soft cloth, rubbing gently along the wood grain to avoid micro-scratches. This step aligns with the best practice of cleaning the hardwood floor surface to ensure effectiveness and prevent further damage.
Let it sit for 5 to 15 minutes to allow abrasion to smooth the edges. Buff the area with a clean microfiber cloth, then wipe off residue with a damp cloth, drying thoroughly.
This method is suitable only for minor scratches, offering temporary cosmetic improvement without repairing deeper damage. Remember that this hack is not a repair but a way to make scratches less noticeable temporarily.
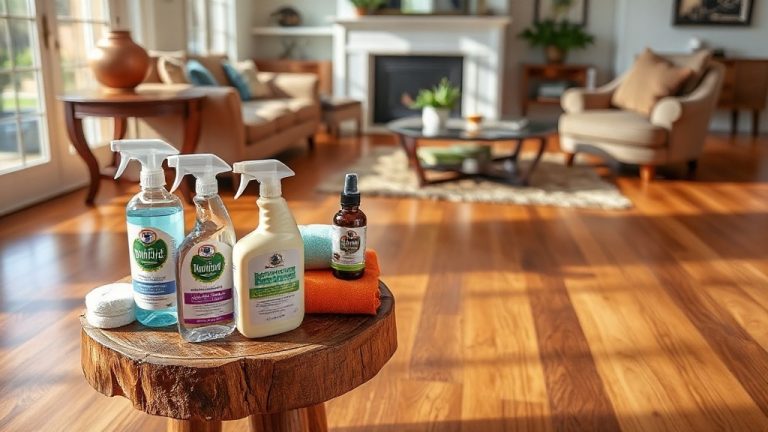
Commercial Scratch Removers
Light surface scratches on hardwood can also be addressed using specialized commercial scratch removers designed for DIY application.
Before applying, thoroughly clean the floor to remove debris and avoid liquid pooling, which can loosen adhesives. Raskin Scratch Remover, for example, is formulated to improve resilient floor surface appearance by masking minor scratches and scuffs.
Options include Raskin Scratch Remover, which masks minor scratches and requires misting plus wiping after a one-minute dwell time, and Weiman Hardwood Floor Polish & Restorer, which micro-fills scratches and adds a protective layer.
It is important to ensure cleaning solutions are diluted properly to prevent damage or discoloration when preparing the surface. Mirage FIL-STIK Wax Pen offers precise filling for small cracks with colored wax.
Always select products compatible with your floor type and wear gloves and eye protection due to chemical irritants. These removers suit light surface damage but won’t fix deep gouges. Follow manufacturer instructions carefully for ideal results and safety.
Using Stain and Color Matching for Moderate Scratches
When addressing moderate scratches on hardwood, selecting and testing the correct stain color is critical to achieving a seamless repair.
Begin by sanding a hidden floor area to expose natural wood, then test stain samples on similar wood pieces. It is important to test stain pens on scrap wood before use to ensure color match, preventing mismatched repairs. Shake stain containers well, apply evenly with a cotton rag, and wipe off excess within 3-5 seconds.
For deeper hues, extend the application time up to 15 minutes. Use stain markers or pens for precise application on scratches, avoiding heavy buildup that darkens spots. Protect surrounding areas with painter’s tape.
Prioritize matching species, grain, and sheen, testing multiple shades under actual lighting to ensure color accuracy. After staining, apply a compatible clear coat and gently buff to blend.
Repeat applications as needed, allowing full drying time, to achieve a flawless finish without oversaturating the wood. Always dry thoroughly after completing repairs to prevent moisture damage and ensure long-lasting results.
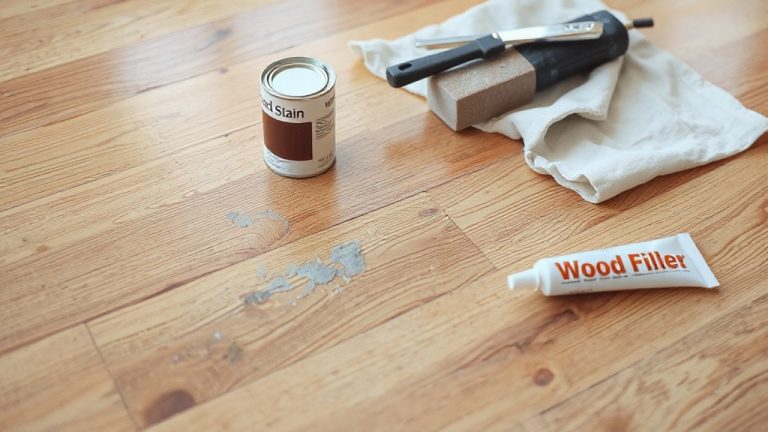
Repairing Deep Gouges With Wood Filler and Sanding
Before you begin repairing deep gouges in hardwood, prepare the area thoroughly by removing all dirt, dust, and loose wood fragments. Vacuum or wipe clean, then use a damp cloth and let the surface dry completely. Maintaining consistent humidity levels during repair helps prevent further wood shrinkage or expansion.
Remove splinters within the gouge with a small tool. Choose a wood filler matching the floor’s tone and press it firmly into the gouge with a putty knife, slightly overfilling to allow for shrinkage. Smooth the surface before drying.
Once dry, sand with fine-grit sandpaper (180-220 grit) until flush with the surrounding wood, avoiding damage to adjacent areas. Wipe away dust with a damp cloth. Repeat filling and sanding if needed for a level finish. This method guarantees a durable, seamless repair ready for staining or sealing.
Natural and Quick Fix Methods for Minor Scratches
Although minor scratches may seem insignificant, addressing them promptly can prevent further damage and maintain your hardwood’s appearance.
Begin by thoroughly cleaning the scratched area: sweep or vacuum debris, wipe with a damp microfiber cloth, and allow the surface to dry fully. Avoid harsh chemicals to protect the finish and prevent moisture penetration, which can cause warping or swelling in engineered hardwood flooring.
For quick camouflage, apply natural oils like olive, mineral, or walnut oil using a soft cloth and circular motions; let the oil absorb for several hours. Alternatively, use a wood repair marker matching your floor color, applying gently along the grain and wiping excess. Using wood markers and crayons matching your floor color can effectively blend minor scratches.
Homemade mixtures—equal parts white vinegar and olive oil or a baking soda-olive oil paste—can clean and conceal scratches effectively. For darker woods, apply cooled black tea with a cotton swab to darken light scratches naturally.
Tips for Preventing Future Scratches and Maintaining Hardwood Floors
Since hardwood floors are vulnerable to scratches from everyday use, implementing preventive measures is essential to preserve their integrity and appearance. Place area rugs with non-slip backing in high-traffic zones and under furniture to buffer friction and dirt.
Attach felt or silicone pads to all furniture legs, replacing them regularly, and lift rather than drag heavy items. Trim pet nails frequently and use pet-specific rugs to protect surfaces. Maintain consistent indoor humidity between 35% and 55% using humidifiers or dehumidifiers to stabilize wood dimensions.
Clean floors with hardwood-safe tools and products, sweeping grit to prevent abrasion. Wipe spills promptly to avoid moisture damage. Periodically schedule professional refinishing to restore the protective finish.
Finally, minimize direct sunlight exposure by using window treatments to reduce surface fragility and fading. Regularly using microfiber mops helps efficiently remove dust without damaging the floor’s finish, maintaining its smooth surface.
Frequently Asked Questions
Can Scratches on Hardwood Floors Cause Structural Damage Over Time?
Yes, scratches on hardwood floors can cause structural damage over time if you ignore them. Surface scratches mainly affect the finish and pose no threat, but deep scratches exposing raw wood let moisture penetrate, leading to warping or wood swelling.
Repeated damage weakens floorboards and may cause cracks or splits. You should repair deep scratches promptly to prevent moisture intrusion and maintain your floor’s integrity and stability.
How Long Does It Take for Wood Filler Repairs to Fully Cure?
Think of wood filler curing like baking a cake—you can’t rush perfection. Typically, wood filler needs at least 6 hours to dry before sanding.
However, full curing can take 24 hours to several days depending on depth, type, and environment. Deep repairs require multiple thin layers, each drying fully.
Keep humidity between 30-50%, guarantee good airflow, and avoid heavy use until cured to guarantee durability and a flawless finish.
Are There Specific Hardwood Types More Prone to Visible Scratches?
Yes, you’ll notice softer hardwoods like Yellow Pine, with a Janka rating below 1,000, show scratches more readily due to low hardness. Woods with uniform, subtle grain patterns also reveal scratches easily since damage contrasts more with the smooth surface.
Conversely, harder species like Hickory or Brazilian Cherry resist scratches better, and pronounced grain patterns help mask minor damage, reducing visible wear in high-traffic environments.
Can Pet Nails Cause Permanent Damage to Hardwood Finishes?
You know what they say, “An ounce of prevention is worth a pound of cure.” Yes, pet nails can cause permanent damage to hardwood finishes.
When nails create deep gouges that penetrate beyond the protective finish into the wood, repairs become challenging and may require professional refinishing. Surface scratches are often repairable, but repeated or severe scratching compromises the wood’s integrity, leading to lasting harm despite protective coatings.
Is Professional Refinishing Necessary After Multiple Scratch Repairs?
You’ll need professional refinishing if multiple scratch repairs haven’t restored your floor’s protection and appearance. DIY fixes often only mask surface damage, leaving deeper scratches unaddressed.
Professionals use commercial sanding and expert color matching to guarantee uniformity and durability. If your floor shows fading, gouges, or uneven texture after repairs, it signals structural wear beyond patching. Trust pros to restore both function and aesthetics thoroughly.
Choose the Right Compound: Quick Fix or Custom Color Match?
By boldly battling blemishes and bravely blending stains, you’ll bring back the beauty of your hardwood floors. Carefully choosing the correct compound, whether a quick fix or a crafted color match, creates consistent, clean results.
Diligently dust and dry before applying, and don’t forget to finish with firm protection. Following these focused fixes fosters flawless floors, freeing you from future flaws. Maintain methodical care to minimize marks and maximize magnificence.