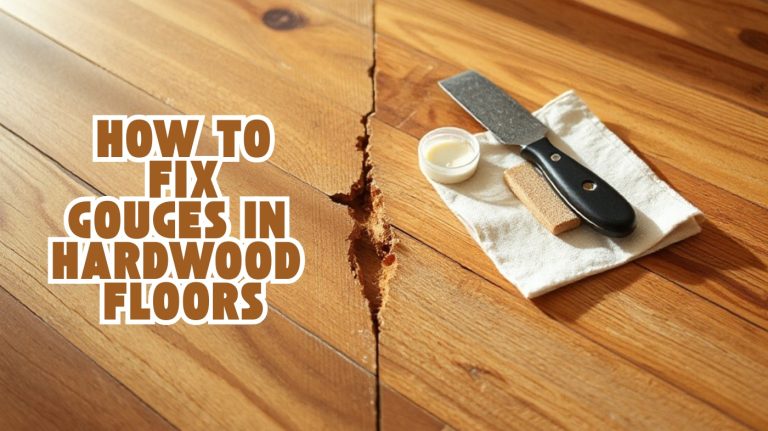
How to Patch a Hardwood Floor: Fit and Secure Matching
To patch a hardwood floor, start by inspecting and cleaning the damaged area thoroughly. Cut out the damaged boards using carbide-tipped saws for clean edges, then fit matching wood patches precisely. Fill gaps with quality wood filler in thin layers, allowing each to dry fully before sanding flush.
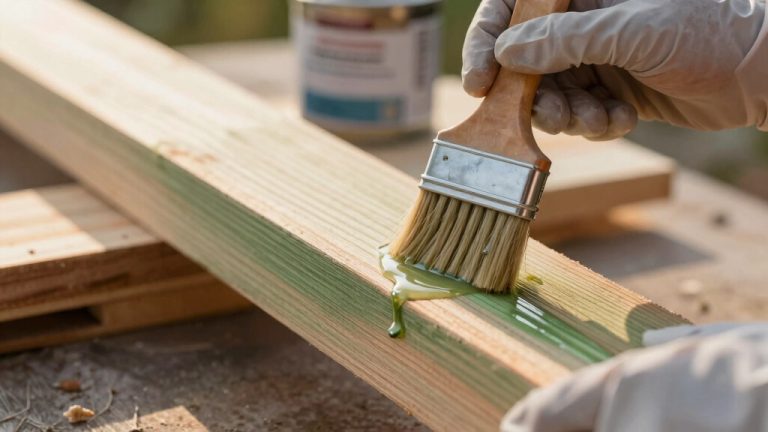
Finally, apply matching stain and protective clear coats for durability. Follow these steps carefully, and you’ll restore your floor’s integrity and appearance while ensuring a seamless finish. Further details can help you perfect this process.
Key Takeaways
- Assess damage thoroughly and clean the area, ensuring subfloor stability and proper drying before beginning patch repairs.
- Use appropriate saws with carbide-tipped blades to cut out damaged sections and prepare precise replacement patches.
- Apply color-matched wood filler in thin layers with a putty knife, allowing full drying between coats to avoid cracking.
- Sand the patched area smoothly, feather edges, and use water-popping to enhance even stain absorption for a natural finish.
- Seal the repair with multiple clear finish coats, matching sheen and durability to blend seamlessly with the existing hardwood floor.
Reasons for Patching Hardwood Floors
Although sanding and refinishing can address surface-level issues, you’ll need to patch hardwood floors when damage penetrates deeper or affects structural integrity. Pet stains that seep beyond the surface, water damage causing swelling, and persistent dark stains require board replacement rather than surface treatment.
Deep damage like pet stains, water swelling, and dark stains demand patching beyond sanding and refinishing.
Renovations often expose or damage flooring beneath walls or cabinets, necessitating patch repairs and subfloor stabilization. Age-related deterioration like timber cracks, wood shrinkage, and brittle finishes also compel patching to restore stability.
Functional factors include deep gouges, holes from heavy impacts, and unsightly scratches degrading appearance. Sanding and refinishing won’t fix deep stains, holes, or tongue-and-groove complications.
Patching isolated boards preserves floor integrity and usability without full replacement, supported by essential subfloor repairs, making it the preferred technical solution for localized hardwood floor damage. Proper floor preparation and the use of protective carpet materials can also help maintain patched hardwood floors by preventing further surface damage.
Essential Tools and Materials Needed
You’ll need specific saws like a chop saw for straight cuts and a jigsaw for irregular shapes to guarantee replacement boards fit perfectly. Sweeping the area beforehand with a high-quality broom designed for hardwood floors can help ensure debris doesn’t interfere with the patch fitting.
Selecting the right wood filler is essential; it should match the floor’s color and be durable enough to withstand foot traffic. Preparing with these tools and materials sets the foundation for a seamless patch. It is also important to ensure the subfloor is level before installation to achieve the best results.
Saw Types Required
When patching a hardwood floor, selecting the right saws guarantees accuracy and efficiency throughout the process. You’ll rely on multiple saw types for specific cuts: a miter saw for precise crosscuts and angles, a circular saw for controlled depth lengthwise cuts, a table saw for ripping and groove adjustments, and jigsaws or oscillating saws for intricate shapes.
Handsaws and chisels complete the job with fine trimming and cleanup. It is essential to use carbide-tipped blades in these saws to ensure clean cuts and reduce tear-out on hardwood surfaces. Proper cleaning and maintenance of tools after use help preserve their functionality and contribute to long-term durability.
| Saw Type | Primary Use |
|---|---|
| Miter Saw | Crosscuts, angled cuts |
| Circular Saw | Depth-controlled lengthwise cuts |
| Table Saw | Rip cuts, groove trimming |
| Jigsaw/Oscillating | Detail, curved cuts |
| Handsaw/Chisel | Finishing, cleanup |
Wood Filler Components
Because wood filler plays a critical role in restoring hardwood floors, selecting the right components guarantees durability and a seamless finish. Choose fillers designed for hardwood, offering deep penetration and smooth, sandable surfaces.
Elastomeric fillers accommodate wood movement, preventing cracks. Incorporate wood flour for color matching and bonding. Control water addition carefully to avoid sagging. It is important to fill cracks promptly because preventing moisture intrusion helps avoid structural issues.
Essential items include:
- Putty knives for precise filler application
- Mixing tools to ensure consistent filler texture
- Fine sandpaper (80 grit or finer) to smooth cured filler
- Measuring tools to maintain correct water-to-filler ratios
Select fillers compatible with your floor’s stain and finish for ideal integration. Avoid overwatering or reusing thickened filler to maintain performance. Proper material selection ensures a durable, visually consistent repair.
Preparing the Floor and Patch Area
Before patching a hardwood floor, thoroughly assess and clean the damaged area to guarantee proper adhesion and fit. Inspect the floor for damage extent, remove dirt and debris, and protect surrounding areas with masking tape or paper.
Check for moisture or structural issues that compromise patch durability. Purchase hardwood flooring about a week prior and leave the new flooring in the installation room for acclimation. Proper moisture control during this period helps prevent future warping or damage.
Determine board thickness and species for accurate material selection.
| Step | Tool/Material | Purpose |
|---|---|---|
| Inspect damage | Flashlight, ruler | Identify extent and nature |
| Clean area | Vacuum, brush | Remove dust and debris |
| Protect perimeter | Masking tape, cardboard | Prevent accidental damage |
| Check subfloor | Moisture meter, probe | Ensure structural integrity |
Prepare precise cuts with saws, remove damaged wood cleanly, and smooth edges for a snug patch fit. It is crucial to avoid excess moisture during cleaning and preparation to maintain the finish integrity of surrounding hardwood floors.
Installing Patch Boards Correctly
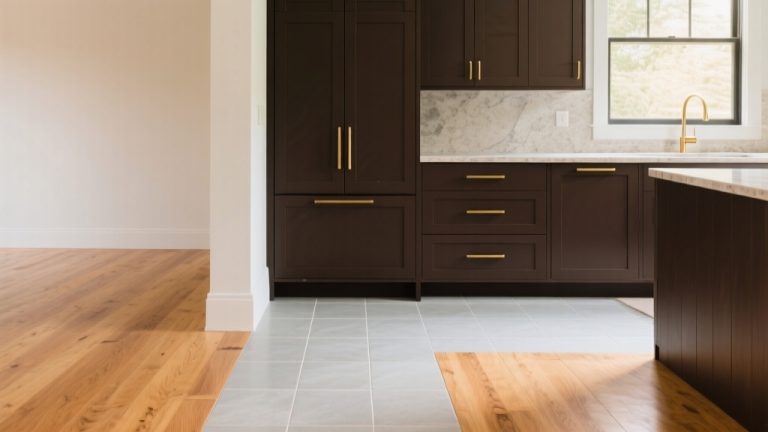
Although selecting the right replacement boards is crucial, you must also prepare them meticulously for installation by matching species and width. Remove tongues and grooves as needed, and dry fit each piece to guarantee a seamless, gap-free integration with the existing floor.
Start by establishing a straight chalk line to align patch rows parallel to existing boards. Use adhesive designed for hardwood flooring, applying it in a zig-zag pattern under boards, and secure with blind nails angled at 45° spaced every 6 to 8 inches. This method enhances overall floor appearance and integrity by ensuring a strong, stable bond.
Maintain a consistent 3/4″ expansion gap around patch edges. Adjust boards during installation for flushness and tight joints, cutting as necessary for irregular spaces.
Techniques for Filling Gaps and Cracks
When filling gaps and cracks in your hardwood floor, sawdust and glue putty offers a custom color match by mixing fine wood dust with adhesive for a durable, natural-looking repair. Consider whether the gaps are permanent or seasonal, as permanent gaps can be better suited for filler methods like these.
Alternatively, wood filler provides a convenient, ready-to-use option that you apply with a putty knife and sand flush once dry. Both methods require careful application and finishing to make certain a seamless blend with your existing floor. Ensuring the floor is properly dried before applying any filler is crucial, as drying time affects adhesion and the quality of the repair.
Sawdust and Glue Putty
If you want a seamless repair that blends perfectly with your hardwood floor, sawdust and glue putty offers a precise solution for filling small gaps and cracks.
Start by collecting fine sawdust from the same wood species as your floor for ideal color matching. Mix this sawdust with a small amount of PVA wood glue until you get a sticky, malleable putty. A craft stick can be useful for stirring and mixing the components thoroughly. This method is favored for its natural color matching and ability to bond tightly with the wood.
Apply it firmly into the gaps, mounding slightly above the surface to allow for shrinkage. Let it dry fully about 24 hours before sanding smooth.
Key steps to follow:
- Use fine, species-matched sawdust for best adhesion and color consistency.
- Mix glue sparingly to avoid runniness and ensure workability.
- Pack putty thoroughly into cracks, avoiding air pockets.
- Sand carefully after drying for a flush, invisible finish.
Wood Filler Application
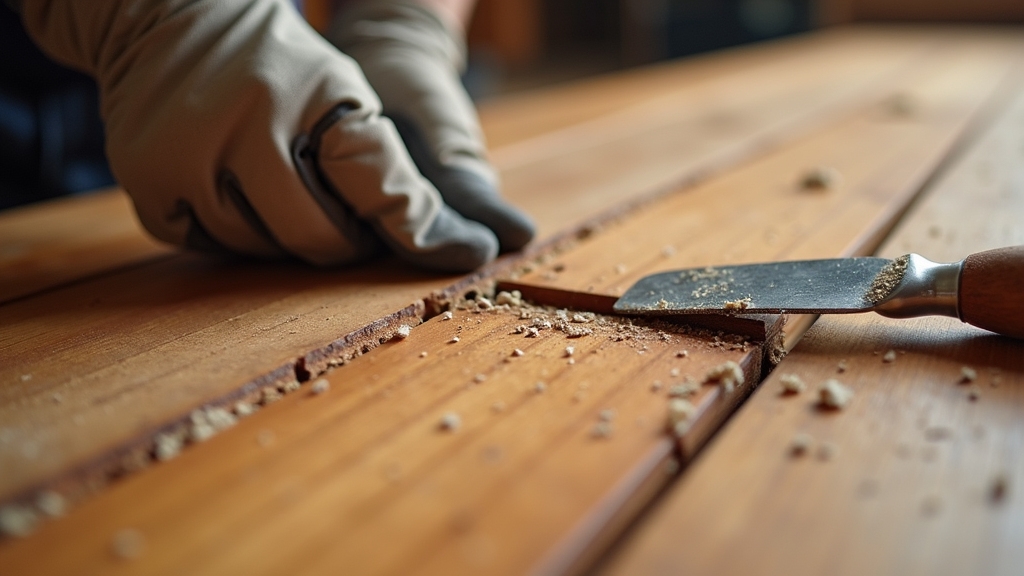
A successful wood filler application hinges on proper techniques that guarantee durability and a seamless appearance. First, clean gaps thoroughly to enhance adhesion. Stir the filler well, avoiding over-thinning, and discard any thickened or contaminated material.
Use a putty knife at a 45-degree angle to press filler firmly into cracks, applying in 6mm layers for deep holes. For best results, apply multiple layers with adequate drying time between each to prevent cracking and shrinking layered application. Applying filler in multiple directions and slightly overfilling helps compensate for shrinkage and ensures a natural blend.
For narrow gaps, multiple thin applications work best; wide gaps require wood plugs or shims to prevent shrinkage. After filling, allow the filler to cure fully overnight. Surface dryness is insufficient. Sand excess filler carefully to flush with surrounding wood, avoiding premature sanding that can pull filler out.
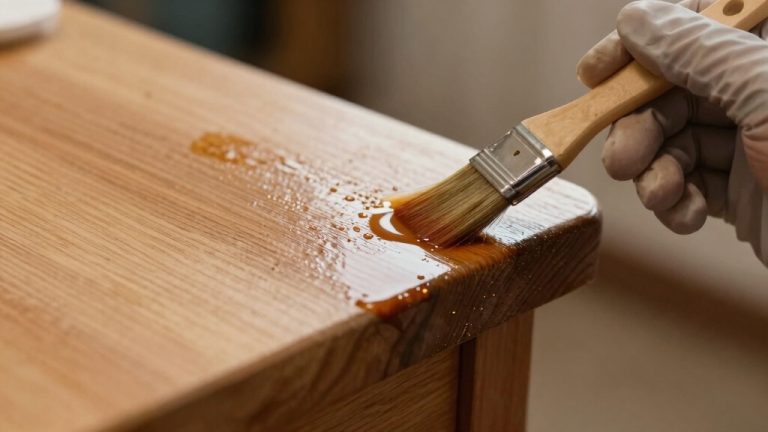
Always test stain compatibility beforehand, and seal filled areas with at least two clear coats to protect and unify the finish. Using finish-appropriate fillers enhances durability and helps maintain a consistent appearance.
Finishing Touches After Patching
Although the patch may seem complete, achieving a seamless finish requires careful attention to surface preparation, sanding, and stain matching. First, clean the area thoroughly and remove any loose filler or adhesive to ensure a secure fit.
Next, sand the patched section with fine-grit sandpaper, feathering edges gently beyond the repair to blend with the existing floor. Then, employ water-popping to open the wood grain for even stain absorption and test stain colors on scrap wood to match precisely.
Finally, apply multiple finish coats, sanding lightly between each, and match the sheen to the surrounding floor to avoid visible differences. To protect the repair and surrounding wood from moisture damage, consider using a waterproof sealant after finishing.
Frequently Asked Questions
Can I Patch Hardwood Floors Myself Without Professional Experience?
Yes, you can patch hardwood floors yourself if you have basic carpentry skills and the right tools. Minor surface damage like scratches or small gouges is manageable with wood filler and sanding.
However, replacing boards demands precision cutting, fitting, and matching wood type. Plan for half a day per small patch and test finishes for color match. If damage is extensive or boards are irregular, consider professional help to guarantee quality and durability.
How Long Does a Typical Hardwood Floor Patching Project Take?
A typical hardwood floor patching project takes 1 to 3 days, depending on damage size and complexity. Small patches might finish in a day, while larger repairs require 2-3 days.
You’ll spend time evaluating damage, removing damaged planks, installing patches, sanding, and applying finishes. Drying and curing times for adhesives and sealants extend the timeline, often adding 1-3 days before the floor’s ready for use.
Will Patched Areas React Differently to Humidity Than Original Flooring?
Think of your floor like a living organism with patched areas as new skin. They’ll react differently to humidity. Patched wood often hasn’t acclimated like original boards, causing it to expand or contract unevenly.
Variations in moisture content, adhesives, and finishes create localized stress, leading to cupping, gapping, or cracking. To minimize these effects, you need to match wood species, thoroughly acclimate patches, and maintain stable indoor humidity levels.
Can I Patch Floors With Different Wood Species Than the Original?
Yes, you can patch floors with different wood species, but you need to select species with similar hardness and grain to avoid uneven wear and visual mismatch.
Adjust stain and finish carefully to match color and sheen, considering natural aging effects. Use compatible fillers and sanding techniques to blend edges.
Keep in mind that different expansion rates may cause gaps, so precise fitting and professional guidance improve durability and appearance.
How Do I Prevent Patched Areas From Discoloring Over Time?
Imagine you patched a kitchen floor near a sink but noticed discoloration after a month. To prevent this, control moisture by drying spills immediately and keeping indoor humidity between 40-50%. Use water-resistant finishes on patched areas to shield them from water and UV damage.
Regularly clean with wood-safe products and avoid harsh chemicals. This proactive maintenance preserves color and integrity, ensuring your patched floor blends seamlessly over time.
From Patchy to Perfect: The Power of Patience
Now that you’ve mastered each step from prepping the area to finishing touches, you’re just moments away from restoring your floor’s flawless look. But here’s the catch: if you rush or skip details, that patch will stand out, undoing all your effort.
Take your time, follow the process precisely, and the results will blend seamlessly with your hardwood floor. The difference between a visible patch and an invisible repair lies in your final execution.