How to Lighten Hardwood Floors: Make a Difference
To lighten hardwood floors, start by thoroughly sanding to remove old finishes and create a smooth surface, using progressively finer grits. Next, apply safe chemical lighteners like sodium hydroxide and hydrogen peroxide carefully with protective gear, working in small sections.
Choose a light-pigmented stain or whitewash to enhance brightness, then seal with a durable water-based finish. Your wood species and grain affect results, so select methods accordingly.
Proper care afterward preserves your luminous floor’s beauty—explore further to master every step.
Key Takeaways
- Sand floors starting with coarse grit sandpaper, progressing to finer grits for an even, smooth surface before lightening treatment.
- Apply sodium hydroxide evenly with a brush, limit exposure to 10-20 minutes, then activate with hydrogen peroxide for effective bleaching.
- Choose lightening methods based on wood species and grain, using pigmented stains, oils, or whitewashing to enhance natural brightness.
- Wear protective gear and ensure proper ventilation when handling chemical lighteners to maintain safety during application.
- Seal lightened floors with water-based polyurethane and maintain regularly with gentle cleaning and humidity control for lasting finish.
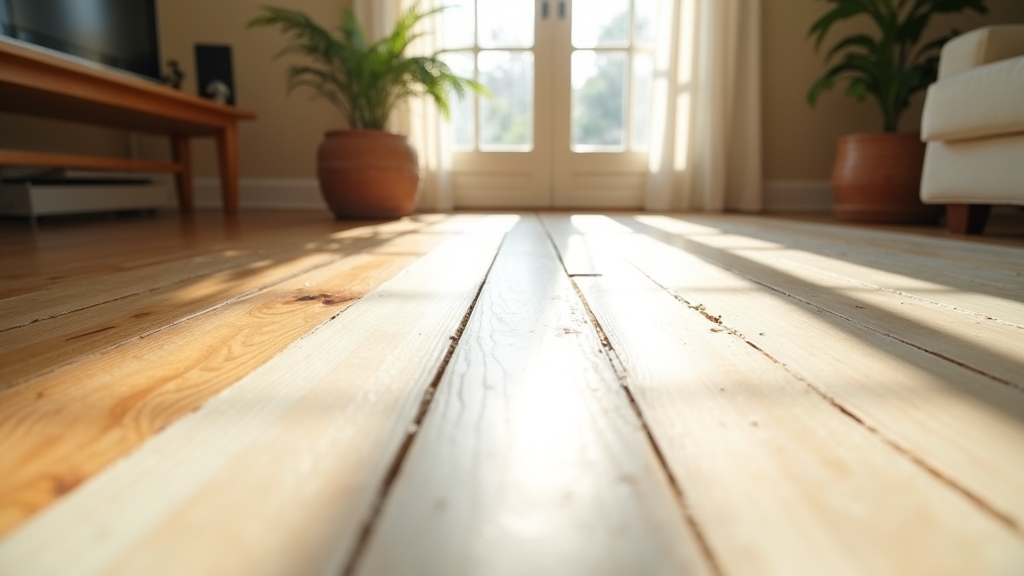
Preparation and Sanding Techniques for Lightening Floors

Before you begin sanding to lighten your hardwood floors, you’ll need to prepare the area meticulously to guarantee a smooth, dust-minimized process. Remove all furniture and coverings, then seal off adjacent rooms and vents with plastic sheeting to contain dust. Proper tools and safety equipment should be ready to ensure a safe and efficient workflow during refinishing.
Inspect for nails or staples and countersink or remove them to protect your sanding tools. Different woods react uniquely to sanding and lightening, so knowing your wood species can help anticipate the results. Thoroughly sweep or vacuum the floor to eliminate debris.
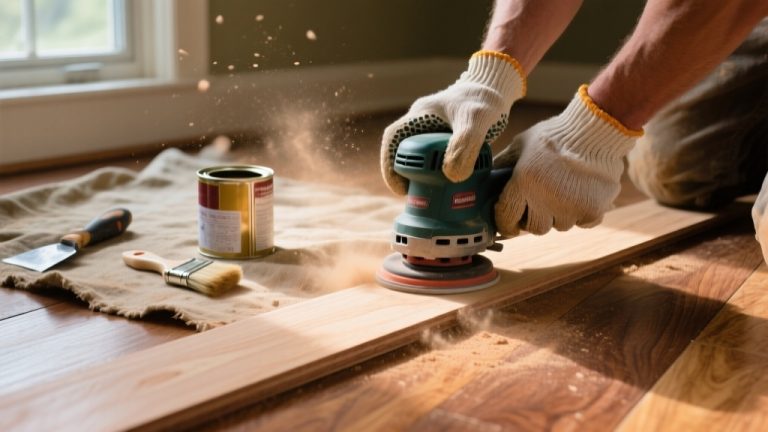
Use a drum sander for open areas and an edge sander for corners. Start with coarse grit sandpaper (36-40 grit) to remove old finishes, then progress to medium and fine grits (60-120) for a smooth surface. Maintaining even sanding prevents uneven wear and ensures a consistent finish. Keep the sander moving steadily to avoid gouges, and clean dust frequently.
Using Bleaching and Chemical Lightening Safely
Before you start bleaching, equip yourself with protective gloves and eye protection to guard against harsh chemicals. Using a vacuum with HEPA filtration before and after bleaching can help reduce dust and allergens stirred up during the process.
Apply bleach in small, controlled sections, following dilution guidelines carefully to avoid damaging the wood. Always work in a well-ventilated space to guarantee safety and excellent results. It is important to test a less-visible section of the wood floor first to ensure the bleach will not cause unwanted discoloration or damage.
Protective Gear Essentials
Wearing the right protective gear is essential when using bleaching agents and chemical lighteners on hardwood floors to guarantee your safety and prevent serious injuries.
Here’s what you need:
- Eye and Face Protection: Wear impact-resistant safety goggles and a face shield to block harmful chemical splashes. Keep clean water nearby for immediate eye rinsing if needed. It is also advisable to avoid walking on freshly treated floors to minimize exposure during the curing process.
- Skin Protection: Use long rubber gloves, chemical-resistant aprons or coveralls, and rubber boots to avoid skin contact with caustic substances. It is important to handle chemicals like sodium hydroxide and hydrogen peroxide with caution due to their corrosive nature.
- Respiratory Protection: Employ particulate respirators for dust and air-purifying respirators with solvent cartridges for chemical fumes, ensuring a tight fit. Proper ventilation is critical during application to reduce inhalation risks associated with chemical vapors.
- Clothing and Body Protection: Choose heavy-duty gloves extending past wrists, knee pads for comfort, and avoid loose clothing or jewelry that may catch chemicals. Consistent use of protective equipment ensures long-term safety when working with hazardous substances.
Proper Application Techniques
Once you’ve equipped yourself with the proper protective gear, the next step is mastering the application techniques for bleaching hardwood floors safely and effectively.
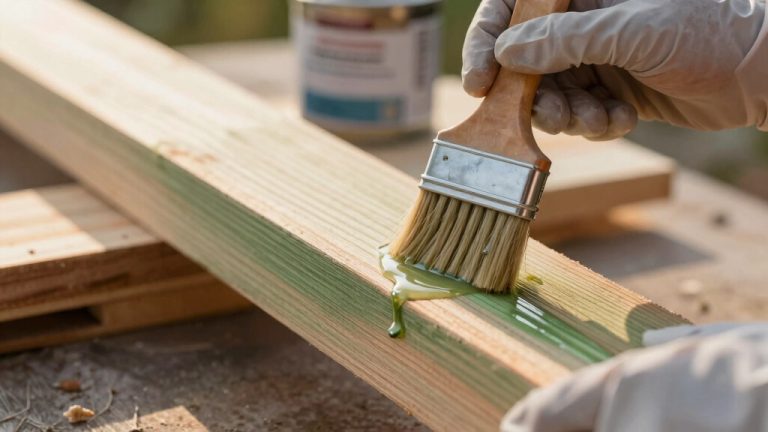
Apply sodium hydroxide evenly along the grain with a synthetic brush, letting it sit for 10-20 minutes. Be careful not to exceed the 20-minute limit to avoid damaging the wood fibers during the two-step bleaching. Remember to work in small sections and avoid excess liquid to prevent moisture damage.
Follow immediately with hydrogen peroxide to activate bleaching, repeating if needed. Thoroughly neutralize and rinse the area to remove chemicals and prevent finish issues. Dry the floor in a ventilated, shaded area for 24 hours to ensure even color and safe finishing.
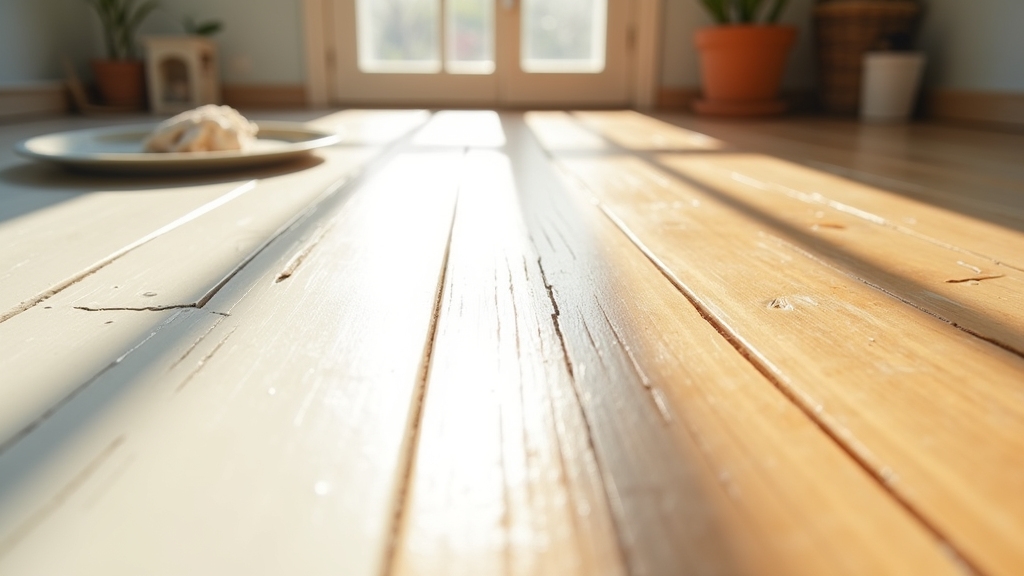
Staining and Finishing Methods to Enhance Light Floors
Although lightening hardwood floors often starts with sanding and bleaching, the staining and finishing methods you choose play a crucial role in enhancing and protecting the lighter tones.
To achieve a refined result, consider these approaches:
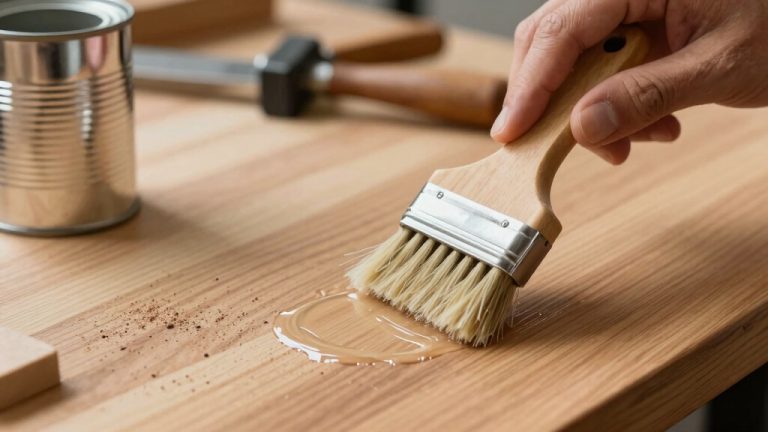
- Use pigmented stains or sealers designed for light colors, followed by multiple coats of water-based finish for durability and even protection. Proper application of these finishes can also help prevent surface scratches commonly addressed by vacuuming hardwood floors.
- Apply pigmented penetrating oils like Rubio Monocoat for a natural, matte look that brightens while emphasizing wood grain.
- Experiment with whitewashing or pickling to overlay a translucent white layer that softens the wood’s appearance without masking grain.
- Finish with protective water-based polyurethane and perform touch-ups to maintain longevity and aesthetic integrity.
These methods ensure your lightened floors remain beautiful and resilient over time, while also reflecting more natural light to enhance overall luminosity.
How Wood Species Affect Lightening Results?
When lightening hardwood floors, you’ll notice oak and maple respond quite differently. Oak’s pronounced grain often highlights contrast after lightening. Maple’s smoother texture offers a more uniform, subtle brightness.
Understanding these species-specific traits helps you achieve the exact look you want with precision. Since fading varies depending on the hardwood species installed, knowing how each wood reacts to light exposure is essential for effective floor lightening.
It is also important to assess the damage and prepare the floor properly before any lightening or refinishing process to ensure the best results.
Oak vs Maple Response
Because oak and maple differ considerably in porosity, hardness, and natural color, your choice between these woods profoundly affects how well they respond to lightening treatments.
Consider these key differences:
- Oak’s porous grain absorbs stains and bleaches more evenly, allowing pronounced lightening but may darken over time, especially red oak.
- Maple’s dense, tight grain resists even stain absorption and chemical penetration, requiring careful application for uniform lightening.
- Maple’s hardness demands precise sanding to avoid surface damage, while oak’s softer texture lets lighteners penetrate deeper but risks uneven wear.
- Naturally pale maple yields a cleaner, brighter finish, ideal for minimalist styles, whereas oak’s warm hues create varied, character-rich lightened floors.
Understanding these factors helps you select the best wood and method to achieve your desired lightening outcome. Proper preparation and ensuring the wood surface is clean and dry can improve treatment effectiveness.
Grain Patterns Impact
Choosing between oak and maple sets the foundation for how your floors will respond to lightening, but the wood’s grain pattern plays an equally significant role in the final appearance.
Woods with fine, subtle grains like maple or birch yield a smooth, consistent pale finish, perfect for a modern, uniform look. Proper maintenance and cleaning techniques, such as using pH-balanced cleaners, can help preserve the floor’s appearance during and after the lightening process.
Conversely, species with bold, pronounced grains such as hickory or tigerwood maintain striking contrasts post-lightening, highlighting natural character but risking a busier visual effect. Hickory, noted for its strong shock resistance and striking color contrast, particularly emphasizes these bold grain patterns.
Open-grained woods like ash can absorb lightener unevenly, intensifying texture and creating patchiness. Denser, closed-grain species absorb treatments more uniformly, minimizing blotchiness.
Understanding these grain characteristics helps you anticipate how lightening will enhance or emphasize your hardwood’s natural beauty, ensuring your floor’s final tone and texture align with your aesthetic goals.
Alternative Methods: Whitewashing and Glazing Explained
Although traditional sanding and refinishing remain popular for lightening hardwood floors, alternative methods like whitewashing and glazing offer distinctive aesthetic options that can transform your space with less invasive procedures.
You can:
- Apply whitewash, a diluted white paint or pigment stain that brightens floors while preserving natural grain visibility, perfect for rustic or Scandinavian styles. Proper preparation steps such as sanding and cleaning are essential to ensure a smooth application. Using a pH-neutral cleaner before application helps protect the wood finish and enhances adhesion.
- Sand floors to raw wood beforehand, ensuring proper adhesion and uniform color, especially on previously sealed surfaces.
- Use glazing to add translucent tinted layers, creating subtle color shifts and depth without obscuring wood grain. This is ideal for antique or customized effects.
- Seal whitewashed floors with a water-based, non-yellowing polyurethane to maintain brightness and protect the finish. Applying multiple coats with light sanding between them guarantees a durable and flawless surface.
Care and Maintenance Tips for Light Hardwood Floors
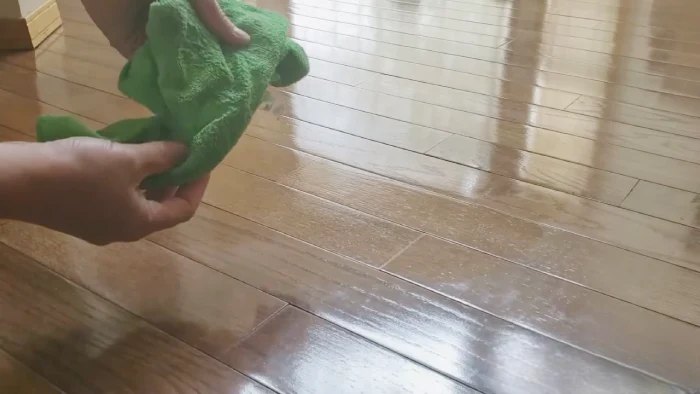
To keep your light hardwood floors looking their best, establishing a consistent cleaning routine is essential. Dust daily with a microfiber mop to trap debris and prevent scratches, and vacuum weekly using a hard-floor setting. Avoid brooms alone, as they can scatter dirt.
Damp mop occasionally with a well-wrung cloth and pH-neutral cleaner, ensuring minimal moisture. Protect floors by placing quality mats at entryways, attaching felt pads to furniture legs, and avoiding dragging furniture. Trim pets’ nails and remove sharp-heeled shoes at doors.
Address spills immediately with hardwood-specific cleaners, steering clear of harsh chemicals. Perform monthly touch-ups, polish quarterly, and deep clean annually. Limit sunlight, use breathable rugs in high-traffic areas, and control humidity to prevent damage.
Regularly use a vacuum cleaner designed for hardwood floors to effectively remove dust and debris without causing scratches. These steps maintain the beauty and longevity of your light hardwood floors.
Frequently Asked Questions
Can Lightening Hardwood Floors Increase Home Resale Value?
Yes, lightening hardwood floors can boost your home’s resale value by about 3-5%. When you invest in refinishing, including lightening, you often recoup more than double the cost through increased market appeal.
Buyers love light floors for their modern, fresh look and versatility. You’ll also sell faster and attract higher offers because lightened hardwood highlights well-maintained, original wood, making your home stand out in today’s market.
How Long Does the Lightning Process Typically Take?
You can expect the lightening process to take about 3 to 5 days for typical rooms, factoring in sanding, staining, and finishing. Small rooms might take 1-2 days, while larger spaces need more time.
Drying and curing finishes add extra days. Water-based finishes dry faster but still require up to two weeks to fully cure. Proper preparation and multiple coats guarantee an even, beautiful lightened floor you’ll love.
Are There Eco-Friendly Products for Lightening Floors?
Yes, you can choose eco-friendly products to lighten your floors. Look for water-based, low-VOC finishes and stains like those from Paragon™ or ECOS Paints. They offer durable, non-toxic protection without harsh odors.
These products dry quickly and are easy to clean with soap and water. They also comply with strict environmental standards. Using such sustainable options helps maintain indoor air quality and supports your commitment to an eco-conscious home renovation.
Can Pets Damage Lightened Hardwood Floors More Easily?
Yes, pets can damage lightened hardwood floors more easily. Scratches and stains become 40% more visible due to the lighter finish. You’ll notice pet urine penetrates the thinner protective layer faster, causing discoloration and warping.
To protect your floors, trim your pet’s nails regularly, clean accidents immediately, and use rugs in high-traffic areas. Professional refinishing can help, but matching lighter tones requires precision to maintain your floor’s beauty.
What Is the Cost Difference Between Bleaching and Whitewashing Floors?
You’ll find bleaching hardwood floors costs about $1.30 to $1.56 per square foot, making it the more budget-friendly option. Whitewashing, however, ranges from $2 to $7 per square foot professionally, reflecting its intricate prep and finishing.
If you DIY, whitewashing materials might run you $100 to $300 per room, but professionals often charge over $1,000.
Maintain the Glow: Caring for Your Lightened Floors
Lightening your hardwood floors can completely transform your space, making it feel as bright as a sunlit morning. By carefully prepping, sanding, and choosing the right bleaching or staining techniques, you’ll achieve a flawless finish that highlights your wood’s natural beauty.
Remember, the wood species and maintenance routine play vital roles in preserving that fresh, airy look. With these steps, your floors will shine brilliantly for years to come. Truly a timeless masterpiece underfoot.