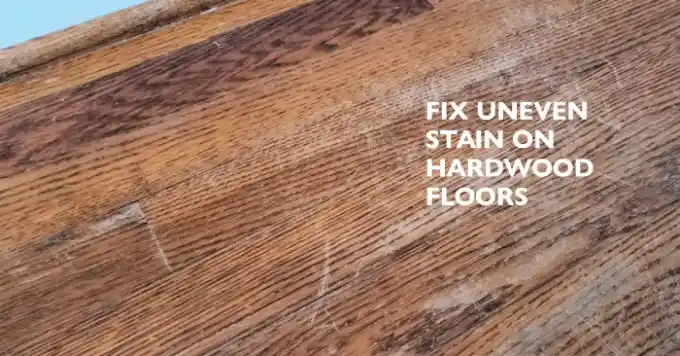
How to Fix Uneven Stain on Hardwood Floors: 6 Steps [Easy to Follow]
Hardwood floors add a touch of elegance and warmth to any space, but when uneven stains mar their beauty, it’s essential to address the issue.
Uneven stain application can result in unsightly blotches and color variations, diminishing the overall aesthetic appeal.
But you can rectify this problem and restore your hardwood floors to their former glory. Fixing uneven stains on hardwood floors requires sanding and applying new stains evenly.
We’ll go over all the steps so you can fix your hardwood floor’s uneven stain. So, let’s get started on giving your floors the attention they deserve.
How to Fix Uneven Stains on Hardwood Floors: Step-By-Step Guide
If you’ve noticed an uneven stain on your hardwood floors, here’s how to fix it:
- Step #1: Identify the Stain’s Extent and Sand the Affected Areas
- Step #2: Clean the Floor
- Step #3: Apply Stain Evenly
- Step #4: Allow the Stain to Dry
- Step #5: Apply Additional Coats if Needed
- Step #6: Apply a Polyurethane Finish
Here is a detailed explanation of the steps.
Step #1: Identify the Stain’s Extent and Sand the Affected Areas
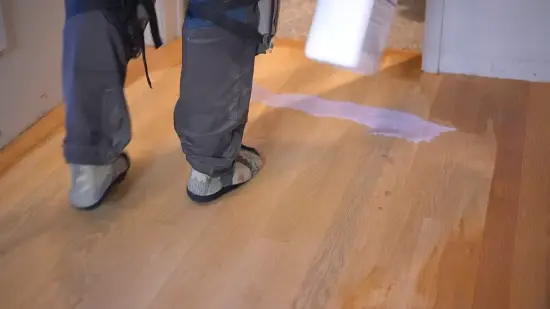
First, take a close look at your hardwood floor to identify areas where the stain appears uneven or blotchy. This assessment will help you plan the necessary steps for correcting the problem. Determine if the issue is limited to specific spots or if it is prevalent throughout the floor.
Once pinpointing the affected areas, grab a floor buffer or sandpaper with a grit between 180 and 220 and start sanding parallel to the wood grain.
Sanding helps to remove the existing stain and prepare the surface for re-staining. This is important to maintain consistency in the final appearance of your hardwood floor.
Make sure to sand the unevenly stained areas carefully to avoid any further damage to your floor. Use a light touch and sand slowly until the surface is smooth and even.
Once you’ve finished sanding, clean the floor thoroughly to remove any dust or debris. This will help ensure that the new stain adheres evenly to the surface.
Step #2: Clean the Floor
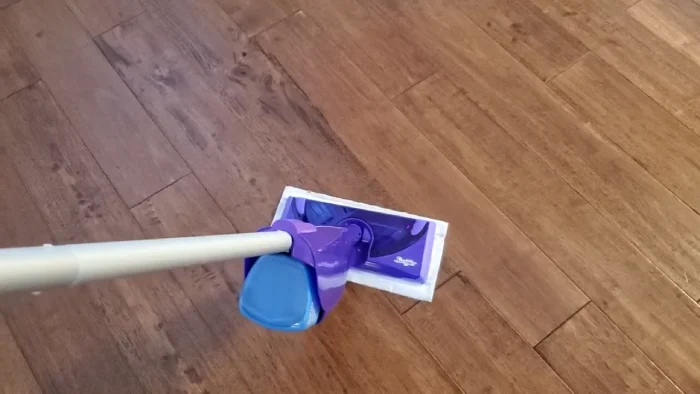
To ensure a pristine surface, you’ll want to grab a microfiber mop and vacuum cleaner as you clean up any wood dust or debris left behind after sanding, which can account for up to 30% of the total weight of wood.
A microfiber mop is perfect for sweeping the floor gently, as it can pick up even the smallest particles. Meanwhile, a vacuum cleaner can help you reach the corners and other hard-to-reach areas where dust and debris might accumulate.
To ensure you don’t miss anything, you must know what you’re dealing with. Use a table to document any existing stains or scratches on the hardwood floor.
This will help you identify the areas that need more attention and ensure that you get all the spots when cleaning up.
Remember that the cleaner the surface, the better the stain application will be. Therefore, it’s crucial to take the time to clean the floor thoroughly before proceeding with the next steps.
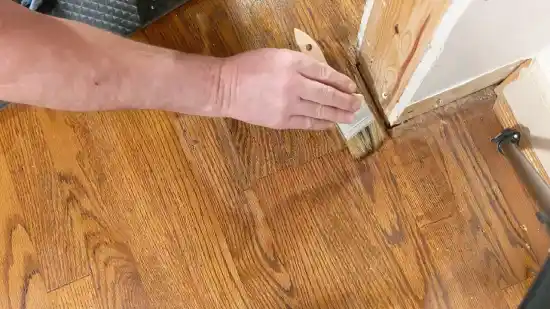
Step #3: Apply Stain Evenly
Achieving a flawless finish on your wooden floors is all about proper application technique, so it’s important to use a paintbrush or a stain mop/buffer with a piece of carpet as you apply the stain evenly.
When applying the stain, make sure to follow the grains of the wood to avoid any further unevenness. This will help the stain absorb evenly and give your hardwood floors a consistent color.
Starting in a less visible area or testing the stain on a small section can help you achieve the desired color. This will allow you to see how the stain looks on your floors before committing to the entire area.
Once you’re ready to apply the stain, use a dry cloth or rag to wipe off any excess. Remember, an even coat is key to a beautiful, smooth finish, so take your time and ensure that you’re applying the stain evenly across the entire surface.
Step #4: Allow the Stain to Dry
Now, don’t rush the process and ruin your hard work. Give that stain enough time to dry before moving on to the next step.
Waiting for at least 2-3 days is recommended to ensure that the stain has fully dried and settled into the wood. Rushing this step can result in uneven drying and an inconsistent finish.
To ensure that you’ve allowed the stain to dry properly, here are a few tips to keep in mind:
- Check the manufacturer’s instructions for recommended drying time.
- Avoid walking on the stained area or placing any furniture on it until it has fully dried.
- Keep the room ventilated to promote proper drying.
- Assess the color and determine if further coats of stain are necessary before proceeding with the next step.
Step #5: Apply Additional Coats if Needed
You’ll be thrilled to know that if you want a deeper or more consistent color, simply apply additional coats of stain following the same process.
Applying multiple coats will help achieve a more uniform and consistent color, especially if the stain appears uneven.
It’s important to wipe off any excess stains and allow each coat to dry completely before proceeding to the next one. This will ensure that the stain is absorbed evenly and will prevent any streaks or blotches.
To help keep track of your progress, you can use a table to record the number of coats you’ve applied and the drying time between each coat. This will help ensure that you apply the same number of coats to each floor section, which will result in a more even color. Here’s an example of what your table could look like:
| Coat Number | Drying Time |
| 1 | 24 hours |
| 2 | 24 hours |
| 3 | 48 hours |
| 4 | 48 hours |
| 5 | 72 hours |
Remember that the drying time can vary depending on the humidity and temperature in your home, so it’s important to follow the manufacturer’s instructions for the stain you’re using.
Step #6: Apply a Polyurethane Finish
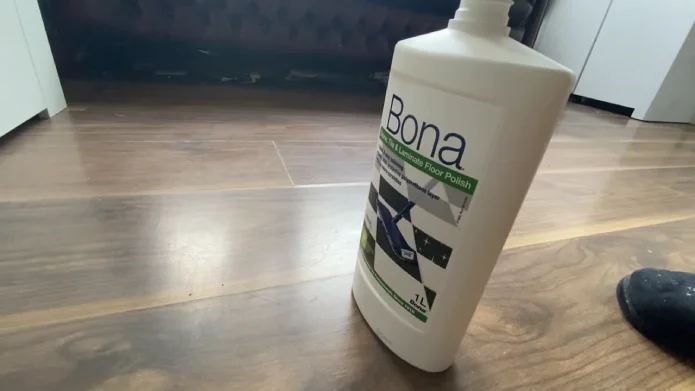
To protect your newly stained wood and give it a sleek finish, grab a paintbrush or roller and apply a coat of polyurethane finish to the entire surface.
This protective finish not only shields the wood from damage but also helps to even out any color variations.
Polyurethane finish is available in different sheens, including satin, semi-gloss, and high-gloss, so choose the one that suits your preference.
When applying the polyurethane finish, follow the manufacturer’s instructions carefully. Apply the finish in even strokes, working toward the wood grain.
Allow the first coat to dry completely before applying additional coats, usually 6-8 hours or overnight. If you notice any bubbles or brushstrokes, sand the surface lightly with fine-grit sandpaper before applying subsequent coats.
Once you have applied the desired number of coats, allow the finish to dry completely for at least 24 hours before walking on the floor or placing furniture on it.
Why Does the Hardwood Floor Stain Look Uneven?
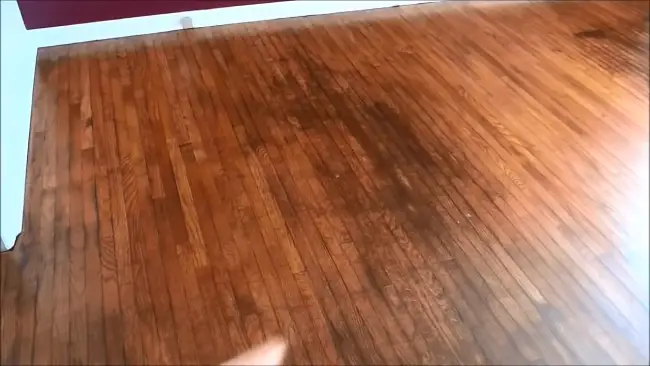
If you notice that the stain on your hardwood floor looks uneven, there could be several reasons behind it. Here’s why:
1. Wood Density Variations
One thing to keep in mind is that hardwood floors with varying wood densities may result in a patchy stain job, like a leopard trying to change its spots.
Different types of wood have different densities, and this can have a big effect on how the wood absorbs stains.
Hardwoods like oak and walnut tend to have a more consistent density, which means they absorb stains more evenly.
However, softer woods like pine or birch may have varying densities, which can cause them to absorb stains unevenly.
It’s important to understand how the density of different woods can affect the staining process. To help illustrate this, here is a table showing the densities of some common hardwoods:
| Wood Type | Density (lbs/ft³) |
| Oak | 47-55 |
| Walnut | 36-45 |
| Maple | 44-52 |
| Cherry | 33-43 |
| Pine | 23-38 |
As you can see, there can be a significant difference in density between different types of wood. If you have a hardwood floor made up of a mix of different types of wood, it’s important to consider this when staining.
You may need to apply more stain to the areas that have a lower density or use a different type of stain altogether to achieve a more even finish.
2. Improper Surface Preparation
Improperly preparing the surface of your floor before staining can result in a disappointing and frustrating outcome.
You might have noticed that your hardwood floors have an uneven stain, which can be caused by dust, debris, or residues left on the surface.
If you don’t clean the surface properly before applying the stain, it can interfere with the stain’s penetration and cause uneven absorption.
3. Uneven Application of Stain
To achieve a consistent color on your wooden surface, it’s crucial to apply the stain evenly and with care.
When the stain is applied too heavily in some areas or wiped off too quickly, it can result in uneven color distribution. This can be avoided by taking your time and applying the stain in thin, even layers.
Use a paint brush or applicator pad to apply the stain, and make sure to work in small sections. This will ensure that the stain is applied evenly and that you have enough time to wipe away any excess before it dries.
When wiping away excess stains, use a clean, lint-free cloth and work in the direction of the grain. This will help to prevent streaks and ensure that the color is uniform.
If you notice any areas where the color is lighter or darker than the rest of the surface, you can apply a second coat of stain to even it out. Just let the first coat dry completely before applying the second coat.
4. Stain Drying Too Quickly
If you rush the application process, you might end up with an uneven finish due to the stain drying too quickly. This can happen if you don’t give the stain enough time to absorb into the wood.
When the stain dries too quickly, it can create blotchy or uneven patches that are difficult to fix. To avoid this issue, it’s important to work in small sections and apply the stain evenly.
Use a brush or rag to apply the stain, making sure that each stroke overlaps the previous one. Wait for the stain to absorb fully into the wood before moving on to the next section.
If you notice that the stain is drying too quickly, you can try adding a few mineral spirits to slow down the drying process.
5. Water Popping Issues
You can achieve a flawless finish on your wooden surfaces by mastering the water popping technique. However, if it’s not done correctly, it can cause uneven stain absorption, which can be frustrating to fix.
Here are some common water popping issues and how to fix them:
- Not using enough water – If you don’t use enough water to open up the wood’s pores, the stain won’t absorb evenly. Ensure to wet the surface thoroughly and let it dry completely before applying the stain.
- Using too much water – On the other hand, using too much water can also cause problems. If the surface is not adequately dried after water popping, it can cause uneven stain absorption. Use a fan or dehumidifier to speed up the drying process.
- Uneven application – If you apply the water unevenly, it can cause some areas to absorb more stains than others. Make sure to apply the water evenly and consistently to avoid this issue.
6. Existing Floor Finish or Sealer
Your wooden surface may have an uneven absorption of stain due to a previous finish or sealer that wasn’t fully removed or was incompatible. This can be frustrating, but there are solutions available.
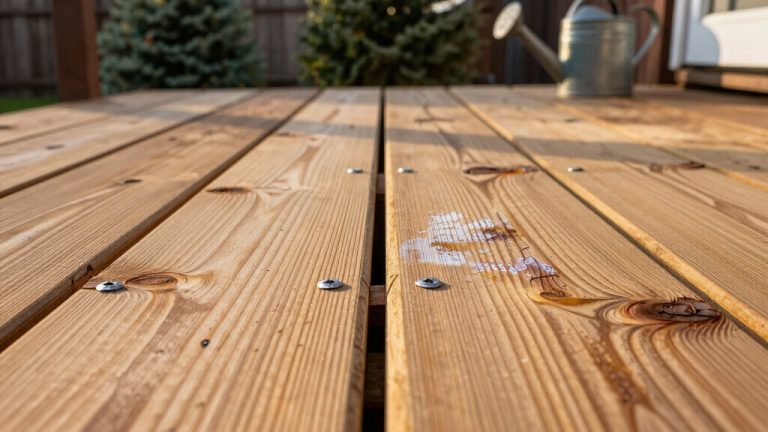
First, determine if there’s still a sealer or finish present on the wood. You can do this with a simple water drop test.
If water droplets bead up on the surface, then there’s still a sealer or finish present. If the water droplets soak into the wood, then the surface is ready for staining.
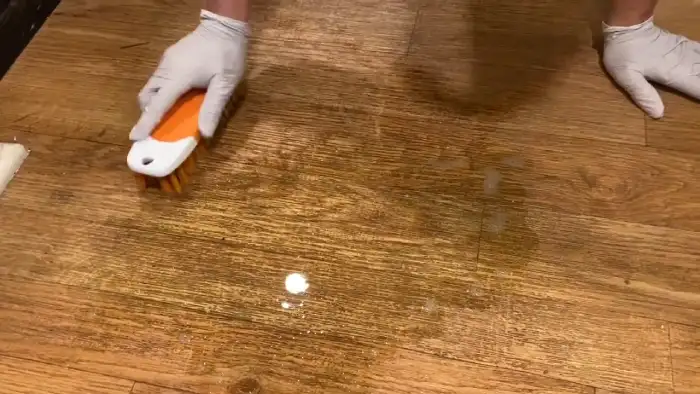
If there’s still a finish or sealer present, remove it before applying a new coat of stain. You can do this with sandpaper or a chemical stripper, depending on the type of finish.
Be sure to follow all safety precautions when using chemicals and wear gloves, eye protection, and a respirator.
Once the surface is clean and free of any old finishes, apply a new coat of stain evenly to achieve a uniform color.
7. Wood Imperfections
Now that you’ve addressed the existing floor finish or sealer, it’s time to move on to the next potential cause of uneven staining on your hardwood floors – wood imperfections.
Natural imperfections in the wood can affect how the stain is absorbed, resulting in an uneven appearance. But don’t worry, there are steps you can take to minimize the impact of these imperfections and achieve a more uniform look on your floors.
First, identify any knots, grain variations, or other imperfections in the wood. Then, use wood filler to fill in any gaps or holes.
Sand the area smoothly and clean away any excess filler before applying the stain. This will help ensure that those areas don’t absorb more stain than the surrounding wood, creating an uneven appearance.
Here are some additional tips to keep in mind:
- Choose a wood filler that matches the color of your hardwood floors for a more seamless look.
- Use fine-grit sandpaper to avoid damaging the surrounding wood while sanding.
- Apply the wood filler in thin layers, allowing each layer to dry completely before adding more.
- Test the stain on a small, inconspicuous area before applying it to the entire floor to ensure consistent color.
- Apply the stain in thin, even coats, and wipe away any excess with a clean cloth to prevent pooling and streaking.
By taking these steps to address wood imperfections, you can help ensure that your hardwood floors look their best and achieve a more uniform appearance.
Can you stain a different color over old stains on hardwood floors?
It is possible to stain hardwood floors with a different color over old stains. In fact, applying a dark stain over a lighter stain is a fairly simple process.
Prior to staining, it is important to prepare the floor by sanding and cleaning it thoroughly to ensure proper adhesion of the new stain.
It is also recommended to test the new stain in a small, inconspicuous area before applying it all over.
What should you do if you accidentally applied too much stain in some areas on hardwood floors?
If you find yourself in a situation where you have applied too much stain in certain areas on your hardwood floors, act fast.
Blot and absorb the excess stain with a clean cloth or paper towel, avoiding rubbing or spreading it any further. If the stain remains, try diluting it with a small amount of mineral spirits or stain thinner.
But before proceeding, test this solution on a small, inconspicuous area to avoid further damage. If the stain is still noticeable, sand the affected area and reapply the stain for an even appearance.
Remember, quick and careful action is crucial to rectify the situation and restore your hardwood floors to their original beauty.
What is the best time of year to stain hardwood floors?
Summer is the optimal time to give your wood floors a fresh new look, especially if you plan on being out of the house for an extended period of time.
The warm and dry weather conditions make it easier for the stain to dry and cure properly, which is crucial for achieving a smooth and even finish.
Additionally, the increased ventilation from open windows and doors can help to speed up the drying process and prevent any unwanted odors from lingering in your home.
However, it’s important to note that the best time of year for staining hardwood floors ultimately depends on your specific circumstances and preferences.
If you live in an area with high humidity or extreme temperatures, it may be better to wait until the weather conditions are more favorable.
Additionally, if you have pets or young children, you may want to consider scheduling your floor refinishing project during a time when you can easily keep them away from the area until the stain has fully dried.
How often should you restain hardwood floors?
The frequency of restaining hardwood floors varies based on several factors. While it’s recommended to refinish hardwood floors every 7-10 years, restaining may not be necessary during every refinishing cycle.
The decision to restain hardwood floors should be based on your personal preferences and the condition of the existing stain.
If the current stain is still in good condition and you’re satisfied with its color and appearance, you may not need to restain.
However, restaining may be necessary if you want to update the color or fix any unevenness in the stain. It’s best to consult with flooring professionals who can provide tailored advice for your specific situation and help you make an informed decision.
Fix Uneven Stains and Achieve Beautiful, Harmonious Floors
Fixing uneven stains on hardwood floors is a task that requires careful attention and a systematic approach. By following the steps outlined above, you can address the issue and restore a more uniform and visually appealing look to your floors.
Remember to start by assessing the extent of the unevenness and sanding the affected areas to remove the existing stain. Cleaning the floor thoroughly is crucial to ensure a smooth and debris-free surface for the new stain application.
When applying the stain, take care to do so evenly across the grains of the wood. Wipe off any excess stains to avoid creating further inconsistencies. Allow the stain to dry completely before deciding if additional coats are needed.
If you’re patient and pay attention, you can fix uneven stains on your hardwood floors and create a beautiful, harmonious space that shows off the wood’s natural beauty.
Enjoy the satisfaction of revitalizing your floors and creating a welcoming environment for a long time.