How to Fix Engineered Hardwood Floor Gaps: Steps to Follow
Have you recently noticed gaps appearing in your engineered hardwood floors? It’s a frustrating issue that can not only detract from the appearance of your flooring but can also be a tripping hazard. But fixing engineered hardwood floor gaps is easy with some know-how and the right tools.
To fix engineered hardwood floor gaps, you must prepare the work area by clearing furniture and debris. Then, inspect the gaps and clean them. Once you’ve cleaned the gaps, you can repair them by filling them with the wood filler and smoothing them out with the putty knife.
Today, we’ll guide you through the process to help you understand what causes gaps in engineered hardwood floors and how to fix them effectively. So, let’s get started.
How to Fix Engineered Hardwood Floor Gaps: Step-by-Step Guide
When fixing gaps in your engineered hardwood floor, there are several steps you need to follow.
- Step 1: Prepare the Work Area
- Step 2: Inspect the Floor Gaps
- Step 3: Gather the Required Tools and Materials
- Step 4: Clean the Gaps
- Step 5: Repairing the Gaps
- Step 6: Finishing Touches
- Step 7: Maintenance and Prevention
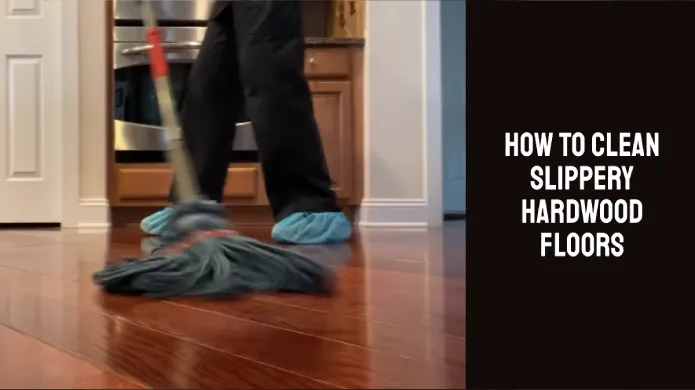
Step 1: Prepare the Work Area
Before starting, clear the area of any furniture or obstacles and clean the floor to remove debris or dust. This will ensure a smooth surface when fixing gaps in engineered hardwood flooring. It’s essential to have enough space to move around and work comfortably without obstructions.
Cleaning the floor thoroughly will also help you identify any other potential issues that may need to be addressed before the repair begins.
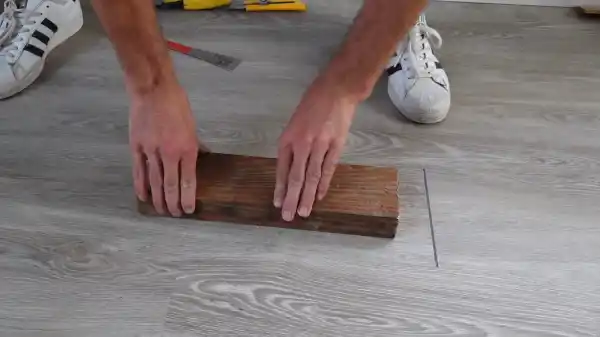
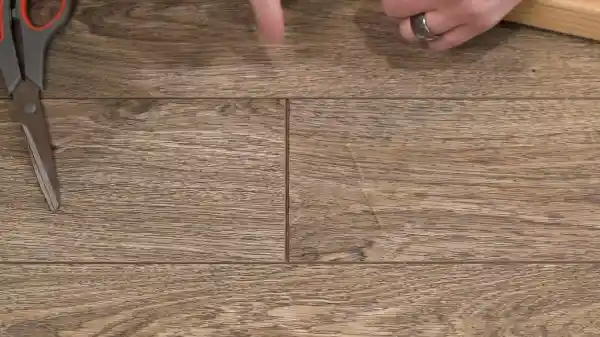
Step 2: Inspect the Floor Gaps
To evaluate the size and cause of gaps in your flooring, you should inspect them closely and consider factors such as installation, material quality, and shrinkage. Use your keen eye and attention to detail.
Look for gaps that are consistently spaced or irregularly placed, as this can indicate installation issues or material flaws. Measure the width of the gaps to determine the appropriate repair method. Wider gaps may require more extensive repairs.
Examine the edges of the planks to see if they’re bowed or warped, as this can cause gaps to form. Also, check the humidity levels in the room. Excessive moisture or dryness can cause the planks to expand or contract, leading to gaps.
Step 3: Gather the Required Tools and Materials
Ensure you have the tools and materials to repair the gaps in your engineered hardwood flooring effectively. This may include wood filler, caulk, rope, or putty, depending on the width of the gaps.
You may also need 3M Scotch double-sided carpet tape or alternative solutions like rubber matting or suction cups if working with floating floors.
Having these materials on hand will save you time and frustration when repairing your flooring. Ensure you have everything you need before starting the repair process to ensure a successful outcome.
In addition to the materials listed above, it’s also important to have the proper tools on hand. A hammer can gently tap the flooring back into place, while a chunk of 2×4 can be used as a buffer to prevent damage to the flooring.
A knife is useful for removing any excess filler or caulk, and a glazier’s bar or flat bar can be used to pry up any boards that need to be replaced.
Step 4: Clean the Gaps
Start by using a sharp tool, such as a knife or scraper, to carefully remove any debris or dirt that may have accumulated in the gaps of your engineered hardwood floor.
Be sure to work carefully and gently to avoid damaging the surrounding wood. Once you have removed as much debris as possible, use a vacuum cleaner to clean the gaps thoroughly. This will ensure they are completely free from dirt, dust, and loose particles.
Step 5: Repairing the Gaps
Now it’s time to tackle the gaps in your engineered hardwood flooring. If you have a glued-down floor, the process is relatively straightforward.
Start by mixing the wood filler with sawdust that matches the color of your floor, and then apply it to the gaps using a putty knife. However, repairing gaps can be a bit trickier if you have a floating floor.
Glued-Down Engineered Hardwood Floors
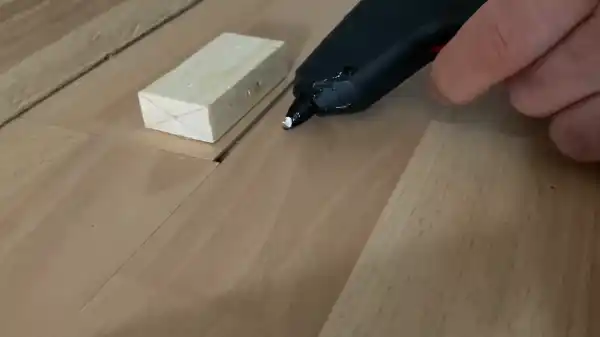
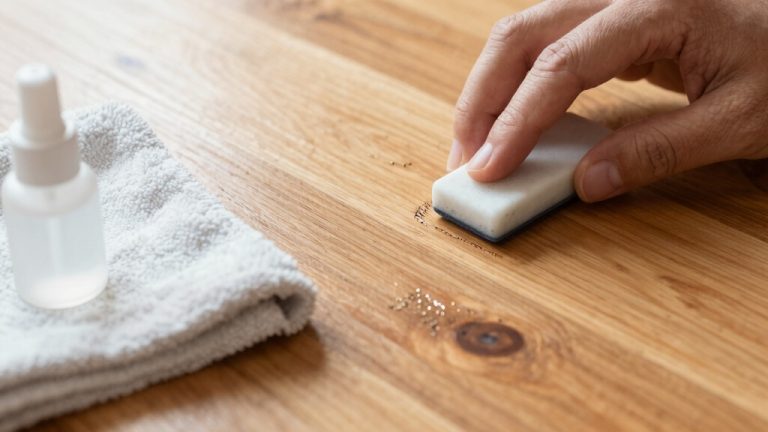
When fixing gaps in glued-down engineered hardwood floors, you’ll want to use a putty knife to press the filler firmly into the gaps, creating a smooth and seamless finish.
- Start by spreading the filler into the gaps according to the manufacturer’s instructions. Use slow and steady pressure to ensure the gaps are completely filled.
- After spreading, smooth out the excess filler and wipe off any residue from the surrounding floorboards.
- Finally, allow the filler to dry completely before moving on to the next step.
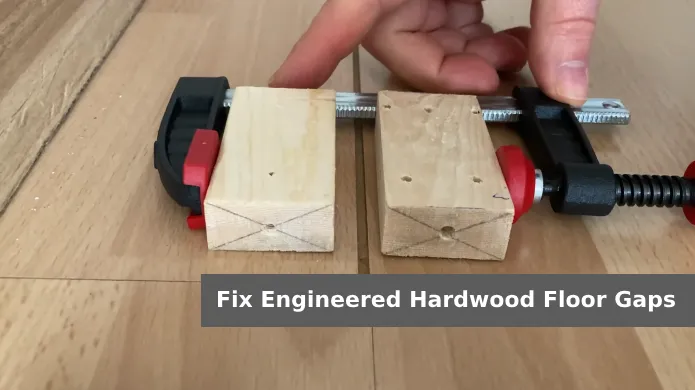
Repairing Gaps in Floating Engineered Hardwood Floors
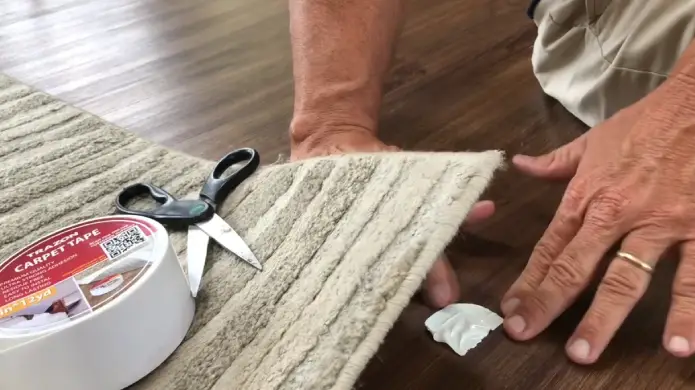
To repair gaps in your floating engineered hardwood floors, you can use 3M Scotch double-sided carpet tape. Cut the tape into appropriate lengths and apply it along the length of the gap. Peel off the backing from the tape and use a glazier or flat bar to apply pressure and close the gap.
If the gap is smaller than the length of the 2×4, use a narrower strip of tape and apply force from different directions or leverage to ensure the tape holds the floorboards tightly together.
Follow the manufacturer’s specific instructions if using alternative solutions like beaded rubber matting or a suction cup handle.
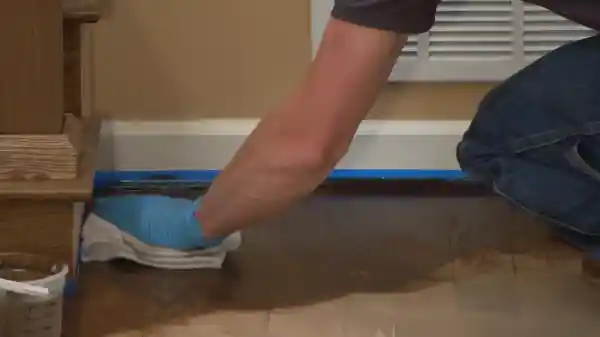
Step 6: Finishing Touches
After the repaired areas have been sanded down, use a shop vacuum to remove any remaining dust and debris from the floor. This is an important step to ensure the finish adheres properly to the repaired areas.
Once the floor is clean, you can apply a new finish to match the existing floor. This may involve staining or applying polyurethane or a similar coating. Following the manufacturer’s instructions for the specific refinishing materials is important.
To help you understand the steps involved in finishing touches, here is a table outlining the different types of finishes and their characteristics:
| Finish Type | Characteristics |
| Water-based | Dries quickly, has less odor, low VOCs, may require more coats |
| Oil-based | Takes longer to dry, strong odor, has high VOCs, and provides a durable finish |
| Wax | Low VOCs, easy to apply, requires regular maintenance, provide a soft sheen |
| Polyurethane | Durable, scratch-resistant, may yellow over time, high VOCs |
| Tung oil | Low VOCs, provide a natural look, require regular maintenance |
Understanding Engineered Hardwood Floor Gaps: Causes and Solutions
When understanding engineered hardwood floor gaps, there are five key points to consider.
1. Natural Expansion and Contraction:
As you experience changes in humidity levels, your engineered hardwood floor will naturally expand and contract, causing gaps to form. Wood is a porous material that absorbs and releases moisture depending on the environment.
During the summer months or in areas with high humidity, the wood will absorb moisture and swell, pushing against neighboring planks and closing any gaps. However, during the winter or in areas with low humidity, the wood will release moisture and shrink, leaving gaps between planks.
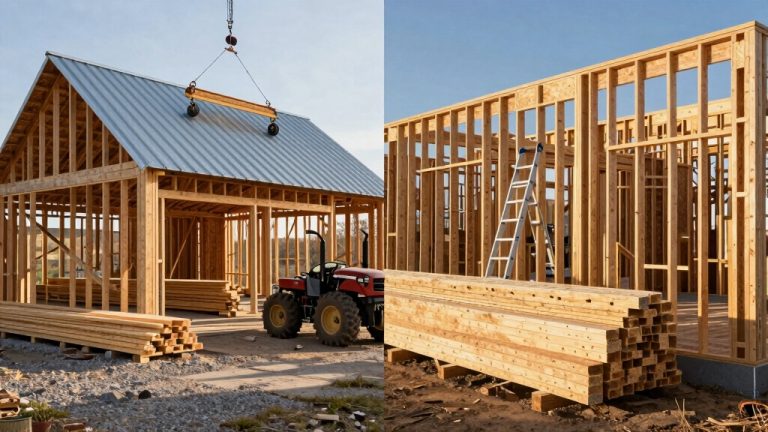
2. Installation Practices:
You can prevent gaps in your new flooring by hiring a professional installer with the proper techniques and materials.
One of the most important aspects of installation is leaving an appropriate gap around the perimeter of the flooring for wood expansion. This gap should be at least 1/4 inch to 1/2 inch, depending on the manufacturer’s recommendations.
Leave enough space for expansion to avoid the wood buckling and creating gaps. Another crucial aspect of the installation is acclimating the flooring before installation. This involves letting the flooring sit in the room where it will be installed for a certain amount of time to adjust to the temperature and humidity.
The length of time will vary depending on the manufacturer’s recommendations, but it’s typically at least 48 hours. Also, using an appropriate subfloor, such as plywood or OSB, is important for minimizing gaps. The subfloor should be flat, dry, and debris-free before installation.
3. Material Flaws:
If flaws in the wood material used for your flooring aren’t inspected and addressed before installation, gaps may develop over time. These flaws can include knots, cracks, and warping. Knots are areas where a branch was once attached to the tree, and they can weaken the board and cause it to split.
Cracks can occur when the wood dries out too quickly, and warping can happen when the wood isn’t properly dried or stored. Inspecting each board carefully before installation to identify any flaws is important. If a board has a flaw, it should be replaced with a new one.
4. Moisture and Water Damage:
Moisture and water damage can cause significant harm to your engineered hardwood floors. Immediate cleanup of spills is crucial to prevent seepage and protect your investment.
In addition to spills, high home humidity can also cause damage to your floors. To prevent this, consider investing in a dehumidifier or air conditioner to regulate the moisture levels in your home.
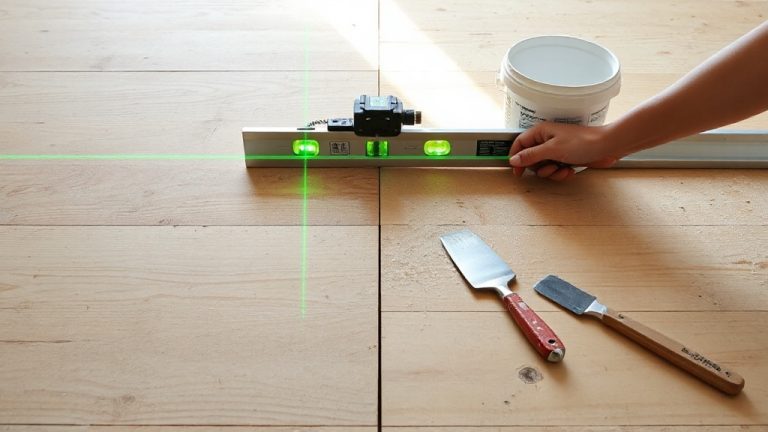
5. Subfloor Deficiencies:
Refrain from subfloor deficiencies that ruin the beauty of your engineered hardwood flooring. If your subfloor is uneven or has moisture issues, gaps in your flooring can appear.
Can you seal gaps in hardwood floors?
Sealing gaps in timber floors can be achieved using a water-based gap sealant that dries clear. Fuller Ultra Clear sealant is a popular choice for homeowners who want to maintain their timber floors’ natural look without carpeting.
This sealant is specifically designed to fill gaps and cracks in hardwood floors, helping to prevent dust and debris from accumulating in those hard-to-reach areas. Using Fuller Ultra Clear sealant is a straightforward process that most DIY enthusiasts can do.
First, clean the floor thoroughly to remove any dirt, dust, or debris from the gaps that need to be filled. Then, apply the sealant using a caulking gun to fill in all gaps and cracks. Once the sealant has been applied, let it dry completely before sanding down any excess and applying a topcoat if desired.
What happens if gaps are left on the engineered hardwood floor?
You’ll soon find yourself walking on a minefield of dirt and a tripping hazard if those wide gaps in your engineered hardwood floor are left unchecked. Not only do these gaps attract dirt and debris, but they can also become a safety hazard.
Over time, the boards may begin to cup or curl, causing an uneven surface that can lead to tripping and falling. Leaving gaps in your wood floor can also cause damage to the subfloor.
The gaps allow air and moisture to seep through, potentially causing the subfloor to rot or become weakened. Additionally, pests may find their way into the gaps and cause damage to the subfloor or the boards themselves.
Does polyurethane fill gaps in engineered hardwood floors?
Polyurethane sealants can be a lifesaver for your wooden floors by filling in those pesky spaces between boards. If you have gaps in your engineered hardwood floor, polyurethane can help fill them and prevent further damage.
Not only will it improve the appearance of your floor, but it will also protect it from moisture and debris that can seep into the gaps and cause further damage.
Polyurethane sealants offer excellent adhesion and flexibility, allowing them to expand and contract with the natural movement of your wood floor. They also provide excellent abrasion resistance, making them ideal for use on wood.
Should engineered hardwood have gaps?
Properly installed engineered hardwood flooring should have gaps to allow for natural expansion and contraction. This is because wood is a natural product that reacts to changes in temperature and humidity. The wood could buckle or warp without these gaps, leading to unsightly and potentially hazardous conditions.
The gaps also allow for the insertion of expansion strips, which help to absorb the movement of the wood and prevent damage to the surrounding walls and fixtures. It’s important to note that the gaps should be reasonable, as this could lead to tripping hazards and result in unsightly spaces that collect dirt and debris.
Fix Engineered Hardwood Floor Gaps: Restore Your Flooring’s Beauty and Functionality
Now that you’ve understood the causes and solutions of engineered hardwood floor gaps, it’s time to take action and fix them. Don’t let those gaps ruin the beauty and functionality of your flooring.
With the step-by-step guide provided, you can easily do it yourself and save money on hiring a professional. Remember, gaps in your hardwood floors affect not only their appearance but also their performance.
They can lead to squeaky and unstable floors, which can be dangerous and uncomfortable. So, take the necessary steps to seal those gaps and enjoy flawless and durable flooring for years.