How to Dry Wood Without Splitting: Perfectly Dried
To dry wood without splitting, seal the ends immediately with wax or commercial sealer to slow moisture loss. Stack wood with stickers in a well-ventilated, stable environment, avoiding direct sunlight and rapid drying.
Monitor moisture regularly with a meter to adjust conditions and reduce stress. For faster drying, consider kiln or vacuum drying with controlled temperature and humidity.
You’ll also want to explore treatments and repair techniques that further protect your wood during this delicate process.
Key Takeaways
- Seal wood ends immediately after cutting with wax or commercial end sealer to slow moisture loss and prevent splitting.
- Stack wood with stickers between layers in a well-ventilated, elevated area to ensure even airflow and drying.
- Maintain stable temperature (60-80°F) and humidity (40-60%) levels to reduce internal stresses and minimize cracking.
- Monitor moisture content biweekly using a reliable moisture meter to track drying progress and adjust conditions.
- Use slow, controlled drying methods like kiln or air drying, gradually adjusting heat and humidity to avoid rapid moisture loss.
How to Seal Wood Ends to Prevent Splitting?

Start by sealing the wood ends immediately after cutting to slow down moisture loss, which helps prevent splitting.
Apply hot candle wax evenly on log ends, ensuring complete coverage to block moisture escape.
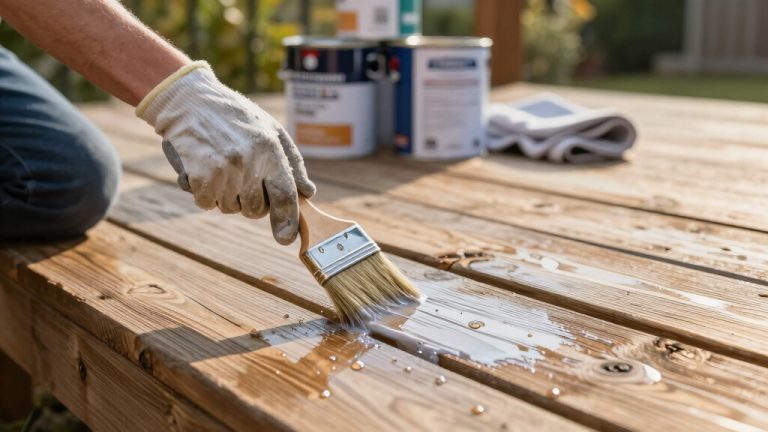
For slabs or blanks, use a thick coat of wax or wood sealer, focusing on the end grain where drying occurs fastest.
You can also soak freshly cut ends briefly in denatured alcohol to replace some water and reduce rapid drying.
Avoid exposing sealed ends to direct sunlight or fluctuating humidity, as consistent moisture levels help prevent cracks. Reapply sealant if it cracks or wears off during drying.
This careful, immediate sealing reduces stress from uneven drying, preserving wood integrity and minimizing splits before you proceed to other drying steps.
When cleaning sealed wood surfaces, use devices with iLoop™ smart sensor technology to gently manage moisture without causing damage.
Effective Air Drying Techniques to Minimize Cracks
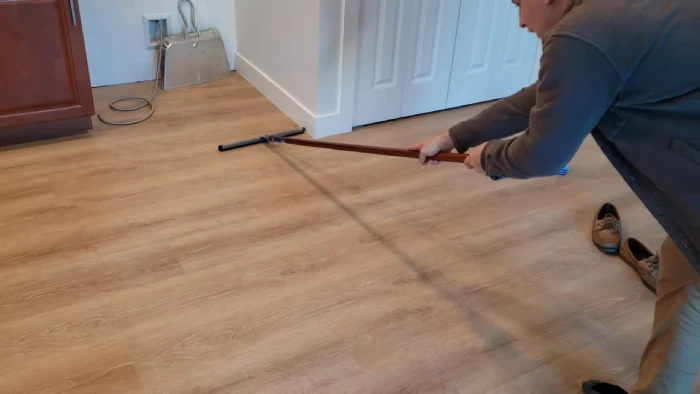
To effectively air dry your wood and minimize cracks, it’s important to stack it in a way that promotes consistent airflow around each piece.
Make sure to keep it elevated in a warm, dry area; this helps reduce moisture evenly.
Now, let’s talk about end sealing—this is crucial! You’ll want to apply wax or sealant right away.
Doing this slows down moisture loss from the ends and helps prevent rapid drying, which is a common culprit for cracks.
Don’t forget to keep an eye on your stack! Regularly check it and make any necessary adjustments to maintain those ideal drying conditions.
This little extra effort can go a long way in protecting your wood.
Additionally, controlling humidity and avoiding direct exposure to moisture helps prevent cupping and warping during the drying process.
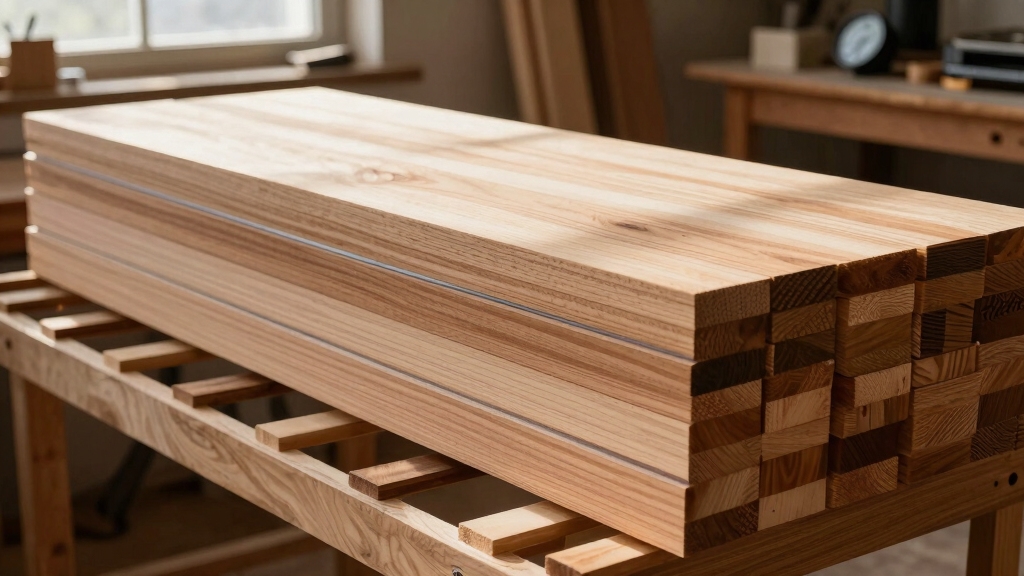
Proper Stacking And Airflow
When air drying wood, arranging your blanks to maximize airflow is essential to minimize cracking and warping.
Stack your wood with stickers, thin, evenly sized strips, between each layer to create consistent gaps that allow air to circulate freely.
Place your stack in a warm, dry location, elevated off the ground to prevent moisture absorption and improve ventilation underneath.
Use weights on slabs to keep them flat, reducing the chance of warping.
Avoid stacking end-grain against each other unless drying spindles, as this restricts airflow and increases drying time.
Check your stack every couple of weeks, adjusting stickers if necessary to maintain airflow and tracking moisture content.
Proper stacking promotes even drying and markedly reduces stress cracks and splits in your wood blanks.
Maintaining proper humidity levels throughout the drying process helps prevent wood from developing soft spots or warping.
End Sealing Importance
Although it may seem minor, sealing the ends of your wood slabs immediately after cutting plays a crucial role in preventing cracks and splits during air drying. The ends lose moisture faster than the rest, causing uneven drying that leads to splitting.
You can apply hot candle wax or specialized end sealer right after cutting. This slows moisture escape and balances drying rates. Consistent humidity and avoiding direct sunlight further reduce stress on the wood.
| Sealing Method | Benefits |
|---|---|
| Hot Candle Wax | Easy, effective moisture barrier |
| Commercial End Sealer | Durable, designed for wood |
| Denatured Alcohol Soak | Replaces water, controls drying |
| Plastic Bag with Chips | Slows drying, maintains humidity |
Seal ends promptly to minimize cracks and guarantee a smoother drying process. Applying a field treatment preservative to freshly cut ends helps restore protection and prevents moisture infiltration during drying.
How to Use Kiln Drying to Reduce Splitting?
Because kiln drying allows precise control over temperature, humidity, and airflow, it markedly reduces the risk of wood splitting during moisture removal.
You start by loading slabs into the kiln, ensuring each piece has enough space for uniform airflow. Gradually adjust temperature and humidity based on the wood species and thickness, preventing rapid moisture loss that causes cracks.
Use sensors to monitor moisture content and modify conditions accordingly. High-frequency vacuum kilns are especially effective, as they remove moisture evenly and quickly, minimizing internal stresses.
Avoid abrupt changes in settings; instead, increase heat and lower humidity in stages. This method shortens drying time to weeks, unlike air drying, while maintaining wood integrity and reducing splitting risks.
Always follow manufacturer guidelines for your kiln model. Maintaining the ideal indoor humidity and temperature ranges during drying is crucial for preventing damage such as warping or cracking.
How to Stack and Monitor Wood While Drying?
Stack wood carefully with even pressure to keep each piece flat and reduce warping during drying. Lay slabs or blanks evenly, avoiding gaps that reduce support.
Place weights on large slabs to counteract natural cupping. Ensure good airflow by stacking wood off the ground on stickers, which are thin strips of wood, spaced evenly between layers.
Regularly check moisture content using a reliable moisture meter, ideally every two weeks. Keep detailed records of readings and dates.
Avoid exposing wood to extreme temperatures or direct sunlight, which can cause uneven drying. Consult local woodturners or drying guides to understand drying times specific to your wood species and environment.
Consistent monitoring and proper stacking prevent internal stresses that lead to splitting. This ensures your wood dries uniformly and flat.
Additionally, maintaining proper environmental conditions such as stable temperature and humidity can prevent warping and facilitate even drying.
How to Use Chemical Treatments for Even Drying?
When you want to control moisture loss and prevent uneven drying, chemical treatments offer effective solutions for wood stabilization. Start by soaking fresh-cut wood discs in polyethylene glycol (PEG) immediately; this replaces water within the wood cells, reducing shrinkage and cracking.
You can also soak wood in denatured alcohol for 4 to 12 hours to force out moisture faster and promote uniform drying. These treatments work well for both sapwood and heartwood, especially thin cuts prone to rapid drying.
Apply treatments promptly after cutting to maximize penetration. After soaking, carefully dry the wood in a controlled environment to ensure even moisture loss.
This method reduces internal stresses and prevents splitting by balancing moisture removal throughout the piece, providing you with stable wood ready for further processing. Using materials with lower VOC emissions during treatment can also benefit indoor air quality and environmental impact.
Advanced Wood Drying Methods to Prevent Warping and Cracks
Although traditional drying methods work well for many projects, advanced techniques can markedly reduce warping and cracks in your wood. By controlling moisture removal precisely, you’ll keep your pieces stable and ready for finishing.
Consider these approaches:
- Use vacuum kilns or high-frequency radio frequency drying to evenly extract moisture, minimizing internal stresses.
- Cut discs into wedges, dry them separately, then glue to avoid distortion during drying.
- Employ the paper bag method on turnings to slow moisture loss and reduce surface checking.
- Utilize sensors and moisture meters constantly to adjust drying conditions on the fly.
These methods require equipment or strategic preparation but greatly improve wood stability. By integrating them, you’ll prevent defects that traditional air drying or kiln schedules sometimes can’t control.
For precision woodturning projects, maintaining low vibration during machining is essential to avoid inducing stress that could lead to cracking.
Preventing and Repairing Cracks During Wood Drying
To prevent cracks during drying, it’s a good idea to start by sealing the slab ends with wax or denatured alcohol. This helps slow down moisture loss, which is super important. Plus, keeping a controlled environment with stable temperature and humidity can really make a difference. It reduces stress on the wood fibers, helping to keep everything intact.
Now, if you do notice cracks appearing, don’t worry too much! You can repair them using butterfly keys or specialized fillers. These methods not only help stabilize the wood but also preserve its integrity, making sure it stays in great shape for years to come. Maintaining optimal humidity levels during drying is essential to prevent warping and cracking.
End Sealing Techniques
By sealing the ends of your wood slabs immediately after cutting, you’ll markedly slow down moisture loss and reduce the risk of cracks forming. This step is vital because wood loses moisture fastest at the ends, leading to uneven drying and splits.
You can effectively protect your slabs by applying hot candle wax or commercial end sealer to coat the end grain thoroughly. Using denatured alcohol soak right after cutting replaces water and slows evaporation.
Avoid direct sunlight and maintain consistent humidity during drying. Reapplying sealant after any handling or if the coating wears off is essential.
These techniques create a controlled barrier, preventing rapid drying at the ends and preserving the wood’s integrity as it dries evenly throughout.
Additionally, monitoring the wood’s moisture content with moisture meters during drying ensures optimal conditions and prevents damage.
Controlled Drying Environment
Sealing the ends of your wood slows moisture loss, but controlling the entire drying environment prevents uneven stress that causes cracks.
Maintain consistent humidity levels, ideally between 40-60%, to avoid rapid drying that leads to surface checks and internal splits.
Use a well-ventilated space with stable temperatures around 60-80°F. Avoid direct sunlight or drafts that dry wood unevenly.
Stack your wood with spacers for airflow, applying gentle weights to slabs prone to warping.
For air drying, check moisture content biweekly with a moisture meter, recording progress to adjust conditions if needed.
In kiln drying, gradually adjust heat and humidity based on species and thickness.
Monitor with sensors to assure uniform moisture removal.
This controlled approach minimizes internal stresses, reducing the risk of cracking during drying.
Crack Repair Methods
When cracks appear during wood drying, addressing them promptly preserves the integrity of your piece. Preventing and repairing splits requires vigilance and timely action.
Start by sealing slab ends immediately with wax or denatured alcohol to slow moisture loss. If cracks form, stabilize them by injecting resin or epoxy to prevent further spreading. For larger splits, use butterfly keys glued across the crack to reinforce the wood structurally.
Finally, adjust drying conditions, such as lower temperature or higher humidity, to reduce internal stresses.
- Seal ends promptly with wax or alcohol to slow drying
- Inject epoxy into small cracks for stabilization
- Use butterfly keys to reinforce larger splits
- Modify drying environment to minimize stress buildup
These steps help maintain wood strength and appearance throughout drying.
Frequently Asked Questions
What Types of Wood Are Most Prone to Splitting During Drying?
You’ll find that woods with high moisture content and uneven grain, like walnut, oak, and cherry, are most prone to splitting during drying.
Species with dense heartwood and sapwood differences, as well as those with irregular grain patterns, tend to crack more.
You should pay extra attention when drying softwoods like pine too, since their resin content can cause uneven drying.
Monitoring moisture and sealing ends helps prevent splits in these vulnerable woods.
How Does Wood Moisture Content Affect Drying Time?
Wood moisture content directly affects drying time because higher moisture means more water must evaporate, extending the drying process.
When you start with green wood, it can take weeks or months to reach safe moisture levels.
As moisture content drops, drying slows since bound water in cell walls is harder to remove.
You’ll need to monitor moisture regularly and adjust drying conditions to prevent splitting and ensure even moisture loss.
Can Wood Drying Cause Changes in Wood Color or Texture?
When wood dries, it’s like a sunset shifting colors. Your wood can darken, lighten, or develop rich hues based on species and drying method.
You’ll notice texture changes too; slow drying preserves smoothness, while rapid drying can roughen or raise grain.
To keep color and texture consistent, you should control humidity, seal ends, and monitor moisture carefully. This way, your wood retains its natural beauty without unwanted surprises.
What Are the Signs That Wood Is Drying Too Quickly?
You’ll notice cracks or splits forming, especially near slab ends, when wood dries too quickly.
The wood might warp or twist, showing uneven shrinkage.
Surface checking, small, shallow cracks, also signals rapid drying.
You may see end grain drying faster than the rest, causing stress.
If your moisture meter readings drop abruptly or inconsistently, that’s another red flag.
Keep airflow gentle and humidity stable to avoid these issues.
How Does Ambient Humidity Impact Wood Drying and Splitting?
Imagine wood breathing in a muggy summer day. High ambient humidity slows moisture loss, letting your wood dry gently and reducing splitting risk.
If humidity drops too low, drying speeds up, causing internal stresses and cracks. You need to balance humidity carefully, keeping it moderate and consistent, so moisture escapes evenly.
Using moisture meters and sealing slab ends helps you control this environment. This prevents rapid drying that leads to splitting.
Master the Balance: Crack-Free Wood Drying Made Simple
Drying wood without splitting is like walking a tightrope. You need balance and careful steps. By sealing ends, stacking properly, and choosing the right drying method, you’ll keep cracks at bay.
Don’t forget to monitor moisture and consider chemical treatments for even drying. With these practical techniques, you’ll turn raw wood into stable, durable material, ready for any project without the worry of unwanted splits or warping.
Stay patient and precise throughout the process.