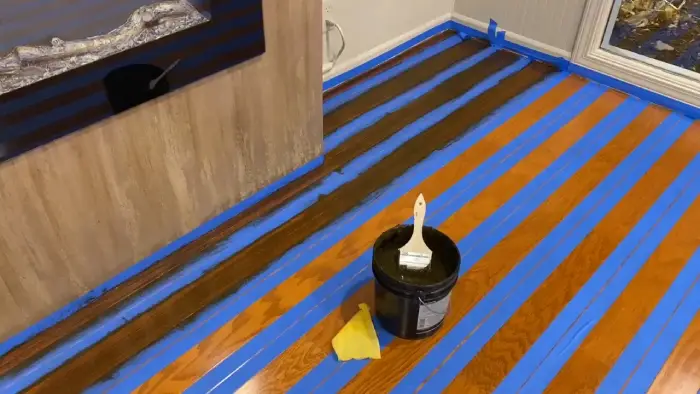
How Long to Wait After Staining Hardwood Floors: 7 Determining Facts
After staining your hardwood floors, you may be eager to start walking on them again and enjoying your newly refreshed space. But you need to understand how long you need to wait before doing so.
Generally, the stain typically takes 2 to 12 hours to dry, but it may take up to 24 hours for some oil-based stains. The curing process involves the stain fully setting and hardening, which can take 24 to 72 hours.
The amount of time it takes for hardwood floor stain to dry and cure can vary depending on a few factors. But, giving it enough time to fully set before subjecting it to foot traffic or furniture is crucial.
Let’s explore factors that may impact hardwood floor stains drying and curing times and how we can speed them up.
What Factors Can Impact the Drying and Curing Times of Hardwood Floor Stain?
When considering the drying and curing times for hardwood floor stains, several factors can have an impact. Here’s a quick look at the factors:
- 1. Type of Stain
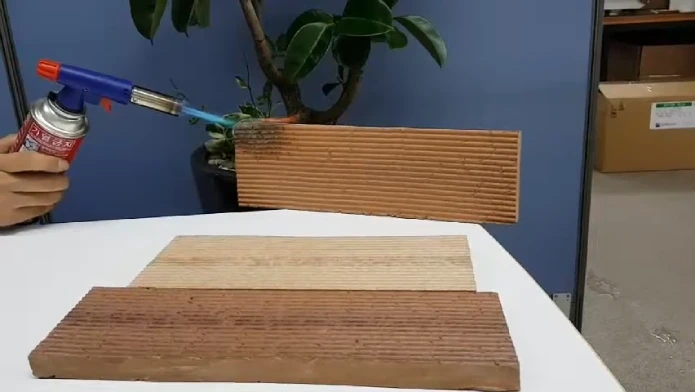
- 2. Type of Wood
- 3. Amount of Stain Applied
- 4. Environmental Conditions
- 5. Ventilation
- 6. Stain Color and Pigment Concentration
- 7. Application Technique
1. Type of Stain
You’ll want to choose the right type of stain for your hardwood floors, depending on how quickly you want them to dry and cure. If you’re in a hurry to complete the project, a water-based stain may be the way to go.
Water-based stains are known for their quick drying time, allowing you to move on to the next step of the process sooner. However, if you’re willing to wait a bit longer for optimal results, an oil-based stain may be a better choice.
While oil-based stains take longer to dry and cure, they offer a richer and more durable finish. The longer drying time also allows for more time to work with the stain and achieve the desired look.
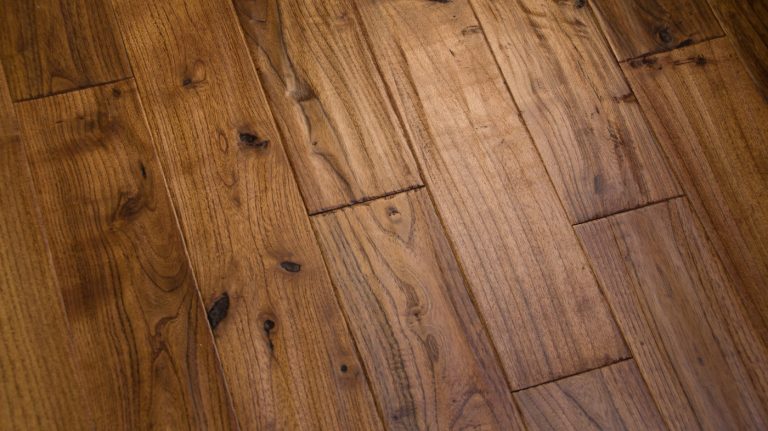
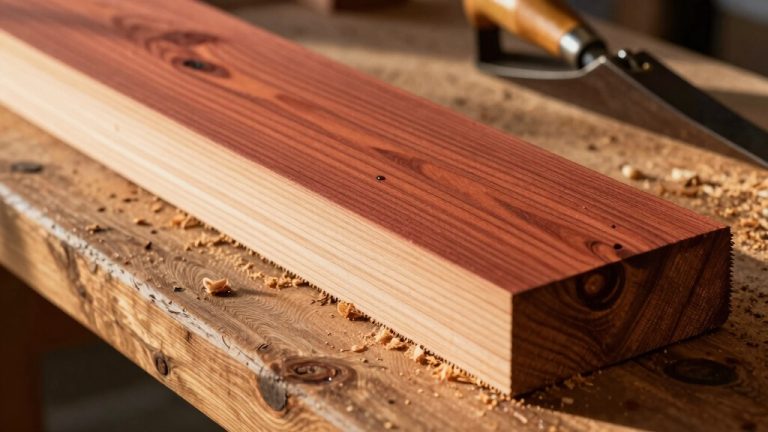
2. Type of Wood
If you’re dealing with a more porous wood like pine or fir, the stain will seep in deeper and might take a bit longer to dry, but it’s worth it for the beautiful and rustic finish you’ll achieve.
Softwoods tend to absorb more stain than hardwoods, so it’s important to wait until the stain has fully dried before applying a second coat. This can take anywhere from six to 24 hours, depending on the temperature and humidity in the room.
On the other hand, hardwoods like oak or maple tend to dry more quickly. The denser composition of these woods means that less stain is absorbed, so you may find that one coat is sufficient.
However, waiting until the stain is fully dried before applying a protective topcoat is still a good idea. This can take anywhere from four to 12 hours, depending on the conditions in the room.
3. Amount of Stain Applied
The quantity of stain applied to the wooden surface can have a significant impact on the drying and curing times of hardwood floors.
If you apply thicker layers of stain, you’ll need to wait longer for it to dry than lighter applications.
This is because thicker layers take longer to dry and may trap moisture underneath, which can cause the stain to become sticky or tacky.
To ensure that your hardwood floors are properly stained and cured, applying an even layer of stain is important. Avoid over-applying the stain, as this can lead to uneven color and a longer drying time.
You may also need to consider the humidity and temperature of the environment, as these factors can affect the drying and curing times of the stain.
4. Environmental Conditions
Ensure the staining environment has proper temperature, humidity, and air circulation to promote efficient drying and curing of the stain on your hardwood floors. Here are three things to keep in mind when setting up your staining environment:
- Temperature: The ideal temperature for staining and drying hardwood floors is between 60 and 80 degrees Fahrenheit.
If the temperature is too low, the stain may not dry properly, and if it’s too high, the stain may dry too quickly, resulting in an uneven finish. Make sure to monitor the temperature and adjust accordingly.
- Humidity: High humidity levels can slow down the drying process and cause the stain to take longer to cure.
If possible, keep humidity levels below 50% to speed up drying. You can use a dehumidifier to help control the humidity levels.
- Air circulation: Good air circulation is essential for evaporation and drying. Make sure to have fans running to help circulate the air, which will help the stain dry more quickly and evenly.
Avoid using too much air, as this can cause the stain to dry too quickly and result in an uneven finish.
5. Ventilation
To properly ventilate your staining environment, you’ll want to use a fan to circulate the air and remove excess moisture. This can increase the drying time by up to 50%. Ensure the fan is placed in a location that provides adequate airflow to all areas of the room.
You may also want to consider using an open window or door to increase ventilation. In addition to using a fan and opening a window or door, you can also consider using a dehumidifier to help remove excess moisture from the air.
This can be particularly helpful in humid climates or during summer when the air is naturally more humid.
6. Stain Color and Pigment Concentration
If you want a specific shade on your hardwood floors, be aware that some stain colors or pigment concentrations may require extra drying and curing time due to their unique chemical makeup.
Darker stains or those with high pigment concentration might take longer to dry and cure than lighter shades.
To ensure that your hardwood floors achieve the desired shade, you need to take into account the following factors:
- The chemical composition of the stain color or pigment concentration
- The amount of stain applied
- The humidity level in the room
If you rush the drying and curing process, you risk the stain not adhering properly to the hardwood floors, causing the color to fade or peel.
7. Application Technique
Now that you understand how the pigment concentration of your stain can affect drying times, let’s move on to the next factor: application technique.
Applying the stain can greatly impact your waiting time before walking on your newly stained hardwood floors. Here’s what you need to know:
| Application Technique | Drying Time | Curing Time |
| Brushing | 6-8 hours | 24-48 hours |
| Wiping | 2-4 hours | 24-48 hours |
| Spraying | 2-4 hours | 24-48 hours |
If you brush on your stain in heavy coats, you can expect a longer drying and curing time than wiping or spraying.
However, brushing can also provide a thicker and more even coverage, which may be necessary for certain projects.
On the other hand, wiping or spraying may require less wait time but may provide a different level of coverage. Ultimately, deciding which application technique is best for your project and lifestyle is up to you.
Remember, waiting until your stain is fully dried and cured before walking on your hardwood floors is important. Rushing the process can result in smudging, uneven coloring, or even floor damage.
How to Speed up the Drying Time of Hardwood Floor Stain?
To speed up the drying time of your hardwood floor stain, you can take a few key steps. Here’s what to do:
1. Increase Air Circulation
To ensure your hardwood floors dry quickly after staining, strategically place fans around the room to increase air circulation. Here are some tips on how to increase air circulation:
- Use a fan to create a cross breeze by placing one at each end of the room facing each other.
- Place fans in corners and hard-to-reach areas to ensure proper circulation throughout the space.
- Open windows and doors to promote airflow.
- Use a dehumidifier to remove excess moisture from the air, speeding up the drying process.
Proper air circulation is crucial for drying the stain on your hardwood floors. By following these tips, you can ensure that your floors dry quickly and evenly, preventing any potential damage or issues arising from excess moisture.
2. Use Dehumidifiers
If you want your hardwood floors to dry faster and avoid potential damage, consider using dehumidifiers to extract excess moisture from the air.
High humidity levels can hinder the drying process, so utilizing dehumidifiers is an effective way to reduce the moisture in the room.
These devices work by drawing in the humid air, cooling it down to remove the moisture, and then releasing the dry air back into the room.
When using dehumidifiers, it’s important to ensure that the room is properly sealed to prevent more moisture from entering. Also, make sure to choose a dehumidifier that is appropriate for the size of the room and the level of humidity.
Dehumidifiers can create a more conducive environment for faster drying and prevent any potential damage to your hardwood floors.
So, if you want your floors to dry faster and be in good condition, consider investing in a dehumidifier.
3. Adjust Temperature
Now that you’ve set up dehumidifiers to regulate the moisture in the room, it’s time to focus on the temperature.
A moderate temperature between 50 and 80 degrees Fahrenheit is optimal for drying stains on hardwood floors. This range ensures a consistent drying process and prevents the wood from expanding or contracting due to extreme temperatures.
However, it’s important to avoid using space heaters or other excessive heat sources, as they can cause uneven drying and potentially damage the hardwood floors.
Instead, rely on the natural temperature of the room or use a heating system that evenly distributes warmth.
4. Thin Application
To expedite the drying process and ensure even coverage, go for thin, even coats of stain on your beautiful hardwood floors.
Applying a thick layer of stain may seem like a good idea to get a deeper color, but it can actually slow down the drying process and result in an uneven finish.
Instead, follow the manufacturer’s recommended guidelines for application thickness and use less stain per coat. This will not only speed up the drying time, but it will also help you achieve more consistent color across your floors.
To give you an idea of how much stain to apply, refer to the table below. Remember that these are general guidelines. You should always follow the manufacturer’s instructions for best results.
In addition to using a thin application, allow the stain to dry completely before applying any additional coats or sealant. This will ensure that each layer adheres properly and results in a beautiful, long-lasting finish.
5. Wipe Off Excess Stain
To ensure a flawless finish, remember to wipe off any excess stains with a clean cloth gently. This step is crucial in removing any pooling or puddling of the stain on the surface, allowing for faster evaporation and drying.
Wiping off excess stains also helps prevent uneven coloring and blotching, especially on porous wood.
If you leave an excess stain on the surface, it can create a tacky, sticky film that attracts dust and dirt and can even interfere with the adhesion of the topcoat. So, thoroughly wipe off any excess stain until you achieve a consistent and even color.
Once you’re done, let the floor dry completely before applying the topcoat, and enjoy your newly transformed hardwood floors!
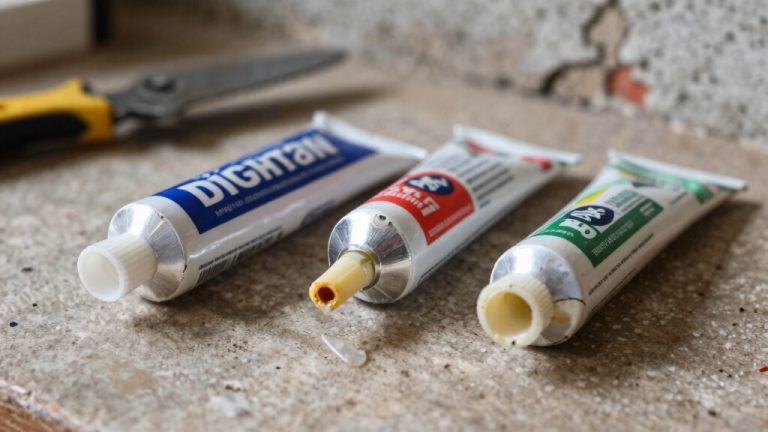
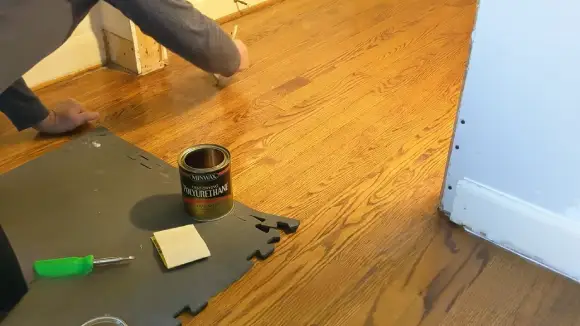
Which type of stain is good for hardwood floors?
If you’re wondering which type of stain to use for your hardwood floors, there are two common options: water-based stains and oil-based stains.
Water-based stains have quick drying times, low odor, and easy cleanup, making them ideal for those who need a fast turnaround time and prefer a more modern look.
On the other hand, oil-based stains provide a rich, deep color and excellent penetration into the wood, resulting in a more traditional look.
Although they may take longer to dry and require more ventilation, many people prefer the classic look and feel they provide.
If you’re looking for something in between, gel stains are another option. They offer a thick consistency that makes them perfect for difficult-to-stain woods, and they’re also known for providing even color coverage, resulting in a more uniform appearance.
Ultimately, the best stain for your hardwood floors depends on your preference, desired aesthetic, and specific project requirements.
Be sure to test a small area or consult with professionals to ensure you choose the right stain for your hardwood floors.
Does hardwood stain get darker after it dries?
Hardwood stains can get darker after it dries. The color you see immediately after applying the stain may intensify slightly as it dries and cures.
The drying process enables the stain to penetrate and bond with the wood fibers, producing a deeper and more noticeable color.
Nevertheless, it’s worth remembering that the extent of darkening can differ based on various factors such as the kind of wood, the type of stain used, and the application technique.
Hardwoods like oak and walnut may appear noticeably darker than lighter woods like maple or pine. Additionally, oil-based stains tend to darken more than water-based stains.
Hence, it’s essential to test the stain on a small part of the wood first to ensure that you achieve the desired color.
Give Enough Time to Dry and Get Beautiful Stained Hardwood Floors
Staining hardwood floors requires considering factors like stain type, wood type, application amount, and environmental conditions.
Drying and curing times vary but generally range from 2 to 72 hours. Factors like temperature, humidity, and ventilation affect drying.
To speed up drying, increase air circulation, use dehumidifiers, adjust the temperature, apply thin coats, and wipe off excess stains. Water-based, oil-based, and gel stains are popular choices, each with unique characteristics. Hardwood stain can darken slightly as it dries, enhancing the wood’s beauty.
Choose the stain that suits your preferences and consult professionals if needed. Following these steps will result in beautifully stained hardwood floors.