How Do You Deep Clean Hardwood Floors: Sweep and Vacuum
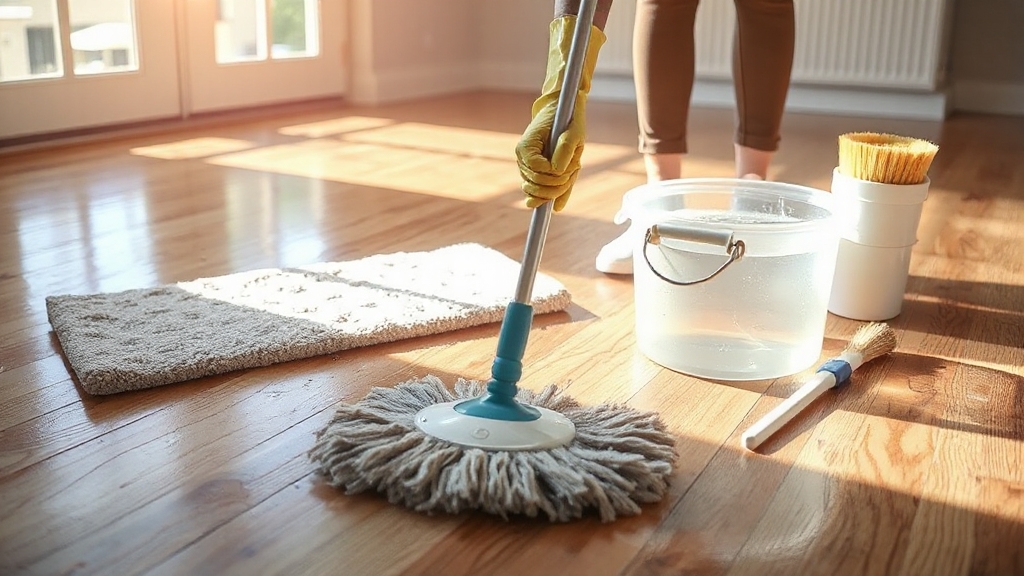
To deep clean hardwood floors, start by clearing the area and thoroughly vacuuming or sweeping to remove dust and debris. Use a pH-neutral cleaner like Bona or a mild vinegar solution applied with a well-wrung microfiber mop, avoiding excess water that can damage the wood.
Tackle stubborn stains with gentle scrubbing or spot treatments like hydrogen peroxide. Dry the floor promptly and increase airflow to prevent moisture damage. Keep going for a detailed guide on protecting and restoring your floors.
Key Takeaways
- Remove all furniture and debris, then thoroughly sweep or vacuum using a hardwood floor attachment before cleaning.
- Use a pH-neutral, hardwood-safe cleaner applied with a well-wrung microfiber mop, avoiding excessive water on the floor.
- Spot treat stubborn stains with diluted vinegar, hydrogen peroxide, or baking soda paste, testing first on a small area.
- Gently scrub embedded dirt with soft brushes or plastic scrapers, following the wood grain and avoiding harsh chemicals.
- Immediately dry floors with microfiber towels and improve air circulation to prevent moisture damage and warping.
Preparing Your Hardwood Floors for Deep Cleaning
Before you begin deep cleaning your hardwood floors, you need to prepare the space thoroughly to guarantee an effective and safe process.
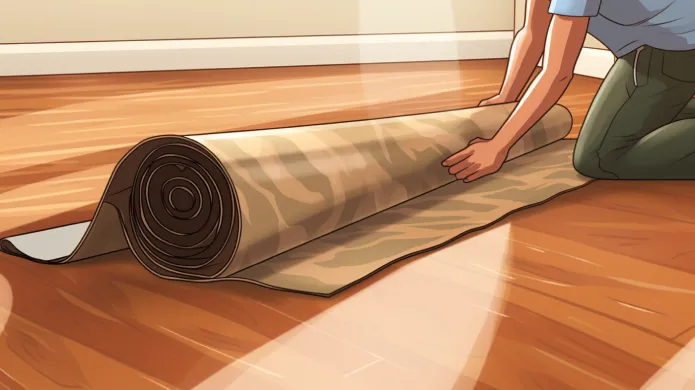
Start by removing all furniture, mats, and rugs to access the entire floor without obstruction. Use drop cloths or plastic sheets to protect adjacent rooms from dust and debris.
Tape off baseboards to shield them from cleaning products, and temporarily turn off heating systems to minimize dust circulation during cleaning. This careful preparation helps protect the floor’s finish from potential damage during the deep cleaning process.
Next, remove loose dirt using a vacuum or broom, followed by a microfiber dust mop for fine particles. Pay special attention to edges and high-traffic areas with a handheld vacuum or brush.
Regular cleaning reduces allergen accumulation, which is more common on carpeted surfaces. Finally, inspect the floor carefully for scratches, stains, gaps, and finish condition to anticipate any needed repairs or treatments.
Choosing the Right Cleaning Solutions
Once your hardwood floors are properly prepped and free of loose debris, selecting the right cleaning solution becomes the next priority to guarantee effective deep cleaning without damaging the wood.
Opt for pH-neutral, EPA Safer Choice-certified products like Bona Hardwood Floor Cleaner, known for its effectiveness, quick drying time, and odorless formula. If you use vacuum mops, consider Bona Cleaner for Machines, specifically designed for that purpose.
Using a damp mop rather than a soaking wet one helps prevent water damage during cleaning. Homemade solutions can work too. Diluted white vinegar (1 cup per gallon of warm water) with a few drops of natural soap offers a gentle alternative.
Avoid harsh chemicals like ammonia or bleach, which harm finishes. Always confirm the solution’s compatibility with your floor type and any equipment used, ensuring it won’t leave residues or wax films that compromise future cleaning and finish longevity.
Since vacuuming before mopping removes debris that might scratch the surface, it is essential to vacuum thoroughly before applying any cleaning solution.
Essential Tools and Equipment for Deep Cleaning
Although selecting the right cleaning solutions is crucial, having the proper tools and equipment guarantees you can effectively execute a thorough deep cleaning on your hardwood floors.
Start with a vacuum equipped with a hardwood floor attachment or a HEPA vacuum to remove dust and debris without scratching. Regular sweeping or vacuuming helps prevent scratches and debris buildup. Complement this with a dust mop or soft-bristle broom for corners.
For wet cleaning, use a microfiber mop or a spray mop with a refillable bottle to control moisture application precisely. Use mops that do not deposit excessive water, as high moisture can cause permanent damage to hardwood floors.
Equip yourself with microfiber cloths for drying and buffing. For stubborn grime, utilize a soft nylon scrub brush or plastic scraper carefully. Don’t forget protective gear like rubber gloves and felt pads under furniture to prevent scratches.
Step-by-Step Deep Cleaning Process
Start by thoroughly preparing your hardwood floor clear the area, sweep or vacuum to remove debris, and inspect for any damage that needs attention before cleaning.
Next, choose a cleaning solution compatible with your floor’s finish, and mop carefully in the direction of the wood grain, avoiding excess water.
Finally, spot clean stubborn stains, rinse your mop regularly, and dry the floor completely to prevent moisture damage. Remember that engineered hardwood floors may require specific maintenance routines due to their susceptibility to water damage and warping.
Preparation and Inspection
Before you plunge into deep cleaning your hardwood floors, you need to prepare the area and conduct a thorough inspection to guarantee effective and safe cleaning.
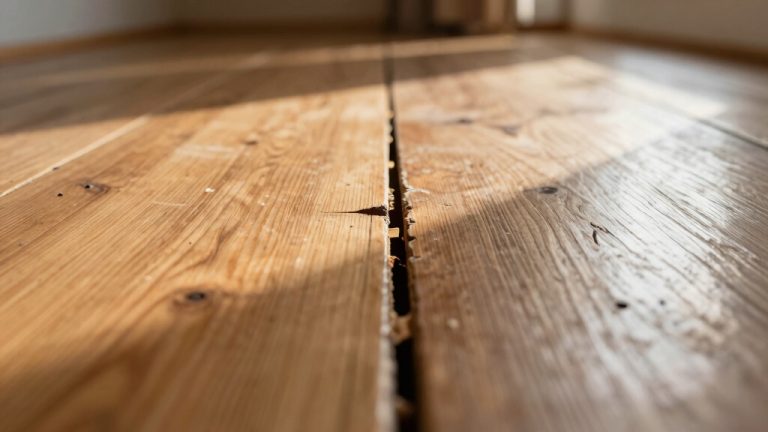
Start by removing furniture and rugs, then sweep and vacuum to eliminate dust and debris. Next, inspect the floor for scratches, stains, loose planks, or moisture damage. Also, assess the floor type and finish to select appropriate tools and cleaners.
Understanding the specific hardwood floor type is crucial to applying the correct cleaning method. Since engineered hardwood is sensitive to moisture, it’s important to avoid using excess water during cleaning to prevent warping and mold.
Prioritize safety by wearing protective gear and ensuring ventilation.
| Preparation Steps | Inspection Points |
|---|---|
| Remove obstacles | Identify scratches/dents |
| Sweep and vacuum | Check for stains/discoloration |
| Dust with microfiber | Inspect finish quality |
| Choose proper tools | Look for loose planks/moisture |
Cleaning and Drying
When you tackle cleaning and drying your hardwood floors, removing surface dirt and dust is essential to prevent scratches and buildup. Start by using a microfiber dust mop or vacuum with a hardwood floor attachment, avoiding beater bars that could damage the surface.
It’s important to vacuum weekly on the hard floor setting to maintain cleanliness and prevent dirt accumulation. Using a soft-bristled brush attachment during vacuuming ensures deep cleaning without scratching the wood.
Next, prepare a diluted hardwood floor cleaner or mild soap solution, and damp-mop with a microfiber cloth never soaking wet to safeguard the wood. Mop along the grain and rinse frequently to avoid grime spread.
Immediately dry the floor with a microfiber cloth to prevent water damage. For stubborn stains, gently scrub with warm soapy water or use mineral spirits sparingly. Finally, ensure good airflow to speed drying, inspect for moisture, and apply a protective finish if needed to maintain your floor’s longevity and shine.
Removing Embedded Dirt and Stubborn Stains
To effectively remove embedded dirt and stubborn stains, you’ll need to apply targeted scrubbing techniques using soft cloths or plastic scrapers to avoid damaging the finish.
Maintaining consistent indoor humidity is important to prevent damage during cleaning, especially for hardwood susceptible to humidity levels.
Select stain removal methods carefully pH-neutral cleaners or gentle natural solutions like diluted vinegar work best without compromising your hardwood. Always test treatments on small areas first and dry immediately to protect your floor’s integrity.
Incorporating a soft-bristle broom or vacuum with a hardwood attachment before scrubbing helps remove loose debris and prevents scratching.
Scrubbing Techniques
Although scrubbing hardwood floors demands careful attention, mastering the right techniques can effectively remove embedded dirt and stubborn stains without damaging the wood. Start by working in small sections, following the wood grain with a damp microfiber cloth or sponge to lift dirt gently.
Use small brushes for grooves, avoiding excessive moisture that can warp wood. Always wring out your cleaning tools thoroughly and dry the floor promptly to prevent damage.
Immediate cleanup is crucial to prevent long-term moisture damage and maintain the floor’s integrity. Use a hardwood floor cleaner following manufacturer instructions for best results.
- Agitate ingrained dirt softly to preserve the finish.
- Focus on moisture control—damp, not wet, tools are essential.
- Repeat scrubbing on stubborn spots, allowing solutions to penetrate grime.
These precise methods ensure a thorough, damage-free clean that maintains your floor’s beauty and longevity.
Stain Removal Methods
Since embedded dirt and stubborn stains can compromise both the appearance and integrity of your hardwood floors, employing effective stain removal methods is essential.
Start by spot testing any solution, like a 50/50 white vinegar and water mix, to avoid surface damage. Vinegar and warm water act as a reliable deodorizer and disinfectant due to their acidity.
For stubborn stains, soak the area with hydrogen peroxide for several hours, then blot gently without scrubbing. Use only 3% hydrogen peroxide solution to prevent damage to the wood. After cleaning, consider applying a natural olive oil solution to enhance the floor’s shine and provide gentle nourishment.
Baking soda paste also works well; apply it, let it sit, then rinse carefully. To remove embedded dirt, sanding is effective but should be followed by thorough vacuuming and damp mopping with minimal water usage.
After stain removal, sand the surface smooth, apply stain or sealant if desired, and allow complete drying. Avoid harsh chemicals like acetone to protect your floor’s finish and maintain its longevity.
Proper Drying and Post-Cleaning Care
When you finish cleaning your hardwood floors, removing standing water immediately is essential to prevent damage such as warping or staining. Use a wet vacuum or microfiber mop to soak up excess moisture, then absorb remaining dampness with towels.
Since water damage extends beneath the surface, addressing moisture quickly helps avoid swelling and deformation of the boards. Using a dehumidifier can help maintain proper humidity levels and prevent wood expansion or contraction during drying.
Enhance drying by increasing air circulation position fans strategically and open windows when weather permits. Control humidity and temperature carefully to avoid mold and maintain wood integrity. Finally, restrict foot traffic until the floor is completely dry to prevent dents and dirt embedding.
- Remove standing water promptly to minimize wood damage.
- Use fans, open windows, and dehumidifiers to accelerate drying.
- Avoid walking on damp floors to protect surface quality.
Routine Maintenance to Preserve Hardwood Floors
To preserve your hardwood floors’ beauty and durability, you need to commit to a consistent routine maintenance plan. Daily dusting with static-charged microfiber reduces scratches and allergens, while weekly vacuuming with a hardwood floor setting removes debris without damaging the finish.
Proper maintenance keeps wood floors looking beautiful and performing well, ensuring their long-term sustainability. Use only hardwood-specific cleaning solutions for damp mopping, avoiding water, vinegar, and soap-based cleaners.
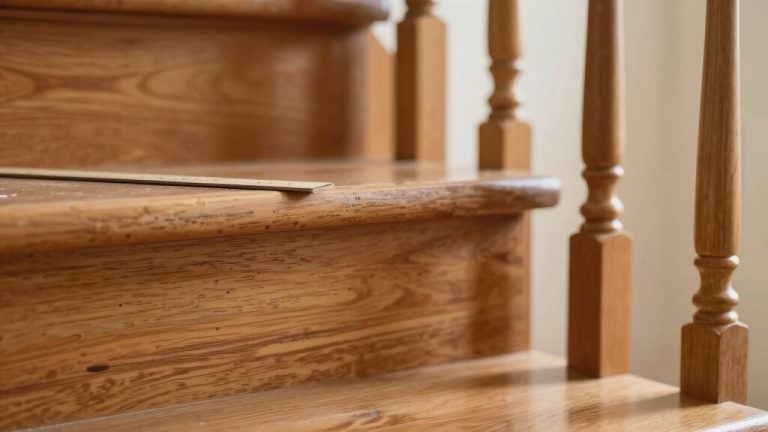
Quarterly polishing with water-based or urethane polishes enhances shine and protection. Place mats at entryways and felt pads under furniture to prevent scratches.
| Task | Frequency | Key Tips |
|---|---|---|
| Dusting | Daily | Use microfiber; lifts dirt effectively |
| Vacuuming | Weekly | Hardwood setting; avoid beater bars |
| Damp Mopping | As needed | Use hardwood cleaner; avoid soaking |
| Polishing | Quarterly | Apply on clean floors; use water-based |
| Preventative Care | Ongoing | Mats, felt pads, avoid dragging furniture |
Repair and Restoration Techniques for Damaged Floors
Routine maintenance keeps your hardwood floors looking their best, but damage can still occur over time, requiring targeted repair and restoration techniques.
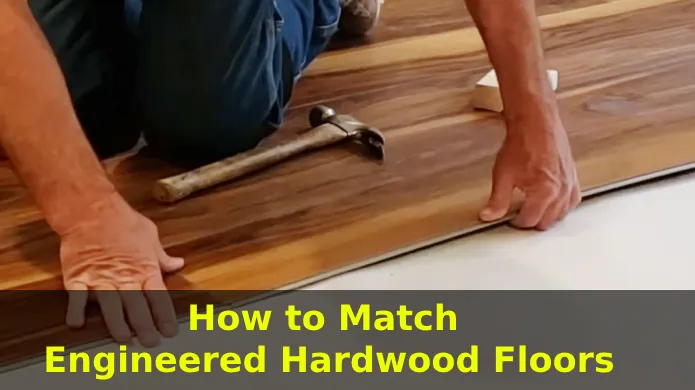
Start by evaluating the floor type site-finished floors allow deeper sanding, while engineered floors need surface treatments. Recognizing scratch depth helps determine the best repair approach, whether for minor surface marks or deeper gouges.
Address scratches with color-matched fillers or markers, avoiding sanding on thin veneer floors. For damaged boards, carefully cut and chisel out the affected section, then glue and fit a replacement plank precisely.
Finish repairs by sanding patched areas smoothly and applying multiple urethane coats for durability. Consider advanced options like dustless sanding or UV-cured finishes for high-traffic zones.
- Match repair methods to floor type and damage depth to prevent further harm.
- Use precise cutting and fitting tools to ensure seamless patching.
- Employ professional staining for uniform appearance and lasting restoration.
Frequently Asked Questions
Can Deep Cleaning Hardwood Floors Remove Pet Odors Effectively?
Yes, deep cleaning hardwood floors can effectively reduce pet odors by targeting bacteria and urine residues beyond the surface. You’ll want to use enzymatic cleaners that break down odor-causing molecules and follow up with steam cleaning to kill bacteria.
Remember to dry floors thoroughly to prevent mildew. However, if urine has deeply penetrated or stained the wood, deep cleaning mightn’t fully eliminate odors, and refinishing could be necessary for complete removal.
How Often Should Professional Deep Cleaning Be Scheduled?
You should schedule professional deep cleaning for hardwood floors about once a year, but this can vary. If you have pets, high foot traffic, or frequent spills, get it done every 6 to 12 months.
Larger homes or commercial spaces might need cleaning more often, even quarterly. Tailor the frequency based on your floor’s condition and usage to preserve its finish, reduce wear, and keep your home healthier.
Are Steam Cleaners Safe for Hardwood Floors?
Imagine you try steam cleaning your sealed hardwood floors, expecting a deep clean. While it might seem effective, experts caution against it. Steam’s high heat and moisture can damage finishes and cause warping, even on sealed wood.
Even top hardwood associations warn that residual moisture risks outweigh benefits. If you must use steam, guarantee the seal is flawless, keep steam low, and move quickly with microfiber cloths to minimize harm.
What Humidity Levels Are Ideal After Cleaning Hardwood Floors?
After cleaning hardwood floors, you’ll want to maintain humidity levels between 30-50% to stabilize the wood and prevent damage. If you live in a humid climate, adjusting to around 40-60% may be necessary. Avoid sudden fluctuations, as they cause wood expansion or shrinkage.
Use a hygrometer to monitor humidity and employ humidifiers or dehumidifiers as needed. Keeping humidity balanced preserves your floor’s appearance.
Can Deep Cleaning Help Prevent Hardwood Floor Discoloration?
Yes, deep cleaning helps prevent hardwood floor discoloration. By removing embedded dirt, stains, and contaminants, you stop grime from dulling or staining your wood’s finish.
Using gentle, hardwood-safe products preserves the floor’s natural color and shine, while avoiding moisture damage that causes darkening.
Regular deep cleaning, especially after spills or heavy traffic, maintains your floor’s vibrant look and prevents permanent discoloration over time.
Next Up: Protect and Restore Your Hardwood Floors
Now that you’ve given your hardwood floors a thorough refresh, they’ll reward you with lasting beauty and charm. By choosing the right solutions and tools, following each step with care, and maintaining them regularly, you’re not just cleaning, you’re nurturing their natural elegance.
Treat any imperfections gently, and your floors will continue to shine gracefully, making your space feel inviting and well-loved for years to come.