Does Engineered Hardwood Need to Acclimate: Know the Truth
If you’re planning to install engineered hardwood flooring, you may be wondering whether or not you need to acclimate it before installation.
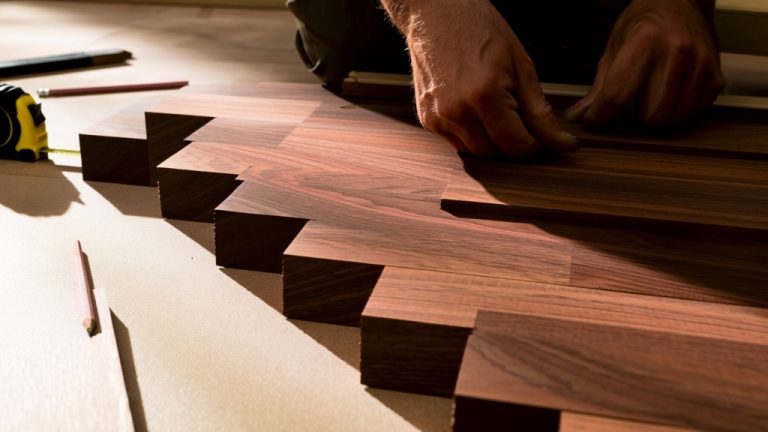
Acclimating your flooring is an essential step in the installation process that can prevent warping, buckling, and other problems down the line. Acclimation is the process of allowing your flooring to adjust to the temperature and humidity conditions of the room where it will be installed.
This is important because wood is a natural material that expands and contracts with changes in temperature and moisture levels. If your flooring isn’t acclimated properly, it can become damaged or warped as a result of these fluctuations.
Throughout this article, we’ll go over everything you need to know about acclimating engineered hardwood flooring, including how to do it and what can happen if you skip this important step.
How Do You Acclimate Engineered Hardwood Floors?

When acclimating engineered hardwood flooring, the most important thing to remember is that you need to give the planks time to adjust gradually. Here are the steps you should take:
- Step 01: Read Manufacturer Recommendations
- Step 02: Prepare the Installation Site
- Step 03: Store the Flooring in the Installation Room
- Step 04: Maintain Ideal Temperature and Humidity
- Step 05: Create Proper Airflow
- Step 06: Monitor Moisture Content
- Step 07: Check Subfloor Moisture
- Step 08: Allow Sufficient Acclimation Time
- Step 09: Maintain Consistent Conditions
Step 01: Read Manufacturer Recommendations
Check the manufacturer’s recommendations for acclimating your engineered hardwood, as they hold the key to unlocking a smooth and worry-free installation process.
Different manufacturers may have varying instructions and recommendations for acclimation, depending on the type of hardwood, the climate, and the installation location. These guidelines are usually provided in the product packaging or on the manufacturer’s website and should be followed closely to ensure the best results.
Most hardwood manufacturers recommend acclimating the flooring for at least 48 hours before installation to allow the wood to adjust to the temperature and humidity of the room.
This can be done by placing the unopened boxes of hardwood in the room where they will be installed and leaving them there for the recommended time.
Step 02: Prepare the Installation Site
To ensure a smooth installation process for your new engineered hardwood flooring, you’ll want to prepare the installation site before bringing in the materials.
This includes enclosing the building to control the environment and completing any wet construction elements. Proper drainage is also important to prevent moisture from seeping into the subfloor and causing damage to the flooring.
Running the heating or air conditioning systems before installation will help create stable temperature and humidity conditions. This is important because fluctuations in temperature and humidity can cause the flooring to expand or contract, leading to gaps or buckling.
Step 03: Store the Flooring in the Installation Room
Ensure the longevity and durability of your new flooring by allowing it to adjust to the room’s temperature and humidity for at least 48 hours, creating a stable environment for installation.
Here are some reasons why you should store the flooring in the installation room:
Prevents Buckling: If you install the flooring before acclimating it, it may buckle due to the difference in temperature and humidity between the room and the flooring. This could lead to costly repairs or even replacement of the flooring.
Improves Adhesion: Acclimating the flooring ensures that it adheres properly to the subfloor, reducing the risk of gaps or hollow spots.
Contains Less Swelling and Flexibility: Engineered hardwood flooring changes with humidity and temperature. By allowing it to acclimate, you reduce the risk of it expanding or contracting excessively, preventing damage to the flooring.
Saves Time and Money: By allowing the flooring to acclimate, you reduce the risk of installation problems, which can save you time and money in the long run. It also ensures that you won’t have to replace the flooring prematurely due to improper installation.
Step 04: Maintain Ideal Temperature and Humidity
Your new flooring will last longer and be more durable if you maintain an ideal temperature and humidity in the room during acclimation.
If the temperature is too high or too low, the engineered hardwood flooring may expand or contract, leading to gaps or buckling. Similarly, if the room is too dry or too humid, the wood may warp or crack, compromising its structural integrity.
To ensure the proper acclimation of your engineered hardwood flooring, it is recommended to maintain the room temperature between 65 and 75 degrees Fahrenheit (18-23 degrees Celsius) with a relative humidity of 35% to 55%.
This range allows the flooring to adapt to the environment gradually and prevent any damage. To monitor the temperature and humidity, use a thermometer and hygrometer, and record the readings regularly.
Step 05: Create Proper Airflow
You’ll want to stack the flooring cartons with open ends and stagger them if possible to promote airflow. This will give your new floors the breath of fresh air they need to thrive like a fish out of water.
Proper airflow is essential for acclimation and can significantly impact the performance and longevity of your engineered hardwood floors.
To prevent moisture buildup, which can cause warping and buckling, allowing air to circulate between the planks is important.
If the space allows, stagger the cartons to increase air circulation and create a cross breeze. This will ensure that every plank receives adequate airflow and prevents any areas from being left stagnant.
Step 06: Monitor Moisture Content
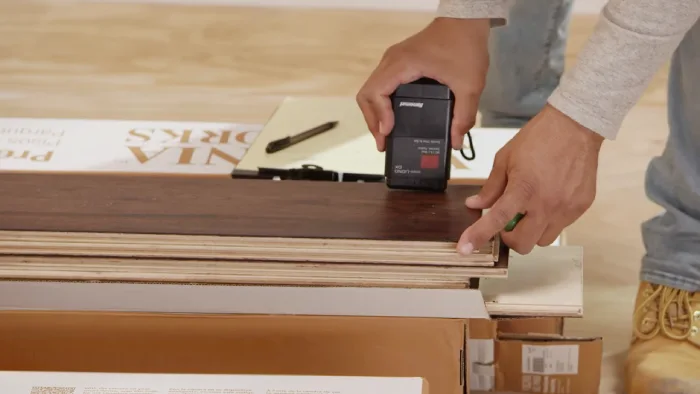
To keep your new floors in top shape, it’s important to monitor the moisture content of the engineered wood planks throughout the acclimation process using a reliable moisture meter.
Before beginning the acclimation process, it’s crucial to measure the moisture level of the planks to ensure they meet the manufacturer’s requirements. This will provide a baseline for monitoring moisture levels during and after acclimation.
During the acclimation process, check the moisture level regularly to ensure the planks are adapting to the environment properly. Use a moisture meter to measure the moisture content of the planks in multiple locations.
Step 07: Check Subfloor Moisture
Now that you’ve monitored the moisture content of the surrounding environment, it’s time to focus on the subfloor. Checking the subfloor’s moisture levels is crucial to ensure that it’s compatible with the engineered hardwood flooring you’re installing.
If the subfloor’s moisture levels are too high or too low, it can cause installation problems and lead to floor damage. You’ll need to use a moisture meter to check the subfloor’s moisture content. This tool measures the amount of moisture in the subfloor, providing you with an accurate reading.
If the moisture levels exceed the recommended guidelines for the type of engineered wood flooring you’re installing, you’ll need to address the issue before proceeding with the installation. Depending on the situation, this may involve drying out the subfloor or adding moisture.
Step 08: Allow Sufficient Acclimation Time
Once the engineered hardwood flooring is brought into the room, it needs time to adjust to the environment and find its equilibrium, much like a fish needs time to acclimate to a new tank.
This process is known as acclimation, and it is essential to ensure that the flooring reaches its acceptable moisture content and stabilizes in the room. Failure to allow sufficient acclimation time can result in the flooring becoming warped, buckled, or cracked, which can be a costly mistake.
Allowing sufficient acclimation time is essential for ensuring that engineered hardwood flooring reaches its optimal moisture content and stabilizes in the room.
Step 09: Maintain Consistent Conditions
Ensuring you maintain consistent temperature and humidity levels in the installation room throughout the acclimation process is crucial for the long-term performance of your new flooring.
Temperature or humidity fluctuations can negatively affect the acclimation process, causing floorboards to warp, buckle, or crack.
Additionally, avoid exposing the flooring to direct sunlight or heat sources, as they can cause the floorboards to expand and contract, leading to gaps or other issues.
What happens if you don’t acclimate hardwood?

Ignoring the acclimation process for engineered hardwood can lead to frustrating issues. Here are three things that can happen if you don’t give your engineered hardwood planks time to acclimate:
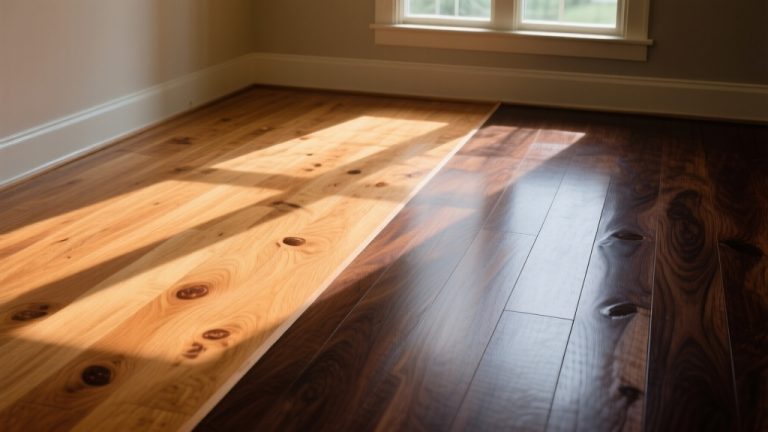
Cupping happens when the edges of the planks raise up higher than the center. This makes the floor uneven and creates a wavy appearance. Cupping can be caused by environmental moisture changes, which is why acclimation is so important.
Warping is when the planks twist or bend, making them uneven and difficult to walk on. Like cupping, warping can be caused by changes in moisture levels. If the planks are not acclimated before installation, they may not be able to handle the moisture changes in their new environment.
Gapping is when there are visible gaps between the planks. This can happen if the planks are not acclimated and they shrink or expand in response to the environment. Gaps can be unsightly and can also collect dirt, debris, and moisture, making them difficult to clean.
Is 24 hours long enough to acclimate laminate flooring?
You absolutely can’t skip the acclimation process for laminate flooring, as it needs time to adjust to the environment before installation, and 24 hours may not be enough. Following the manufacturer’s guidelines for acclimation time is essential, which usually ranges between 24 to 72 hours.
During this time, the laminate flooring packs should be left in the room where they will be installed, allowing them to adjust to the temperature and humidity levels of the space.
Can engineered hardwood acclimate in the box?
Acclimating hardwood flooring in the box may take longer than acclimating it outside due to limited air circulation, but it’s still possible. Here are three things to keep in mind:
- Make sure the box is stored in a climate-controlled environment. The ideal temperature is between 60-80°F (15-27°C) and the humidity should be between 30-50%.
- Leave the box unopened for at least 48 hours to allow the wood to acclimate. This will let the wood adjust to the temperature and humidity of the room where it will be installed.
- Check the moisture content of the wood before installation. The moisture content should be within 2% of the subfloor moisture content to prevent any issues with expansion or contraction.
Proper Acclimation Is Key to a Long-Lasting Engineered Hardwood Floor
Acclimation is an essential step to ensure the successful installation of your engineered hardwood floors. Neglecting this critical process can lead to warping, buckling, and gaps.
Giving time for your hardwood floors to adapt to the temperature and humidity in the installation environment will spare you from experiencing these problems. It’s like fitting into a new sweater; you must ensure it fits you comfortably and doesn’t shrink or stretch after washing.
Taking the careful steps to acclimate your engineered hardwood floors properly is worth the extra time and effort. This proactive measure will save you from incurring future expenses on repair costs or replacing your floors.
As preventions are always better than cures, make it a point to keep your floors in good shape by ensuring that they’re well-adjusted to your installation environment before the installation process.
Let’s remember that a small step of careful preparation can make a significant difference in the longevity and overall appearance of your beautiful hardwood floors.

