Can Fire Retardant Plywood Be Painted: 5 Steps [Detailed DIY]
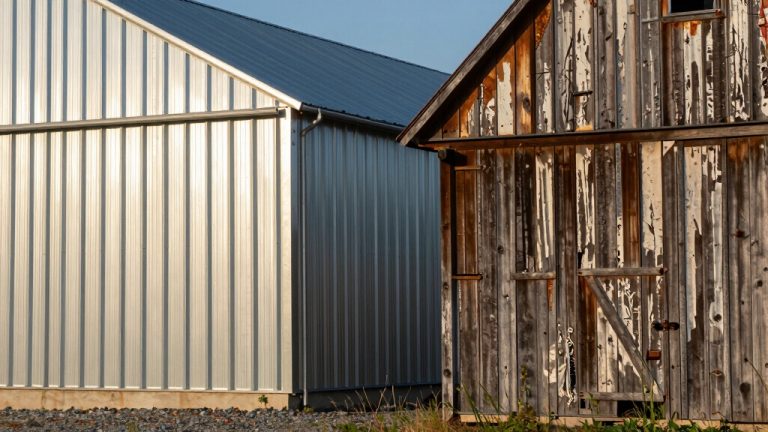
Revamp the look of your home with fire-resistant plywood panels. Not only will it add an eye-catching touch to any room, but you’ll also be guaranteed protection against sudden fires. And what’s better, you can even paint these panels with a custom finish that won’t compromise their superior flame resistance.
With a few simple steps, you can turn an often overlooked material like fire-retardant plywood into something really special.A bit of priming and paint will give it a beautiful look, while protective coatings on top preserve the masterpiece.
Just make sure to allow enough drying time for everything. Read on to discover all that goes into this approach, so you’re confident in making an informed decision.
How Can Fire Retardant Plywood Be Painted: 5 DIY Steps
Fire retardant plywood is an invaluable material in construction projects, providing a higher level of fire resistance than traditional wood. To guarantee the most effective protection possible, it needs to be carefully painted and coated with the right materials.
The following steps will teach you to paint fire-retardant plywood:
Gathering Supplies:
- Paint, Primer and Sealant
- Sandpaper and Sanding Block
- Cleaning Supplies (Vacuum, Rag and Bucket)
- Masking Tape
- Ladder or Step Stool (if Necessary)
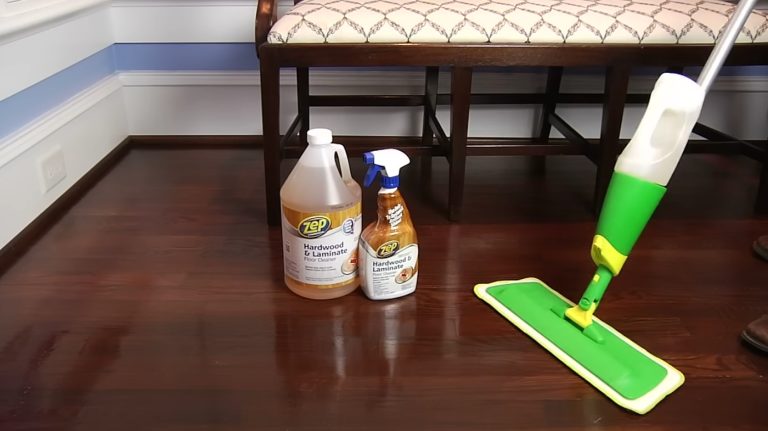
Step 1: Preparing the Fire Retardant Plywood
Before painting a fire retardant plywood panel, it’s essential to prepare the surface properly. This involves removing any loose nails or screws, cleaning the plywood surface with a vacuum and rag, and sanding it down to create a smooth finish.
After sanding, any excess dust should be wiped away using a damp cloth. The goal here is to create an even surface that can be successfully painted on without any bumps or dips where the paint would not adhere correctly.
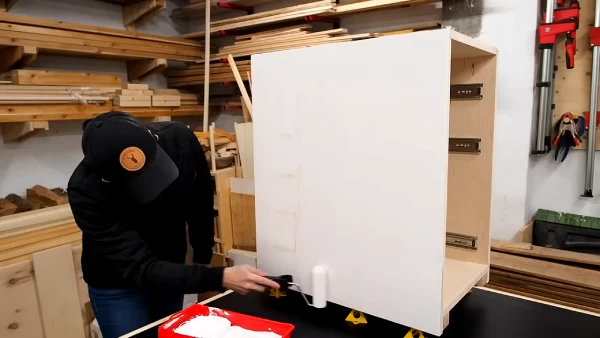
Step 2: Priming the Plywood
As soon as the plywood has been prepared, it should be primed before applying any paint. Primers are essential for creating a successful bond between the paint and the substrate so that the paint adheres properly and does not peel off prematurely.
It also provides an extra layer of protection against moisture and other elements that could damage or tarnish the finish of the painted product over time.
When priming, choose a primer specifically designed for use on wood surfaces and follow all manufacturer instructions for application.
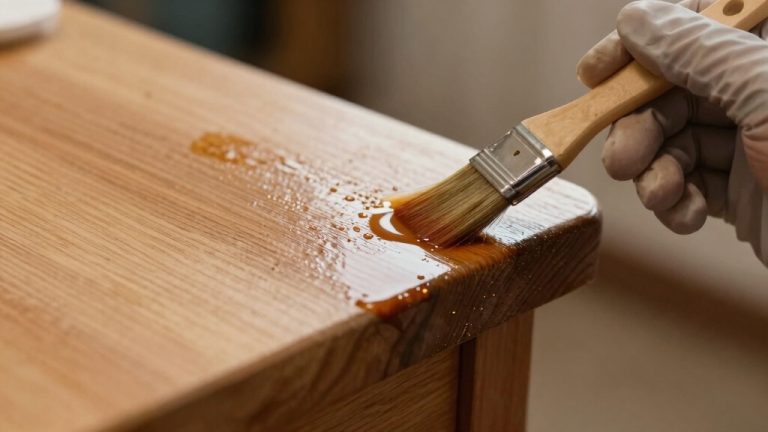
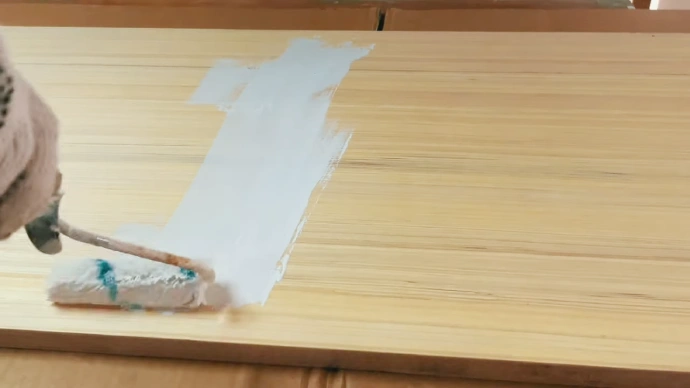
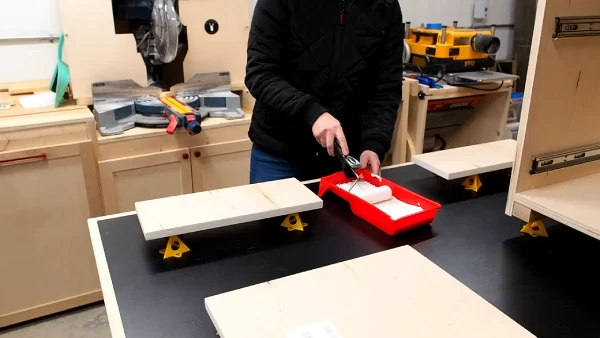
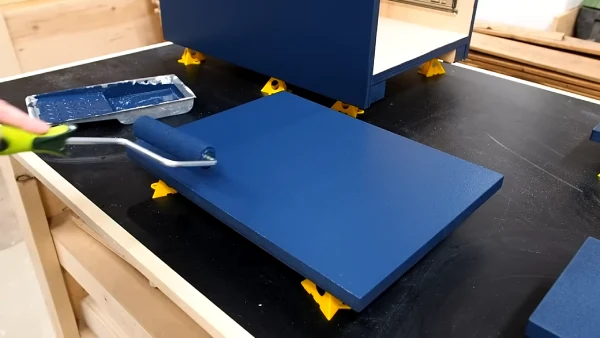
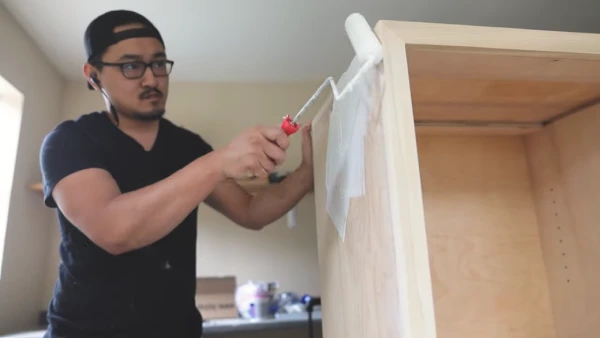
Step 3: Applying Paint
After priming, painting can begin with either a brush or roller, depending on preference and desired finish quality. Mixing paint according to instructions is important for achieving a consistent color throughout the entire project.
Note: Always read labels carefully before beginning the application.
Having a plan of how to do it efficiently and effectively can save you time and stress. A great way to start is by picking one corner of the room and then moving outwards. This way, you won’t run the risk of accidentally bunching up too much paint on one side of the wall or overlapping onto areas that have already dried.
Step 4: Adding Protective Coatings (Optional)
For added protection against wear and tear over time, additional protective coatings can be applied once both coats of paint have been applied and allowed to dry completely first.
Sealants are usually recommended to provide extra protection against moisture damage, such as cracking or discoloration due to exposure to water or humidity over time. Ensuring your painted project looks great for years to come.
Step 5: Allow Drying Time
Once all steps have been completed successfully, allow plenty of drying time before exposing your painted fire retardant plywood project to everyday use. Ideally, at least 48 hours, if possible.
This will ensure adequate curing time has taken place. Hence, your finished product is ready for use without fear of damage or faulty finishes due to premature usage immediately after completion.
The Things You Need to Consider When Painting Fire Retardant Plywood
Fire retardant plywood stands as a bastion of safety in the home or commercial construction, but it also needs special attention when painting. Understanding the unique circumstances required for this type of wood can ensure an eye-catching and safe project.
Paint fire retardant plywood with these factors in mind:
Test Your Paint Job: It’s always a good idea to test paint colors on scrap pieces of fire-retardant plywood first before starting the project. Test a small area to ensure that the paint is compatible with the fire-retardant material.
Fire Rating: This rating will tell you how much heat and flame resistance your particular product has. Depending on the application of your project, you may need different levels of fire protection. So make sure you select a product with an appropriate rating.
Paint Type: You also need to consider what type of paint works best on your specific type of plywood. Some paints can discolor or deteriorate if exposed to high temperatures or flames. For best results, select a fire resistant paint designed specifically for fire-retardant plywood.
Application Technique: Besides selecting quality paint, it’s also essential to carefully follow all instructions for applying it correctly. The fire retardant paint won’t adhere to wood properly if you don’t apply it properly, and it won’t provide heat or flame protection if you don’t.
Weather Considerations: When choosing products and application techniques for painting fire-retardant plywood, consider the weather conditions. Due to their water-repellent properties, some paints may not hold up as well when exposed to heavy rain or other moisture-rich environments.
What Type of Paint Is Best Suited For Fire-Retardant Plywood?
Latex paints are generally the most suitable option for painting fire-resistant plywood. It is essential to check the flammability of the paint, as well as any instructions that may be provided by either the wood or paint manufacturer.
There are many benefits to using latex paint on plywood, not just from everyday wear and tear but also in the face of high temperatures. Water-based paints however, should be avoided, as these can have an adverse effect if exposed to rising heat during a fire.
How Long Should Treated Lumber Be Allowed to Sit Before Painting?
Treated lumber should typically sit for at least 3-4 months before painting, as this allows time for moisture levels to decrease. To determine if the lumber is ready for painting, check to see if moisture beads up on the surface. If so, it means that it isn’t yet dry enough.
Conversely, if the pressure treated plywood absorbs water instead of repelling it, it is ready to be painted. It’s important to note that situations may arise where more time needs to be allocated for the lumber to reach a suitable level of dryness.
In this case, simply wait until all signs pointing toward dryness appear before continuing with your project.
Do Light Colors Work On Fire-Retardant Plywood?
You can use light colors on fire-resistant plywood. Depending on the product, there may be special instructions for painting or staining the material, so it is best to check the manufacturer’s instructions for more detail.
Generally speaking, most fire-retardant plywood sheathing is treated with a red-tinted stain that indicates their fire resistance. This stain also contains code-required information about the type of wood used and its fire resistance rating.
When painting or staining one of these products, it is important to use a heat-resistant paint or stain compatible with the treated wood surface. It’s possible to create desired aesthetic effects while providing adequate flame protection with light colors such as whites and pastels.
Is it possible to get a Glossy Finish on Fire-Retardant Plywood?
A glossy finish is possible on fire-retardant plywood. The best way to achieve this is to use an oil-based varnish or sealer on top of your chosen primer and paint combination. An oil-based product will create a glossy finish when applied correctly and provide durability and additional protection from fire damage.
Before applying varnish or sealer, ensure that the surface of the plywood is dry and clean for the product to stick properly and last longer. Aside from that, remember to apply several thin coats rather than one thick coat for a better finish.
Does Fire Retardant Plywood Need a Primer or Base Coat?
Fire-retardant plywood should be primed for several reasons. Primers provide a smooth surface for the paint to adhere to, which can help prevent chipping and flaking. Primers also seal off any moisture that may be present in the wood, preventing it from warping or cracking.
Also, primers create a barrier between the surface of the wood and the paint, helping to protect against weathering and fading over time. So while it’s not absolutely necessary to use a primer on fire rated plywood.
It’s generally recommended as it provides extra protection and helps ensure that your paint job has a professional finish.
Can Fire Retardant Plywood Be Repainted?
Looking to give your fire retardant plywood a new look? Believe it or not, you can repaint this specialized wood with either oil-based paint or water-based latex. Always apply a primer before choosing between an oil-based or water-based latex option to ensure proper adhesion and lasting performance.
Now all that’s left for you is to decide which color best suits your style.
If you’re ready to paint some wood, make sure any glossy surfaces are sanded down first. By doing so, the whole surface will look even when it’s done. And don’t forget the basics. Give everything a good clean-off too. Specks of dirt and dust can cause an uneven finish on your final masterpiece.
Unlock The Potential of Fire Retardant Plywood With a Fresh Coat of Paint
Painting fire retardant plywood can be a breeze once all the necessary steps are taken. Priming and ensuring that it is fully dry before applying any protective finishes are essential for achieving beautiful results. With these requirements met you’re ready to get creative with your project.
Also, make sure that you select a paint that is specifically formulated for use on this special type of wood to ensure optimal safety and longevity. If you follow these steps, you can rest assured that your paint will look great while equally protecting your house from fires.