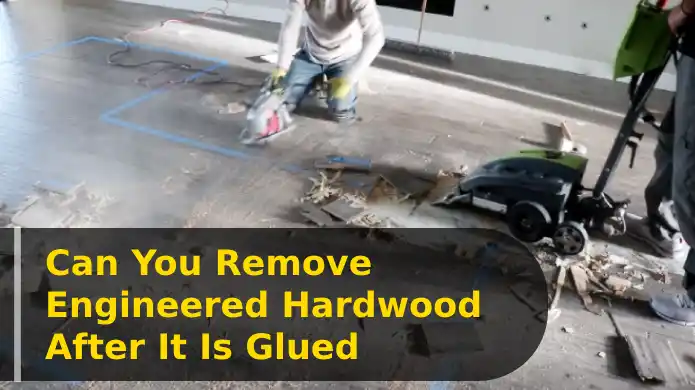
Can You Remove Engineered Hardwood After It Is Glued: 7 Steps to Follow
Engineered hardwood that has been glued down may seem impossible to remove when you think about it. You can do it, but it takes a lot of work.
Before you begin the process of removing glued-down engineered hardwood, it’s important to understand the type of adhesive that was used. Different adhesives require different removal methods, and using the wrong method can damage your subfloor or the hardwood itself.
Removing glued-down engineered hardwood involves cutting the floor into sections with a circular saw, prying the sections up with a pry bar, and using a hammer and chisel to remove any remaining stubborn pieces.
We’ll discuss the steps you need to take to remove glued-down engineered hardwood and the type of adhesive commonly used.
How to Remove Engineered Hardwood After It Is Glued? Step-By-Step Guide
There are a few key steps to follow to remove engineered hardwood flooring after it’s been glued down. Here’s a quick rundown:
Step 1: Gather the Necessary Tools
Step 2: Start From a Carpeted Edge or Loose Boards
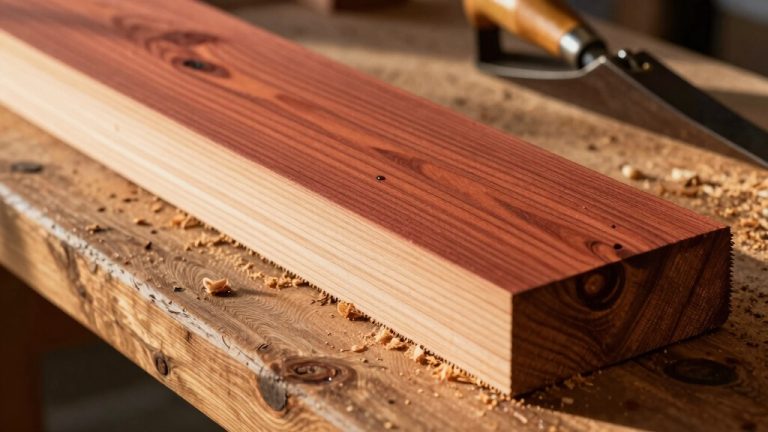
Step 3: Cut the Hardwood Into Manageable Pieces
Step 4: Pry up the Engineered Wood Flooring
Step 5: Chisel off Layers of Adhesive
Step 6: Use an Oscillating Tool for Stubborn Adhesive
Step 7: Clean the Subfloor
Let’s go over the steps.
Step 1: Gather the Necessary Tools
Gather all the necessary tools, including a circular saw, pry bar, hammer, chisel, oscillating tool with a scraping attachment, and protective gear like gloves, safety goggles, and a dust mask to remove the engineered hardwood after it’s glued safely.
It’s important to have all the tools on hand before starting the removal process to ensure that you can work efficiently and safely.
The circular saw will be cut into manageable pieces, while the pry bar and hammer will be used to remove the planks from the subfloor. The chisel and oscillating tool with a scraping attachment will be used to remove any remaining glue or adhesive.
When gathering protective gear, ensure that all items fit properly and are in good condition.
Gloves protect your hands from splinters and sharp edges, while safety goggles prevent debris from getting into your eyes. A dust mask will also be necessary to protect your lungs from sawdust and other airborne particles.
It’s important to wear all protective gear throughout the removal process to prevent injury.
Step 2: Start From a Carpeted Edge or Loose Boards
Starting the removal process along a carpeted edge or where the boards are loose can minimize damage to the subfloor.
This is because the glue used to attach engineered hardwood to the subfloor is extremely strong, and removing it can be a challenging and messy process.
By starting from a carpeted edge or loose boards, you can create a gap between the flooring and the subfloor, making it easier to pry up the boards without damaging the subfloor.
You will need a pry bar, hammer, and utility knife to start the removal process. Once you have these tools, use the pry bar to gently lift the edge of a board at the starting point, and then use the hammer to tap the pry bar gently to loosen the board from the subfloor.
Once the board is loose, use the utility knife to cut through any remaining adhesive, being careful not to damage the subfloor.
Repeat this process, working your way along the edge of the room or until you have removed all the boards. Remember to work slowly and carefully, as rushing the process can lead to damage to the subfloor or the flooring itself
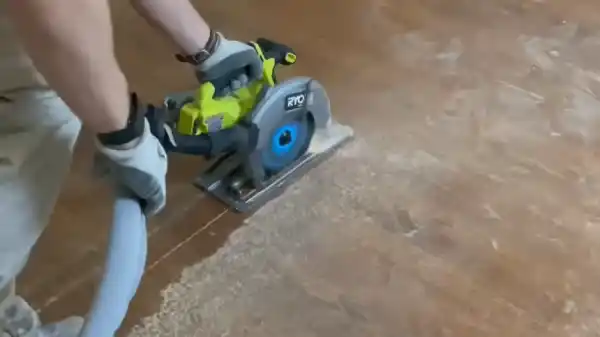
Step 3: Cut the Hardwood Into Manageable Pieces
Once the boards have been loosened from the concrete, cutting the hardwood into manageable pieces is time. This will make the process of removing and disposing of the flooring much easier.
You can use a circular saw to make the necessary cuts, ensuring that you have a clean and precise cut every time.
When cutting the hardwood, it’s important to take your time and make sure that you’re cutting the boards to the appropriate size. You can use a measuring tape to ensure that your cuts are accurate.
Additionally, it’s important to wear protective gear, including gloves and safety glasses, to prevent any injuries. Once the hardwood is cut into manageable pieces, you can easily remove it from the concrete and dispose of it properly.
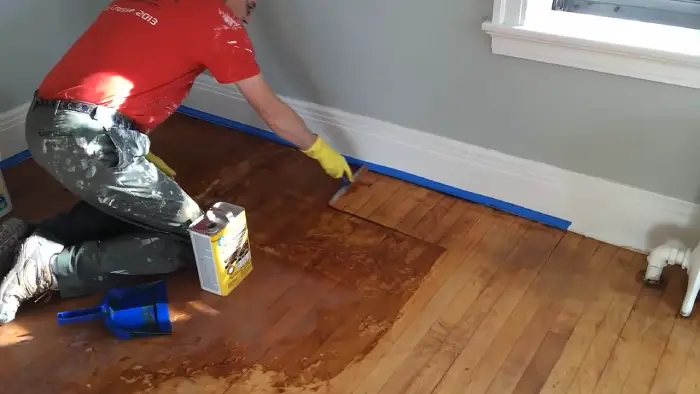
Step 4: Pry up the Engineered Wood Flooring
To make the process of removing engineered wood flooring more manageable, start by inserting a pry bar under the end of a board that you want to remove. Apply pressure to lift the board while keeping it intact. Work along the boards, prying them up and keeping each one together.
If a board starts to crack or rip apart during removal, stop and move to a different part of the same board. This allows you to remove the flooring in one piece, minimizing damage. When prying up the engineered wood flooring, work slowly and carefully.
Keep the pry bar at a low angle to avoid damaging the subfloor. You can use a hammer and chisel to break the adhesive bond if you encounter any stubborn areas. Be patient and take breaks if needed, as this can be time-consuming.
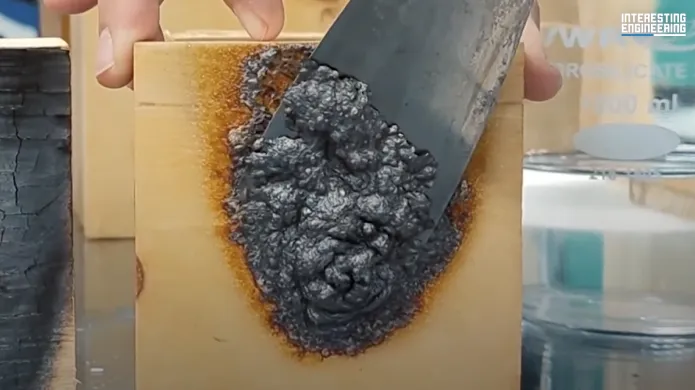
Step 5: Chisel off Layers of Adhesive
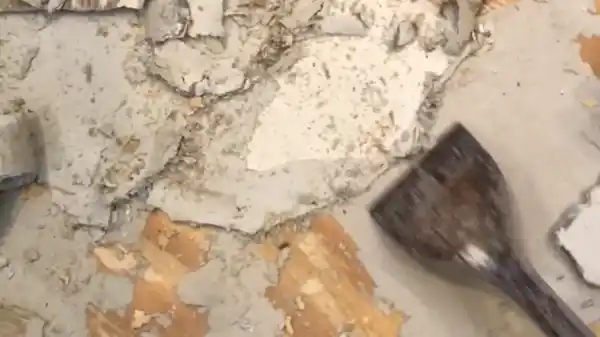
Carefully chisel away the layers of adhesive left on the concrete surface, being mindful not to damage it, like peeling off the layers of an onion to reveal its delicate core.
To ensure that you don’t harm the concrete, use a chisel with a flat edge and work slowly. Begin by inserting the chisel under the adhesive and tapping it gently with a hammer. Once you have lifted the adhesive, scrape it away using the chisel.
As you chisel off the adhesive, keep in mind the following tips to avoid damaging the concrete. Work slowly and carefully, paying close attention to the area you’re working on. Use a chisel with a flat edge to avoid gouging the concrete surface. Tap the chisel gently with a hammer to lift the adhesive. And scrape away the adhesive in small sections rather than trying to remove it all at once.
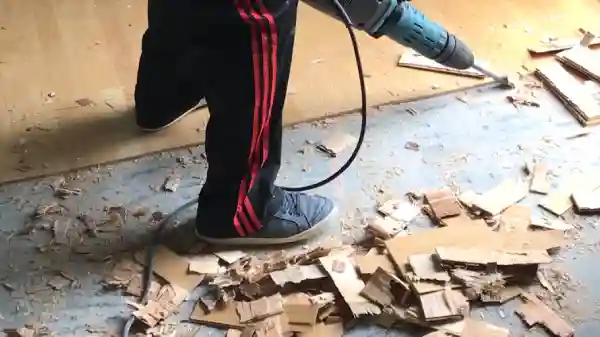
Step 6: Use an Oscillating Tool for Stubborn Adhesive
If you’re having trouble removing that stubborn adhesive, attach a scraping blade to your oscillating tool. This tool is specifically designed to scrape off any adhesive that couldn’t be removed with the chisel alone.
The oscillating motion of the tool makes it easy to loosen and lift the adhesive, allowing you to remove it easily. Simply attach the scraping blade and turn it on to use the oscillating tool. Move the tool back and forth over the adhesive, applying gentle pressure as you go.
The scraping blade will do the rest of the work for you, removing the adhesive layer by layer. Be sure to repeat the process for the entire floor until all of the adhesive has been removed.
With the oscillating tool, you’ll be able to remove even the most stubborn adhesive quickly and efficiently.
Step 7: Clean the Subfloor
After getting rid of all the engineered hardwood, it’s important to clean the subfloor to ensure a smooth surface thoroughly. Any remaining adhesive or debris on the subfloor can affect the adhesion of the new flooring, so it’s crucial to remove them completely.
You can use a broom, vacuum, or damp cloth for cleaning the subfloor. Depending on the condition of your subfloor, you may need to use more than one tool for cleaning.
For example, if your subfloor has a lot of dust and debris, you may want to start with a broom to remove the larger particles. Then, you can use a vacuum to pick up the finer dust and debris the broom couldn’t.
Finally, you can use a damp cloth to wipe the subfloor clean. Make sure to let the subfloor dry completely before installing the new flooring.
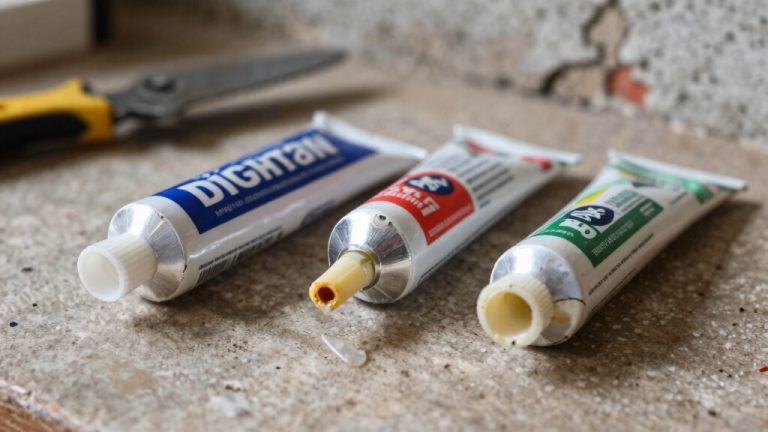
What type of adhesive is commonly used to glue down engineered hardwood?
Polyurethane adhesive is the most commonly used adhesive for gluing down engineered hardwood. Its strong and flexible bonding properties make it perfect for high-traffic areas requiring durable adhesive protection.
Notably, polyurethane adhesive forms a robust bond with the cells and fibers of the wood and subfloor, making it an excellent choice for various subfloor types.
Furthermore, its excellent moisture resistance and ability to provide secure and long-lasting installations make it a reliable option for engineered hardwood flooring.
Can engineered hardwood be reused after it has been removed from a glue-down installation?
Although it is possible to reuse engineered hardwood removed from a glue-down installation, it is not usually recommended due to structural and aesthetic concerns.
The removal process often causes damage to the boards, such as scratches, breaks, and cracks, which can compromise their integrity.
Reinstallation can be difficult due to adhesive residue left on the backside of the planks, further reducing their aesthetic and functional reliability.
Therefore, replacing the hardwood flooring entirely is advisable, rather than attempting to reuse boards from a prior installation.
Safely Remove Your Engineered Hardwood Flooring With Careful Planning and Preparation
Removing engineered hardwood flooring after it has been glued down is possible but labor-intensive. The process involves using tools such as a circular saw, pry bar, hammer, chisel, and an oscillating tool with a scraping attachment.
It is important to exercise caution and take proper precautions during the removal process. The type of adhesive commonly used for gluing down engineered hardwood is polyurethane adhesive, known for its strong and flexible bonding properties.However, reusing the hardwood after removal can be challenging due to potential damage and adhesive residue. Maintaining and taking care of engineered hardwood to get an aesthetic look.