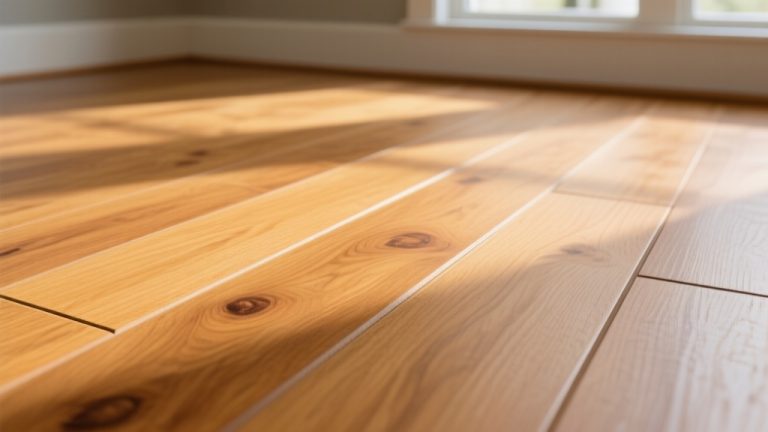
Can I Leave Carpet Underlay Under Hardwood Floors?
Carpet underlay is often associated with providing comfort and cushioning under carpets, offering a cozy feel beneath your feet. But the story takes a different turn if you try to install hardwood floors over carpet underlay.
It’s not a good idea to leave carpet underlay under hardwood floors. Using carpet underlay under hardwood floors can lead to a range of issues that affect both the performance and aesthetics of your flooring.
From compromised floor stability and damage to the locking system to potential moisture buildup and noise concerns, the consequences can significantly impact the longevity and appeal of your hardwood investment.
We’ll talk about why you shouldn’t use underlay under hardwood floors and how to remove carpet underlay.
Can You Leave Carpet Underlay Under Hardwood Floors: 6 Concerns to Consider
Using carpet underlay under hardwood floors is discouraged for several reasons. The following are listed:
- Affects floor stability and support
- Locking system damage
- Moisture concerns
- Noise concerns
- Fit issues
- Diminished aesthetic appeal
Let’s take a look at the reasons why hardwood floors should not be laid over underlayment.
1. Affects Floor Stability and Support
The soft and springy nature of carpet underlay compromises the stability and support required for hardwood floors. When you install hardwood flooring, it is crucial to have a solid and stable base that provides adequate support.
Carpet underlay, designed to provide cushioning for carpeting, does not offer the same level of stability needed for hardwood planks.
The softness of the underlay can cause the hardwood floor to feel bouncy and uneven, leading to potential damage and a shorter lifespan for your flooring.
Additionally, the underlay may not provide the necessary support to prevent the planks from shifting or warping over time. To ensure the longevity and stability of your hardwood floors, removing any carpet underlay before installation is best.
2. Locking System Damage
Placing hardwood floors directly over carpet underlay can harm the locking system.
The tongue-and-groove mechanism that enables seamless installation can be compromised when carpet underlay is present. The padding of the underlay can create an uneven surface, causing the planks not to fit together properly. This can result in visible gaps between the planks and potential breakage.
Also, the underlay can weaken the stability and support of the floor, leading to an increased risk of damage over time.
Removing the carpet underlay ensures that the locking system remains intact, resulting in a visually appealing and durable hardwood floor.
3. Moisture Concerns.
Moisture buildup underneath hardwood floors can be a serious issue, especially if you leave carpet underlay in place. Carpet underlay tends to retain moisture, and if this moisture is trapped beneath the hardwood flooring, it can lead to significant damage over time.
The moisture can cause the wood to warp, cup, or buckle, compromising the floor’s integrity and potentially requiring expensive repairs.
Ensuring the subfloor is dry and properly prepared before installing hardwood flooring is crucial. This may involve removing the carpet underlay and addressing any moisture issues, such as using a moisture barrier or installing a dehumidifier.
4. Noise Concerns
Walking on hardwood floors with carpet underlay can increase noise levels due to empty spaces underneath the planks, making the floor less solid and quiet.
Carpet underlay is designed to provide cushioning and insulation for carpets, which means it is not meant to be used directly under hardwood floors.
When used in this way, it creates gaps between the underlay and the hardwood planks, allowing for movement and increased sound transmission. These empty spaces can cause the floor to creak and make noise when walked upon, especially in high-traffic areas.
To ensure a more solid and quiet hardwood floor, removing the carpet underlay and using appropriate materials designed specifically for hardwood flooring installation is recommended.
5. Fit Issues
Due to the thickness of carpet underlay, installing hardwood planks directly over it can cause problems with the fit of the flooring. Specifically, you may encounter difficulties under doors, baseboards, and cabinets.
The added height from the carpet underlay can create gaps or uneven surfaces, making achieving a seamless and uniform appearance challenging.
This can be particularly problematic if you aim for a professional and polished look in your space. To ensure a proper fit and avoid these fit issues, it is generally recommended to remove the carpet underlay before installing hardwood floors.
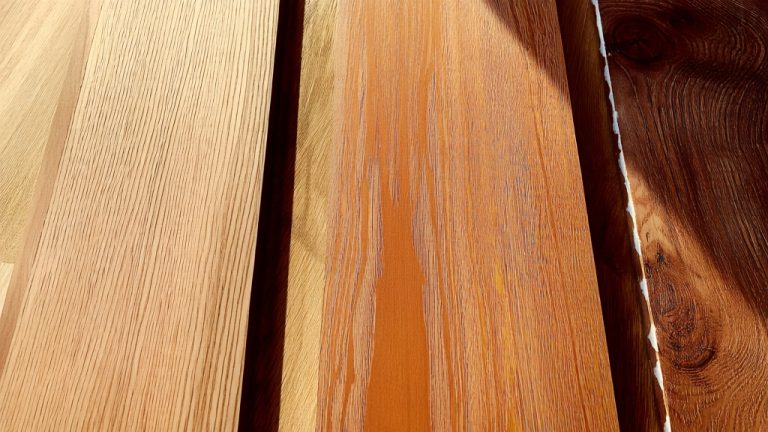
6. Diminished Aesthetic Appeal
To achieve a polished and professional look in your space, removing the carpet underlay before installing hardwood floors is best.
Carpet underlay is typically made of foam or rubber and is designed to provide cushioning and support under carpeting. While it serves its purpose well with carpet, it can cause problems when used under hardwood flooring.
The underlay can create an uneven surface, leading to an unattractive appearance and potential tripping hazards.
Also, the underlay can absorb moisture, leading to mold and mildew growth. It can also cause the hardwood boards to shift or squeak over time.
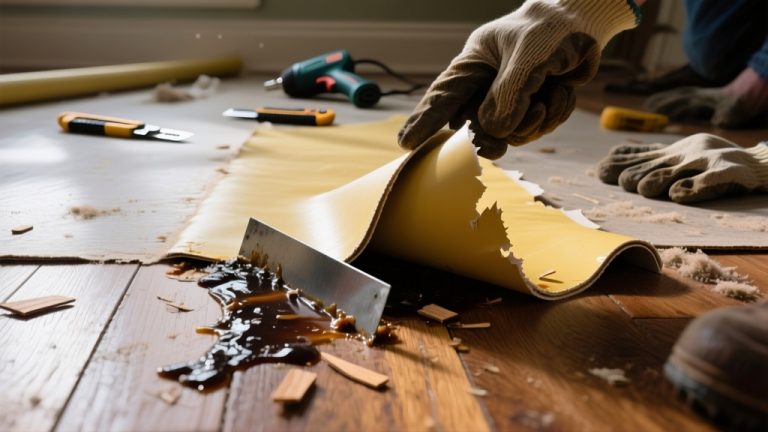
How to Remove Carpet Underlay From Underneath Hardwood Floors? Step-By-Step Guide
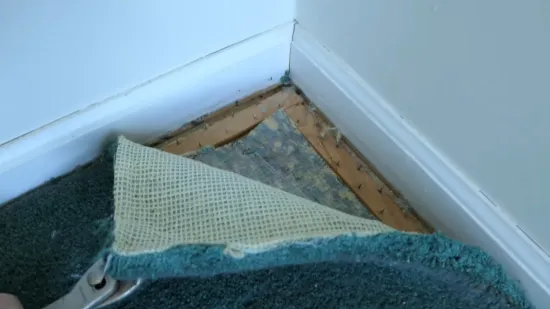
When removing carpet underlay from underneath hardwood floors, it’s important to follow a systematic approach to avoid any potential damage. Among them are:
Step 1: Prepare the Area
Start by moving all the furniture out of the room and removing any carpet tacks or staples using pliers to ensure easy access to the flooring.
By clearing the room and removing any obstructions, you can thoroughly examine the condition of the existing flooring before you decide to replace it.
Step 2: Scrape Away Large Chunks
Using a plastic paint scraper or wooden stir stick, gently scrape away any big pieces of old foam padding.
Be careful not to damage the floorboards. Start by positioning yourself near the edge of the padding and apply light pressure as you scrape. Work your way towards the center, gradually removing the larger chunks.
It’s essential to be meticulous during this process to ensure the floorboards remain intact. Take your time and pay attention to any areas that require extra care. If you encounter any stubborn or stuck-on foam, use a gentle back-and-forth motion to loosen it.
As you continue scraping, periodically check the floorboards for any signs of damage or wear. By diligently removing the large pieces of old foam padding, you’ll create a clean and smooth surface for installing your hardwood floors.
Step 3: Use Heat
To make the foam residue easier to remove, apply heat from a hair dryer or heat gun while keeping a safe distance to avoid overheating. The heat will soften the foam, making it more pliable and easier to scrape away.
It is important to use caution when using heat tools, as excessive heat can cause damage to the surface underneath. Hold the tool at a safe distance and constantly monitor the temperature to prevent any mishaps.
Once the foam is softened, gently scrape it away using a plastic scraper. Take care to avoid scratching or damaging the surface. This step is crucial in effectively removing the foam residue and preparing the surface for further cleaning or refinishing.
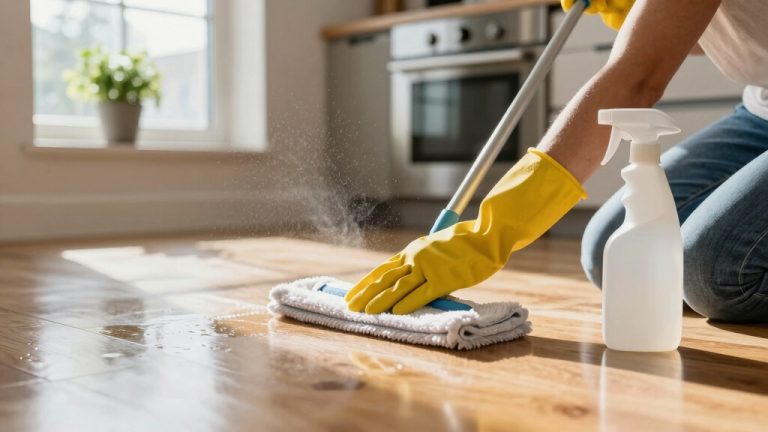
Step 4: Use Dish Soap and Water
Spread the soapy solution over the foam padding and let it sit for a few minutes before gently scraping it away.
When mixed with warm water, the dish soap creates a solution that effectively breaks down the residue. As you spread the solution with a damp sponge, cover the entire area of the foam padding. Allowing the soap to soak in for a few minutes helps to loosen the foam and make it easier to remove.
Once the foam has been soaked, use a plastic scraper to scrape it away gently. Be careful not to apply too much pressure, as this could damage your hardwood floors.
Step 5: Stronger Solvent Options
Sometimes, dish soap may not be enough to eliminate the residue. This is where stronger solvents like mineral spirits or denatured alcohol can be useful. These solvents are more powerful and can effectively break down the foam residue.
To use them, apply the solvent to the affected area using a cloth and allow it to penetrate. Afterward, gently scrape away the softened foam using a plastic scraper. Remember to always test the solvent in a hidden area first and wear gloves for protection.
Additionally, ensure good air circulation as these solvents can produce fumes. Handling and storing these chemicals safely is important due to their flammability.
Step 6: Rinse and Dry
Ensure you thoroughly rinse the area with clean water to remove any remaining residue and dry it completely to prevent water damage. After using a cleaning solution or solvent on your hardwood floors, it is crucial to take these steps.
Rinsing the area will remove all traces of the cleaning solution, preventing any potential damage to the floorboards. Using clean water is essential to avoid introducing any additional chemicals or residues.
Once the rinsing is complete, make sure to dry the floor thoroughly. Water damage can cause warping, swelling, or even mold growth in hardwood floors. By completely drying the area, you are safeguarding your floors and preventing long-term damage.
Take the time to ensure that the area is completely dry before moving on to the next step in your cleaning process.
How long does carpet underlay last?
The carpet underlay’s lifespan varies depending on quality and usage, with high-quality options lasting up to 25 years. This means that if you invest in a premium underlay, you can expect it to provide support and insulation for your carpet for a significant amount of time.
But, it’s important to consider factors such as foot traffic and maintenance practices, as these can impact the underlay’s longevity.
Crumb rubber, made from 100% recycled materials, stands out as a durable choice that can outperform other options. Not only does it offer resilience, but it also aligns with sustainable practices, making it an appealing choice for eco-conscious consumers.
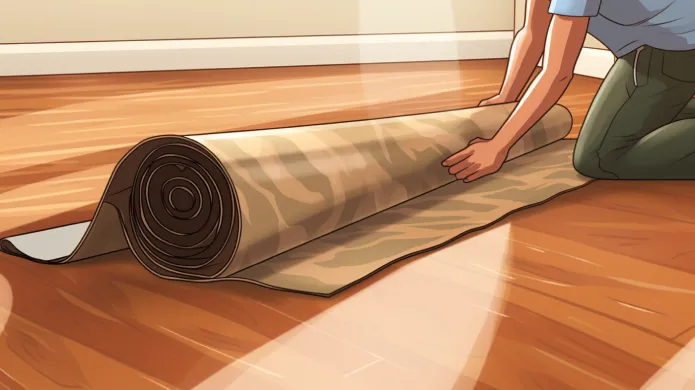
Can you reuse carpet underlay when replacing your carpet?
Reusing carpet underlay when replacing your carpet is possible under certain conditions. If the existing underlay is still in good condition, without excessive wear, damage, or moisture, it can potentially be reused to offer cushioning and support for the new carpet.
But, it’s crucial to evaluate the underlay’s quality and its compatibility with the new carpet’s requirements.
If the underlay shows signs of deterioration or isn’t suitable for the new installation, it’s advisable to replace it to ensure the best comfort, appearance, and durability for the new carpet.
Embrace the Elegance: Ensuring the Longevity of Your Hardwood Floors
It is now clear that leaving carpet underlay under hardwood floors is not a recommended practice due to the various concerns it presents. The soft and flexible nature of carpet underlay compromises the stability, support, and overall performance of hardwood flooring.
The drawbacks are substantial, from affecting floor stability and damaging the locking system to potential moisture and mold buildup, noise issues, fit problems, and diminished aesthetic appeal.
Removing any existing carpet underlay before installation ensures a solid foundation, optimal fit, and long-lasting beauty for your hardwood floors.
By following the recommended steps to remove carpet underlay and choosing the right underlayment, you can enhance your hardwood flooring investment’s performance, durability, and visual appeal.