How to Restore Engineered Hardwood Floors: Top-Rated Stains
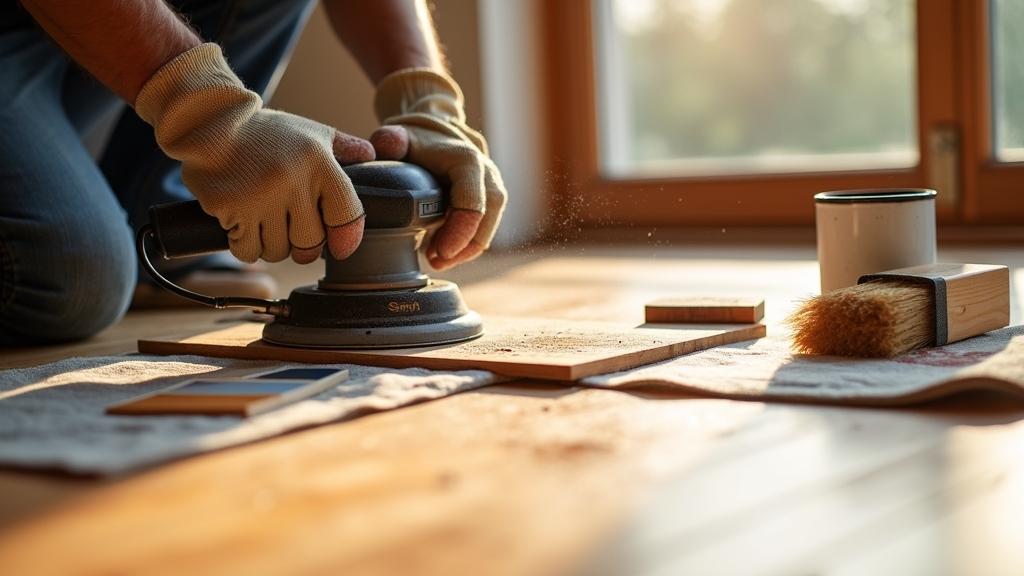
To restore your engineered hardwood floors, first assess veneer thickness and damage carefully. Only sand if the wear layer is about 3mm or thicker. Remove furniture, clean thoroughly, and repair surface imperfections. Use the right sanding tools, progressing through grits to conserve the wood.
Select compatible stains and finishes suited to your floor’s species and previous treatments. Apply finishes evenly and let cure fully before use. Proper technique preserves longevity and appearance; detailed steps ensure a flawless renewal.
Key Takeaways
- Inspect and measure moisture content, veneer thickness, and damage before starting restoration to ensure proper preparation and avoid structural issues.
- Sand using appropriate equipment and grit progression, starting coarse (40-60) and finishing fine (120-150), while protecting against dust and uneven sanding.
- Apply compatible stain carefully with grain direction, maintaining a wet edge and testing in inconspicuous areas for even color and finish.
- Choose and apply suitable finishes like polyurethane or water-based coatings, sanding lightly between coats and allowing full curing before use.
- Maintain restored floors with regular cleaning, humidity control, protective pads, and prompt spill removal to extend life and appearance.
Assessing the Condition of Your Engineered Hardwood Floors
Before restoring your engineered hardwood floors, you need to thoroughly assess their condition to guarantee effective and lasting results.
Begin with a detailed visual inspection, identifying scratches, dents, gaps between planks, discoloration, and finish wear. Pay special attention to high-traffic areas where damage is often more severe.
Use moisture meters, both invasive and non-invasive, to measure wood and subfloor moisture content, aiming for around 12% MC under stable indoor conditions. Understanding the moisture resistance characteristics of engineered hardwood helps predict its behavior in varying humidity levels.
Evaluate ambient humidity and temperature to ensure they reflect typical use. Maintaining proper humidity levels is essential to prevent wood expansion or contraction.
Examine the multi-layer core for delamination, warping, or buckling, verifying ply count and material to anticipate durability. Assess the surface finish type and condition, noting any peeling, cracking, or previous repairs.
Finally, consider functional aspects such as noise, loose boards, and signs of insect or fungal damage. This exhaustive evaluation informs precise restoration planning.
Determining the Refinishing Potential
While evaluating your engineered hardwood floors, determining their refinishing potential hinges primarily on the thickness of the wear layer. A minimum of 3mm is required for safe sanding; below 2mm risks damage.
Also factor in the wood species hardness, previous refinishing cycles, and installation method to avoid compromising floor integrity. High-quality engineered hardwoods can have wear layers up to 6mm, allowing for more refinishing opportunities.
Regular maintenance such as sweeping or vacuuming can also help preserve the floor’s surface and extend its lifespan before refinishing is needed.
| Factor | Key Metric | Impact on Refinishing |
|---|---|---|
| Wear Layer Thickness | ≥ 3mm safe, < 2mm risky | Limits sanding depth |
| Wood Species Hardness | Oak, maple > pine | Influences durability |
| Previous Refinishing | Number of sanding cycles | Reduces veneer thickness |
| Installation Method | Nail-down vs glue-down | Affects sanding tolerance |
Consult product specs or professionals to confirm these parameters before proceeding.
Preparing the Floor for Restoration
Evaluating the refinishing potential sets the stage for preparing your engineered hardwood floors for restoration. Begin by clearing the area completely. Remove furniture, rugs, and objects to ensure unobstructed access.
Start by removing all furniture, rugs, and items to create a clear, accessible workspace.
Protect adjacent surfaces with coverings to prevent dust contamination or damage. Inspect the floor meticulously for protruding nails or loose boards. Counter-sink or remove nails and secure boards to avoid sanding hazards.
Conduct an intensive cleaning using appropriate cleaners and a vacuum. Follow this with a damp wipe to eliminate residual dust. It is important to verify floor compatibility to prevent damage during refinishing. Avoid wet mopping or excess moisture to protect the wood finish from warping.
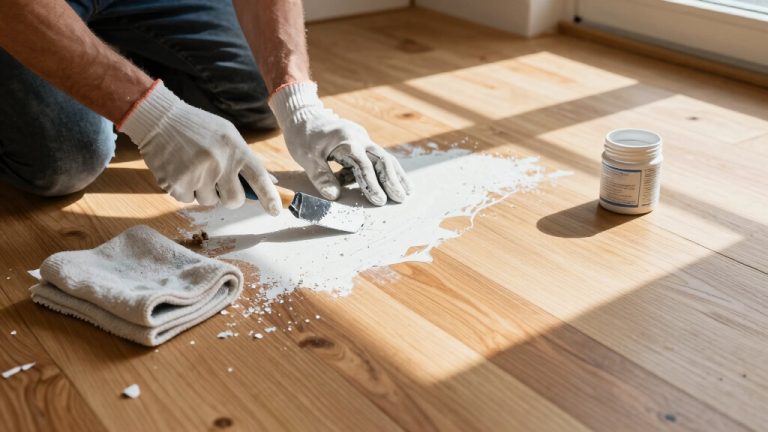
Allow the floor to dry fully before proceeding. Repair imperfections with suitable wood fillers, sanding repairs smooth once cured. Tape off areas for finish testing to confirm adhesion and compatibility.
Finally, seal the workspace to contain dust and establish ventilation to manage fumes during restoration. Proper ventilation also helps in maintaining finish curing time and protecting indoor air quality.
Choosing the Right Sanding Techniques and Equipment
When restoring engineered hardwood floors, selecting the right sanding equipment and techniques directly impacts the quality and efficiency of the refinishing process.
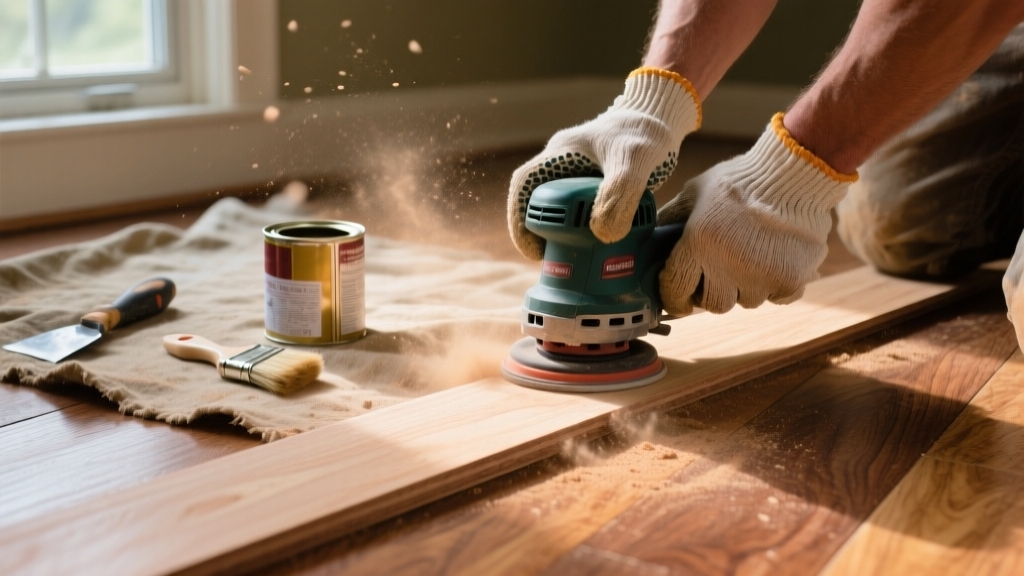
Use drum or belt sanders for large main floor areas, ensuring consistent pattern sanding to avoid uneven surfaces. The drum sander cuts an 8″ wide by 1/2″ long divot and should be operated in straight lines to prevent stop marks or trenches, starting at the left wall while in motion. It is important to address causes promptly to prevent further damage before sanding.
Edgers are essential for tight spaces and edges, employing circular motions for uniformity. The edger should be run clockwise to minimize fighting the machine and sand 1-2 feet at a time using a Z-pattern to maintain an even finish.
Orbital sanders excel in fine sanding and polishing stages, which helps in achieving a smooth surface free of dark spots. Choose grit progressively: start with low grit (40-60) to remove old finishes, move to medium grit (80-100) for smoothing, then high grit (120-150) for final sanding.
Always wear eye, ear, and respiratory protection, and use dust collection systems to maintain a clean environment. Both drum sanders and edgers have matched power to remove the same depth of wood at the same grit, ensuring uniform sanding results.
Proper footwear ensures safety while operating heavy machines. Precise technique and equipment choice guarantee a flawless engineered hardwood restoration.
Best Practices for Staining Engineered Hardwood
Because engineered hardwood has a thin veneer layer, you must carefully select and apply stains to avoid damaging the surface or achieving uneven coloration.
Begin by choosing a stain compatible with the existing finish and wood type. Water-based stains dry faster with lower VOCs, while oil-based stains offer deeper color and better penetration. It is essential to follow manufacturer guidelines to prevent voiding any warranties when refinishing engineered floors.
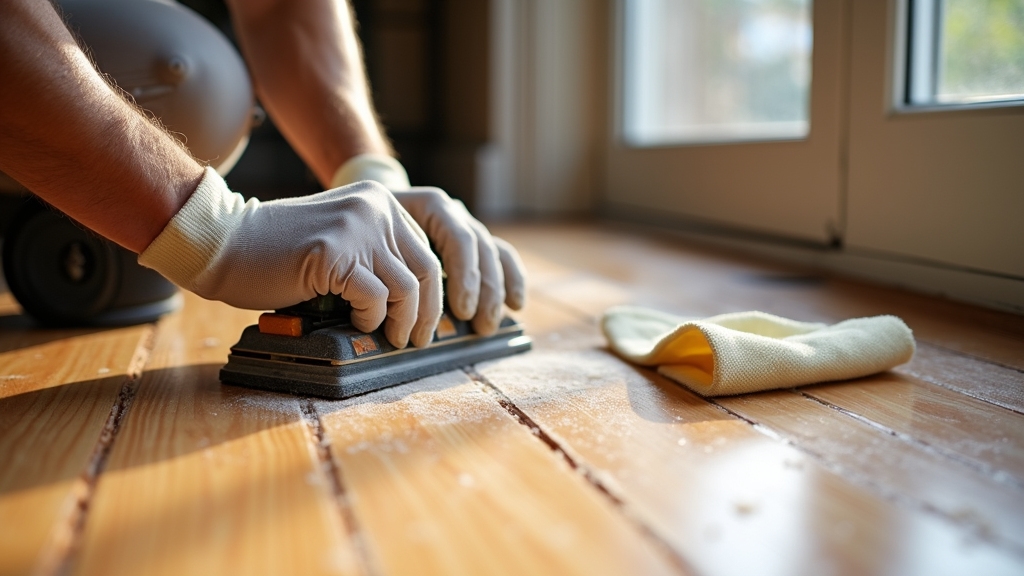
Prepare the floor by lightly sanding to remove old finishes without compromising the veneer, then clean thoroughly to eliminate dust. Use very fine sandpaper or a screen for hand sanding around edges, following the wood grain until a powder forms from the finish to ensure proper surface preparation surface preparation.
Test stains on inconspicuous areas to verify color and absorption. Apply stain with a rag or brush along the grain, working in small sections and wiping off excess within 5–10 minutes to prevent blotching. Maintain a wet edge to ensure uniformity, and control moisture and lighting conditions to optimize stain performance and final appearance.
Selecting and Applying Finishes
When you’re picking a finish for your engineered hardwood, there are a few things to think about. First off, consider how durable you need it to be. Also, what kind of look are you going for? And don’t forget about how much maintenance you’re willing to handle to keep it looking great.
You’ll have a few options to choose from: oil-based, water-based, polyurethane, or hard wax oil finishes. Each one has its own unique protective qualities and ways of being applied, so it’s worth doing a little research on each.
For example, water-based polyurethane dries faster and maintains clarity with low VOCs, while oil-based polyurethane tends to darken the wood with an amber hue and takes longer to cure, so choosing between them depends on your specific needs and preferences for finish properties.
Once you’ve settled on a finish, make sure you apply the right number of coats, and do it with the proper technique. This will help ensure that the finish sticks well and lasts a long time.
Choosing Finish Types
Although selecting the right finish for engineered hardwood floors involves balancing appearance, durability, and environmental factors, understanding the specific properties of each finish type is essential.
You’ll want to evaluate finishes based on these four key criteria:
- Durability: Polyurethane finishes, especially with aluminum oxide, offer superior abrasion resistance, lasting up to 25 years. Oil finishes require more maintenance and provide moderate protection. Multiple coats of high-quality polyurethanes can enhance scratch and stain resistance for long-lasting results.
- Appearance: Oil finishes enhance natural wood with a matte look. Lacquered finishes give a glossy surface, while water-based polyurethanes provide clear, subtle sheens. The choice of finish type also influences the style versatility of engineered hardwood floors, complementing rustic or modern interior designs.
- Environmental Impact: Water-based finishes emit fewer VOCs, improving indoor air quality. Avoid acid-cured finishes indoors due to high VOCs. Choosing finishes with low VOC content supports healthier living environments.
- Repairability: Oil finishes allow spot repairs. Factory-applied aluminum oxide finishes are tough to repair if damaged.
Choose a finish that best matches your restoration goals and household needs.
Applying Finish Coats
Selecting the right finish sets the foundation, but applying it correctly determines the durability and appearance of your engineered hardwood floors.
Prepare the surface meticulously: clean, sand lightly between coats, and ensure dryness. Use high-quality applicators suitable for your finish type.
Apply thin, even coats aligned with the wood grain. Maintain a wet edge and allow full drying before recoating. For recoating over old finishes, use adhesion promoters following manufacturer instructions to avoid damaging the veneer.
| Step | Tool/Material | Key Tip |
|---|---|---|
| Surface Preparation | Vacuum, tack cloth | Remove dust and residues |
| Application | Synthetic brush, foam roller | Apply thin, even coats |
| Finishing Touches | Fine-grit sandpaper (120-150) | Sand between coats for adhesion |
Follow these protocols to ensure a flawless, long-lasting finish.
Proper Curing and Post-Refinishing Maintenance
Since proper curing is vital for achieving maximum hardness and protection, you must allow engineered hardwood floors to cure fully after the final finish coat before resuming heavy use.
Allow engineered hardwood floors to fully cure after finishing for optimal hardness and protection before heavy use.
Curing typically requires 24 to 72 hours or more, depending on finish type and environmental conditions. During this period, avoid heavy foot traffic, furniture placement, or rugs to prevent damage. Keep the environment stable by maintaining proper temperature and humidity.
Ensuring consistent humidity levels during curing helps prevent warping and other moisture-related issues. For effective post-refinishing maintenance, follow these steps:
- Sweep or vacuum regularly to eliminate dirt and grit that can scratch the surface.
- Clean spills immediately with a damp cloth to prevent moisture damage.
- Use cleaners formulated specifically for engineered hardwood finishes.
- Place felt pads under furniture legs and use rugs in high-traffic areas to minimize wear and indentation.
Weighing Professional Services Against DIY Approaches
When it comes to restoring engineered hardwood floors, you really have to think about the cost savings you might get from a DIY approach versus the potential risks. Sure, doing it yourself could save you some cash, but there’s also the chance of damaging the veneer or ending up with an uneven finish. Using plant-based hardwood floor cleaners can help reduce the risk of damaging delicate finishes during cleaning.
On the flip side, hiring professionals brings a whole different level of expertise to the table. They’ve specialized equipment and know-how that can make the process smoother and quicker. Labor costs can be significant, often making up to 80% of total cost, so it’s important to factor this into your budget.
Plus, their work tends to preserve the floor’s integrity and even extend its lifespan.
DIY Risks and Rewards
Although tackling engineered hardwood floor restoration yourself can seem appealing for cost savings and control, it demands exacting skill and carries significant risks. You must handle thin veneers precisely to avoid irreversible damage and operate specialized sanding equipment correctly to prevent uneven surfaces.
Additionally, you face health hazards from dust and VOCs without proper safety measures. Time and labor requirements are substantial, often exceeding initial expectations. Refinishing often proves to be a cost-effective method compared to full replacement.
Consider these critical DIY factors:
- Veneer thickness limits sanding depth; exceeding it ruins floors permanently.
- Professional-grade tools require skill; misuse causes gouges and uneven finish.
- Health risks include inhaling fine dust and VOC exposure without ventilation.
- The process is labor-intensive and time-consuming, risking costly errors. Using multiple types of sandpaper grit is necessary to achieve a smooth finish and avoid uneven surfaces.
Weigh these carefully before choosing DIY restoration.
Professional Expertise Benefits
Choosing professional services for restoring your engineered hardwood floors guarantees you benefit from expert damage assessment and tailored material selection that DIY efforts often miss.
Professionals identify subtle damage and correctly gauge veneer thickness to avoid improper sanding. They use specialized equipment and industrial-grade finishes that extend floor durability and protect against moisture and wear.
Additionally, refinishing strengthens and reinforces the wood surface, increasing its ability to withstand daily use. Their technical skill ensures even sealing, structural repairs, and an optimized project timeline, saving you time and potential costly mistakes.
Using professionals also ensures the application of water-resistant coatings that protect floors from spills and stains, which is crucial for maintaining hardwood integrity.
| Aspect | Professional Services | DIY Approaches |
|---|---|---|
| Damage Assessment | Detailed, precise, tailored | Basic, risk of misjudgment |
| Equipment & Materials | Industrial-grade, advanced techniques | Consumer-grade, limited options |
| Durability & Lifespan | Extended via proper sanding and sealing | Shorter due to inexperience |
| Time Efficiency | Faster, managed schedule | Longer, possible delays |
Cost Comparison Insights
While professional refinishing of engineered hardwood floors commands higher upfront costs, typically ranging from $2 to $8 per square foot, you’ll benefit from superior materials, expert labor, and efficiency that often justify the expense.
DIY refinishing costs less per square foot but demands substantial time, skill, and carries risks that may inflate overall expenses. Consider these factors:
- Professional services include industrial-grade equipment and premium finishes, reducing damage risk and ensuring uniformity.
- DIY requires rental or purchase of tools and materials, with variable quality and potential for costly errors.
- Labor time for professionals is shorter (2–4 days) versus a week or more for DIY, minimizing disruption.
- Warranty and insurance cover defects professionally, absent in DIY, affecting long-term value.
- Additionally, the project size and layout can influence the total cost and complexity, especially for larger or more intricate rooms.
Evaluating these points helps you weigh immediate savings against lasting quality and cost-effectiveness.
Tips for Extending the Life of Your Engineered Hardwood Floors
To extend the life of your engineered hardwood floors, you must implement consistent cleaning and maintenance routines that protect the surface from damage and moisture.
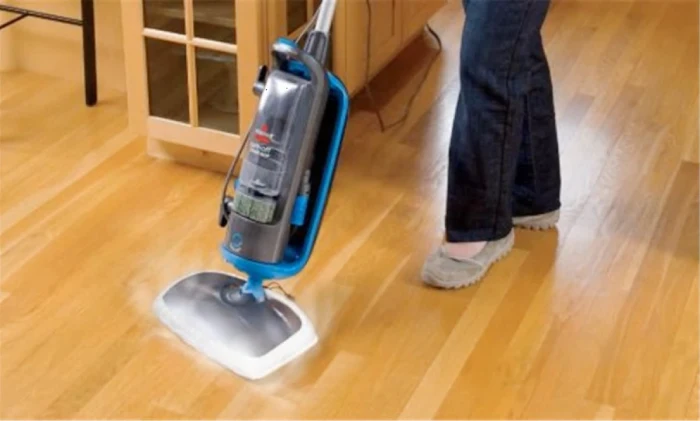
Sweep or vacuum twice weekly using soft tools to prevent scratches. Mop with a damp cloth weekly, applying hardwood-safe cleaners to the mop, never directly on the floor. Engineered wood is made to be stable and resistant to moisture, but excessive water exposure can still cause damage, so avoid soaking mops.
Immediately remove spills with appropriate cleaners, avoiding abrasive or ammonia-based products. Control moisture by maintaining indoor humidity between 30-50%, never using steam cleaners or wet mops.
Use felt pads under furniture and place mats at entrances to reduce wear and dirt. Clean high-traffic areas more frequently and inspect floors periodically for damage. Follow manufacturer guidelines precisely, replacing mop covers regularly to avoid residue buildup, ensuring your floors maintain their finish and durability over time.
Frequently Asked Questions
Can Engineered Hardwood Floors Be Restored After Water Damage?
Yes, you can restore engineered hardwood floors after water damage if you act quickly. Start by removing excess water and thoroughly drying the floor using fans or dehumidifiers.
Once dry, assess for swelling or delamination. Minor damage can be repaired by sanding, filling, staining, and sealing. Severe damage requires board replacement. Always confirm moisture equilibrium before refinishing to avoid long-term issues.
For extensive damage, consider professional restoration to ensure structural integrity.
How Do Pets Affect Engineered Hardwood Floor Restoration?
Imagine your engineered hardwood floor scratched by lively paws and stained by pet accidents. Pets cause deep gouges requiring wood putty or plank replacement. Urine seeps into finishes, prompting chemical treatments or sealing primers. You’ll need careful sanding to remove scratches and odors without harming layers.
Consistent pet damage complicates restoration, often demanding professional intervention, spot repairs, or full refinishing to maintain floor integrity and appearance.
What Is the Best Humidity Level to Maintain Engineered Hardwood Floors?
You should maintain engineered hardwood floors at a relative humidity between 35% and 50%, aiming closer to 40% for ideal stability. Staying within this range minimizes expansion and contraction, preventing warping, cupping, or cracking.
Avoid humidity levels above 55% or below 35%, as prolonged exposure causes damage. Use a hygrometer to monitor RH and employ humidifiers or dehumidifiers seasonally to keep conditions consistent and protect your flooring’s integrity.
Are There Eco-Friendly Finishes for Engineered Hardwood Floors?
Yes, you can choose eco-friendly finishes for engineered hardwood floors. Opt for zero- or low-VOC water-based polyurethane finishes that emit fewer harmful chemicals. Water-based stains without VOCs are also available to add color safely.
UV-cured finishes provide durability with minimal environmental impact. When selecting, verify compatibility with your floor’s veneer. These finishes help reduce indoor air pollution while maintaining your floor’s appearance and longevity responsibly.
How Long Does Engineered Hardwood Floor Restoration Typically Take?
Restoring your engineered hardwood floor usually takes about 3 to 5 days for 1,000 square feet. Think of it as carefully brushing layers of varnish onto a fine painting.
Drying time varies: oil-based finishes need 3-4 days, water-based just 2 days. Multiple coats or poor floor condition can extend this.
Keep in mind, professional scheduling and climate also influence the timeline.
Don’t Risk Your Engineered Hardwood Floors: Use the Right Sanding and Finishing Gear
Now that you’ve learned how to assess, sand, stain, and finish your engineered hardwood floors, the real question remains: can you achieve professional-grade results on your own?
The techniques and equipment matter more than you think, and improper handling could spell disaster. But if you follow each step with precision and patience, your floors won’t just look restored; they’ll stand the test of time.
Are you ready to bring them back to life?