How to Fix a Chipped Hardwood Floor: Wood Filler or Wax
To fix a chipped hardwood floor, first carefully assess the damage and clean the area thoroughly. If the chip is intact, clean it and reattach it using polyurethane glue and secure it while curing.
For small chips, apply wood filler or wax that matches your floor’s color. Larger, deeper chips may require cutting out the damaged wood and installing a carefully shaped Dutchman patch.
Proper sanding, staining, and finishing ensure a seamless blend. Keep following to master each step for a lasting repair.
Key Takeaways
- Clean and degrease the chipped area, then remove loose wood and lightly sand edges for smooth repair prep.
- Reattach original wood chip using polyurethane glue, securing with tape or screws until fully cured.
- For small chips, apply wood filler or wax sticks, then sand smooth and match stain for seamless blending.
- Consider a Dutchman patch for larger damage by cutting a precise cavity and fitting a matching wood patch.
- Finish repairs by sanding flush, applying matching stain, and sealing with polyurethane for durability and appearance.
Assessing the Damage on Your Hardwood Floor
Before you begin any repairs, you need to thoroughly assess the damage on your hardwood floor to determine the appropriate restoration method.
Start by visually identifying the damage type—chips, scratches, dents, or water-related issues—and note surface finish disruptions like peeling or wear. Using a moisture meter; moisture content should be below 12% before repairs to avoid further damage moisture content check.
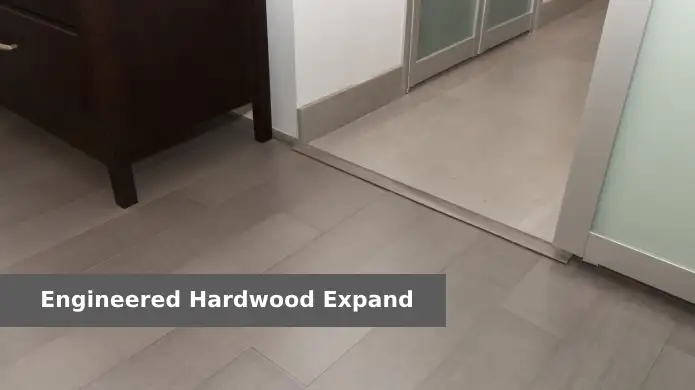
Keep in mind that engineered hardwood is particularly susceptible to moisture-related issues such as warping and mold if water exposure is excessive.
- Begin by visually assessing damage types and surface finish issues such as peeling or wear.
- Examine discoloration or staining for signs of water intrusion or mold.
- Test damage depth using the fingernail and coin scratch tests to see if the finish is compromised.
- Use mineral spirits to identify the finish type, guiding material selection.
- Employ moisture meters to measure moisture content at multiple depths, checking for cupping, crowning, or buckling.
- Finally, inspect the subfloor for softness or swelling.
Document damage dimensions and characteristics meticulously to plan a precise, effective repair strategy.
Preparing the Chipped Area for Repair
When preparing the chipped area for repair, you must thoroughly clean and stabilize the damaged section to guarantee ideal adhesion and a seamless finish.
Begin by vacuuming the chip and surrounding floor to remove dust and debris. Extract loose wood splinters with tweezers or a small pick.
Then mop the area using a mild soap solution or hardwood cleaner to eliminate oils. Wipe with a microfiber cloth dampened in mineral spirits to degrease, and allow it to dry completely.
It is important to check for underlying issues such as moisture or loose boards that could affect the repair’s durability. Ensuring the floor is fully dried before any repair work is critical to prevent adhesion problems and future damage.
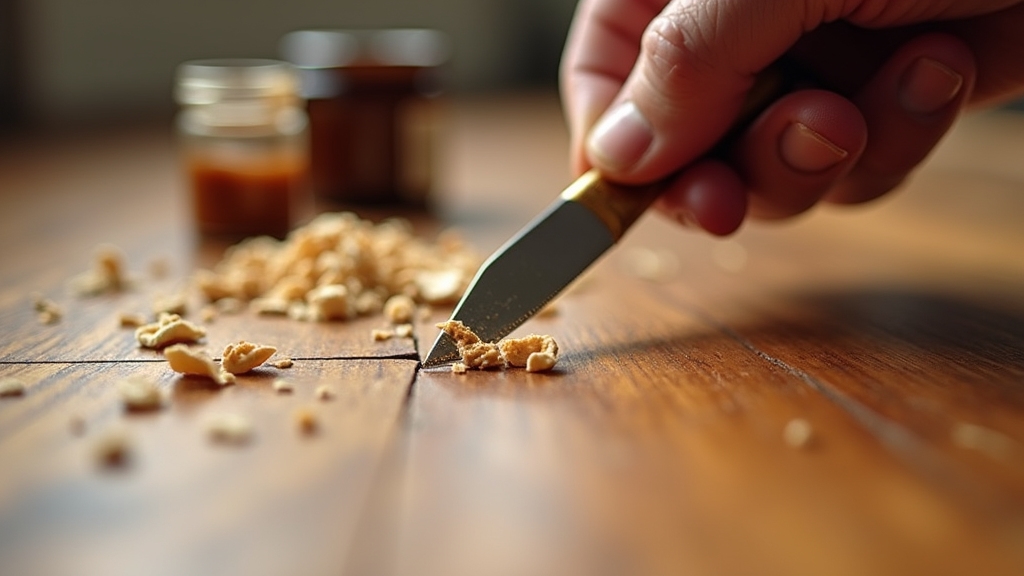
Next, carefully remove any unstable wood with a chisel or utility knife without enlarging the chip. Lightly sand the edges with fine-grit sandpaper, then vacuum or tack cloth to remove dust.
Finally, apply painter’s tape around the chip to protect adjacent flooring before proceeding. Using drop cloths and painter’s tape helps protect surrounding areas during the repair and painting process.
Reattaching the Original Wood Chip
Start by cleaning and drying the original chip thoroughly to guarantee ideal adhesion. During the curing period, avoid walking on the floor with shoes to protect the finish and ensure proper bonding.
Next, drill a shallow, countersunk hole through the chip and floorboard to apply wood or polyurethane glue, enhancing bond strength. Use polyurethane glue with added water to activate the adhesive better and allow it to expand for a secure fit.
Finally, secure the chip with painter’s tape or a screw while the glue cures. It is important to allow sufficient curing time to let the glue harden fully for a durable repair.
After the glue has dried, finish by sanding and staining to blend the repair seamlessly. Regular maintenance and care help preserve the floor’s appearance and prevent future damage.
Preparing the Chip
How do you determine if a wood chip is suitable for reattachment? First, ensure the chip is intact with sharp, clean edges and fits precisely into the damaged floor cavity. Next, verify the chip matches the wood species and grain direction of the floor for a seamless appearance. Before proceeding, thoroughly clean the chip to remove dust, dirt, or adhesive residues.
Avoid chips that are splintered or broken, as they won’t align properly. To prepare the chip and floor area:
- Clear dust, debris, and oils from both surfaces using mineral spirits or a degreasing agent.
- Remove any loose splinters from edges with tweezers or a small pick.
- Allow cleaning agents to evaporate fully to ensure ideal adhesion.
- Slightly moisten surfaces if using moisture-activated adhesives. It is also recommended to use a pH-neutral cleaner to maintain the finish and prevent damage during preparation.
It is important to examine scratches carefully to determine the extent of damage before attempting reattachment.
Drilling and Gluing
Although reattaching a chipped hardwood floor piece requires careful alignment, drilling a countersink hole through the chip allows you to secure it firmly with a screw. Use a countersink drill bit sized to let the screw head sit flush without damaging the chip. Properly preparing the wood surface before treatment is essential to ensure a strong bond and durability.
Before drilling, verify the chip fits perfectly in place to avoid misalignment. Add a few drops of water and polyurethane glue into the hole to activate adhesion and ensure waterproofing protection.
Then, drive in a corrosion-resistant screw to anchor the piece securely. This method ensures a strong, moisture-resistant bond for durable repair. For enhanced safety and longevity, consider applying a fire retardant product after the repair to protect the wood from potential fire hazards.
| Step | Key Detail |
|---|---|
| Drill Hole | Countersink size, flush fit |
| Glue Application | Polyurethane glue, moisture seal |
| Screw Insertion | Corrosion-resistant, flush head |
Securing and Finishing
Before securing the chip, make certain both the damaged area and the wood piece are clean, dry, and properly sanded to create smooth mating surfaces. This ensures ideal adhesion and fit. Using polyurethane glue is critical for a strong bond in hardwood floor repairs.
Regular maintenance such as vacuuming hardwood floors can help prevent further damage and keep the floor in good condition. Follow these steps for a secure, professional repair:
- Apply polyurethane glue evenly to both surfaces and slightly moisten them to activate the adhesive.
- Position the chip precisely, drill a countersink hole, and insert a screw to clamp the chip mechanically.
- Use clamps or painter’s tape to hold the chip firmly, preventing movement during curing.
After the glue sets, sand the area smoothly, then apply matching stain and several polyurethane coats to blend and protect the repair. Adhering to these steps guarantees a durable, seamless restoration of your hardwood floor’s integrity and appearance.
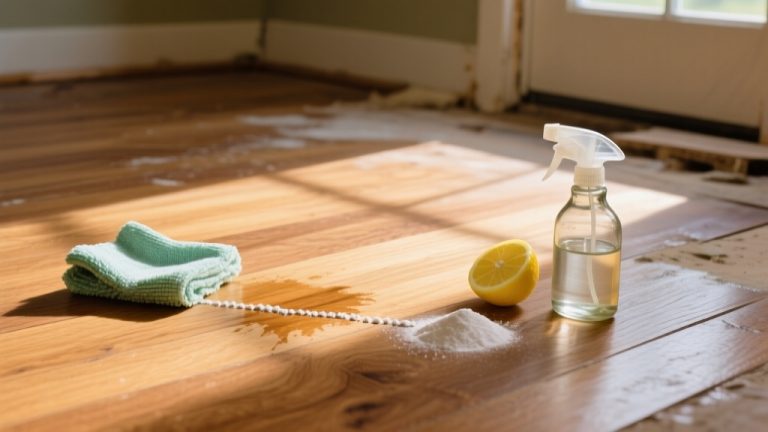
Using Wood Filler and Wax for Small Chips
When addressing small chips in hardwood floors, using wood filler and wax provides an effective way to restore the surface without extensive repairs.
Start by thoroughly cleaning the damaged area, ensuring it’s stable and free of dust or debris. Using products that meet safety standards can help avoid further damage during repair.
Apply wood filler with a putty knife at a 45-degree angle, overfilling slightly for seamless coverage. Work filler into seams at a 45-degree angle to help prevent back-out and achieve a better bond.
Allow the wood filler to dry fully before sanding flush with fine-grit paper. For minor nicks, wax sticks offer a quick cosmetic fix, match the wax color precisely, apply thin layers, press into the chip, then smooth and buff for a polished finish.
Note that wood filler suits small chips only and doesn’t replicate grain; wax is less durable and mainly cosmetic. Avoid filler on unstable or large damaged areas to ensure repair longevity.
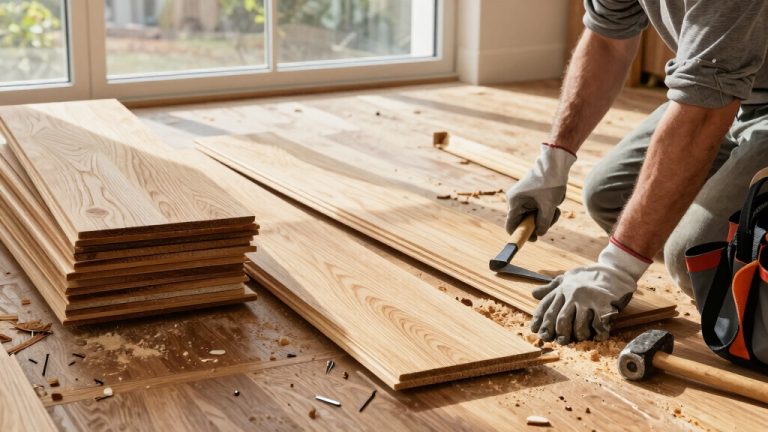
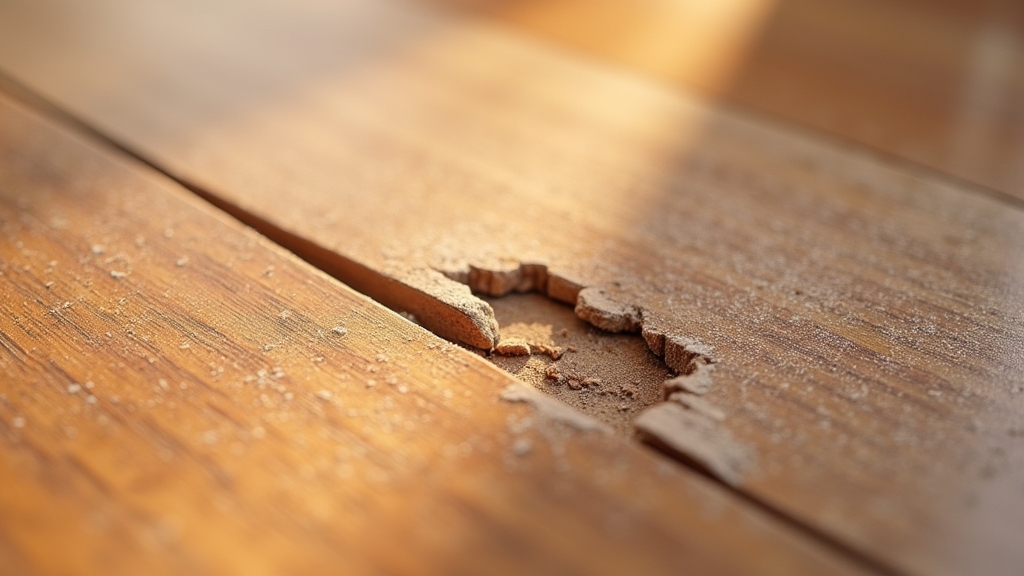
Creating and Installing a Dutchman Patch for Larger Chips
Start by removing the damaged wood with a hammer and chisel to create a clean, geometrically shaped cavity. Focus on carefully removing all rot or soft wood to ensure the repair holds firmly. Using a pH-neutral cleaner before repair can help preserve the wood’s finish and prevent discoloration.
Next, cut and bevel a matching Dutchman patch to fit snugly. Ensure that the grain and thickness align perfectly with the surrounding wood. Matching the wood grain and color is essential to achieve a seamless blend and maintain the floor’s appearance.
Apply wood glue to the patch and the cavity. Secure the patch firmly in place using clamps. Use a polyurethane glue designed for wood to enhance the bond strength.
Removing Damaged Wood
Although creating and installing a Dutchman patch demands careful precision, removing the damaged wood precisely is critical to guarantee a seamless and durable repair.
Begin by outlining the damaged area with a marking knife to ensure sharp, clean lines for accurate cuts. Use a drill with a Forstner bit to remove waste wood quickly, then refine the mortise with chisels, beveling edges slightly to facilitate a snug patch fit. Ensuring the edges are smooth with folded sandpaper helps the patch fit properly and adhere securely.
Remove all weakened wood to prevent future deterioration and clean the mortise thoroughly, eliminating dust and debris. Lightly moisturize the mortise to optimize polyurethane glue bonding. It is important to perform this step before sanding and finishing to achieve the best color and finish matching.
Maintain the original flooring’s structural integrity by avoiding excessive removal and cutting through fasteners. This precise removal sets the foundation for an effective Dutchman patch repair.
Fitting and Securing Patch
After removing the damaged wood and preparing a clean, well-defined cavity, you’ll focus on crafting a Dutchman patch that fits perfectly and secures firmly.
Select wood matching species, grain, thickness, and sawn type, then cut it to a geometric shape with beveled edges, slightly larger than the cavity. This patch material selection is crucial to ensure the repair blends seamlessly with the original flooring. Matching the grain direction is essential to achieve visual continuity and a natural appearance.
Align the grain direction with surrounding flooring for visual continuity. Trace the patch onto the floor and chisel out a matching cavity, undercutting edges to create a mechanical lock. This technique helps in securing the patch firmly and prevents movement once installed.
Apply a thin, even coat of polyurethane glue on patch and cavity, slightly dampened beforehand. Insert the patch with a downward and sideways motion to eliminate gaps. Then clamp or apply weight until the glue cures fully.
Once dry, plane and sand flush for a seamless, durable repair. Proper sanding ensures a smooth surface and promotes better adhesion of any finish applied afterward.
Repairing With Epoxy or Resin-Based Kits
When repairing a chipped hardwood floor with epoxy or resin-based kits, you must prepare the area meticulously to guarantee strong adhesion and a seamless finish. Begin by removing all loose or damaged wood, then clean the area thoroughly. Protect adjacent surfaces with painter’s tape.
Thorough preparation, including removing damaged wood and protecting nearby areas, ensures strong adhesion and a flawless repair finish.
For deep chips, fill voids with a patching compound and ensure the surface is dry and above 70°F. It is important to remove dust and debris before applying any repair materials to ensure proper bonding.
Mix epoxy components precisely per the manufacturer’s instructions to achieve the correct consistency. Apply epoxy firmly with a putty knife, overfilling slightly to allow sanding flush later. Allow full curing at the recommended temperature, avoiding traffic until hardened. Inspect for defects like bubbling; improper adhesion requires reapplication to ensure durability.
Finishing and Blending the Repaired Area
Completing the repair with epoxy sets the foundation, but achieving a seamless appearance requires careful finishing and blending of the repaired area.
Begin by sanding beyond the epoxy patch, feathering edges into the surrounding floor with progressively finer grits. This ensures a uniform texture and helps avoid hard lines. Precise attention to detail is essential to create a repair that truly blends with the original flooring, avoiding any noticeable differences in texture or elevation.
Use hand-scraping techniques to refine edges and match the grain direction precisely, enhancing the natural look of the repair.
Next, color match by testing layered custom stains under your room’s lighting. Often, blending multiple stain hues and employing water-popping enhances absorption and depth. Since hardwood floors change color over time due to sunlight and wear, it is important to assess the wood’s age and tone carefully when creating custom stains for an accurate color match.
Match the existing floor’s sheen—matte, satin, or gloss—to conceal the repair fully. Finally, apply a professional-grade finish, feathering it outward to maintain consistent texture and gloss. Evaluate the repair under varied lighting to confirm flawless integration and durability.
Tips for Maintaining and Protecting Your Hardwood Floor Repair
Though repairing a chipped hardwood floor restores its structural integrity, maintaining and protecting the repaired area is essential to guarantee longevity and appearance.
To effectively preserve your repair, clean daily using a soft-bristle broom or microfiber mop. This removes abrasive dirt without damaging the finish. Immediately wipe spills with a soft, absorbent cloth to prevent stains and moisture infiltration. Avoid using steam cleaning devices, as they can cause long-term damage.
Attach felt pads to furniture legs and use area rugs in high-traffic areas to minimize scratches and dents. Control indoor humidity between 30% and 50% using humidifiers or dehumidifiers. This helps reduce wood expansion and contraction.
Frequently Asked Questions
Can I Fix Hardwood Floor Chips Myself Without Professional Tools?
Yes, you can fix hardwood floor chips yourself without professional tools. Start by cleaning the damaged area thoroughly and protecting the surrounding floor with painter’s tape.
Use wood filler, stain markers, or wax sticks to fill and conceal chips, applying them carefully along the grain. For larger chips, glue broken pieces back or manually cut and insert patches. Sand, stain, and seal the repair to blend it seamlessly with your flooring.
How Long Does a Typical Hardwood Floor Chip Repair Take to Cure?
Rome wasn’t built in a day, and neither is a hardwood floor repair fully cured overnight. Typically, water-based finishes need about 3 days to cure completely.
Hardwax oil finishes cure within 24 hours. Light foot traffic is usually safe after a day, but avoid heavy furniture or rugs for up to a week to prevent damage. Environmental factors and repair thickness can extend curing time, so always monitor the area carefully.
Are There Eco-Friendly Products for Repairing Hardwood Floor Chips?
Yes, you can choose from several eco-friendly products to repair hardwood floor chips. Water-based fillers like Timbermate dry quickly, don’t shrink or crack, and emit low VOCs, making them safe indoors.
Eco-friendly repair kits often include natural finish options such as hardwax oils that protect and renew wood without toxic chemicals. These products support sustainable floor care, minimize waste, and are user-friendly for precise, durable chip repairs.
Will Repaired Areas Affect My Hardwood Floor Warranty?
Yes, repaired areas can affect your hardwood floor warranty. If repairs aren’t done by authorized professionals or don’t follow manufacturer guidelines, you risk voiding both structural and finish warranties.
Using unapproved materials or improper techniques may also invalidate coverage. To maintain warranty protection, guarantee professional handling, proper documentation, and adherence to specified repair protocols. Keep in mind, repaired chips mightn’t restore original warranty terms fully.
How Often Should I Refinish My Hardwood Floors After Repairs?
Think of your hardwood floor like a well-tended garden: after patching a bare spot, you’ll need to rejuvenate the soil periodically. Typically, you should refinish every 7–10 years, but post-repair, expect it sooner, perhaps 3–5 years, depending on damage severity, finish type, and traffic.
Heavy wear may demand refinishing every 1–3 years. Proper maintenance and quality repairs can extend intervals, but consistent monitoring ensures your floor’s durability and uniform appearance.
Restoring Hardwood Integrity with Surgical Precision
By carefully evaluating and addressing the damage, you can restore your hardwood floor’s integrity like a skilled surgeon mending a crucial organ. Whether reattaching chips, applying wood filler, or crafting a Dutchman patch, precision is key.
Finish with proper blending to guarantee a seamless repair that stands the test of time. Follow maintenance tips diligently to protect your work and keep your floor looking flawless for years to come.