How to Refinish Maple Hardwood Floors: Eight Easy DIY Steps
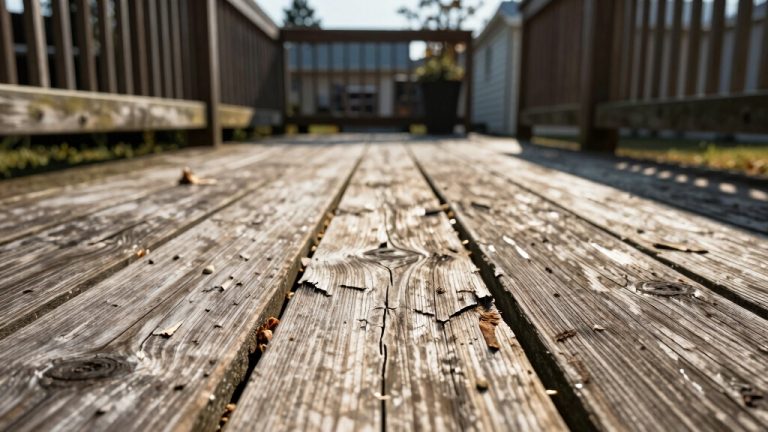
Even the best-maintained maple hardwood floors can wear over time. To rejuvenate these floors, you must refinish them to restore their luster.
You can refinish your old maple hardwood floors by thoroughly cleaning the floor using a vacuum cleaner and a damp mop. Once the floor is clean, sand it with a drum sander or an orbital sander to remove the old finish and smooth out any imperfections. Then choose and apply a high-quality polyurethane finish
In this article, we’ll discuss each step of refinishing your maple hardwood floors. So read and get ready to give your floors the makeover they deserve.
How to Refinish Maple Hardwood Floors: Steps to Follow
Whether your floors have endured years of wear and tear or you are simply seeking to update your decor, refinishing maple hardwood floors can be rewarding and transformative. Follow these steps to refinish your maple hardwood floors:
- STEP 1. Gather necessary tools and materials
- STEP 2: Clear the maple hardwood floor
- STEP 3. Sand the floor with a drum sander
- STEP 4. Clean the floor surface
- STEP 5. Applying the first coat of finish
- STEP 6. Sanding between coats
- STEP 7. Apply the final coat of finish
Let’s discuss these steps in detail:
STEP 1. Gather Necessary Tools and Materials
To start refinishing your maple hardwood floors, gather all the necessary tools and materials. Ensure you have safety equipment like goggles, a mask, and gloves to protect yourself during the process.
You will also need sanders, including a drum or belt sander, an edger sander, and a detail sander for corners and edges. Remember to stock up on sandpaper of various grits, ranging from coarse to fine, to achieve the desired smoothness.
A vacuum or broom will come in handy to clean up the dust generated by sanding. Also, have a tack or microfiber cloth to wipe down the floors before applying the finish. If there are any imperfections, the wood filler can be used to fill them.
STEP 2: Clear the Maple Hardwood Floor
Start by removing all furniture, rugs, and objects from the room to create ample space for sanding and refinishing, ensuring a smooth surface by nailing down any raised nails.
To make the refinishing process easier, clear the maple hardwood floor completely. This will allow you to work efficiently and achieve the best results. To help you get started, here is a helpful table outlining the necessary tools and materials for refinishing maple hardwood floors:
| Tools | Materials | Safety Equipment |
| Orbital sander | Sandpaper | Safety goggles |
| Vacuum cleaner | Tack cloth | Dust mask |
| Broom | Floor finish | Knee pads |
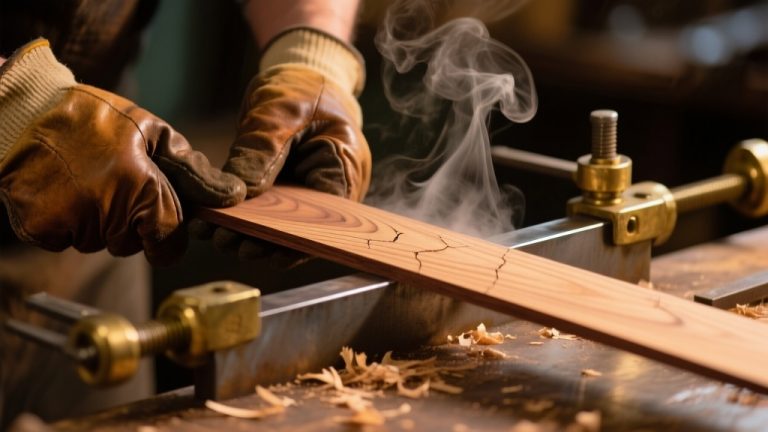
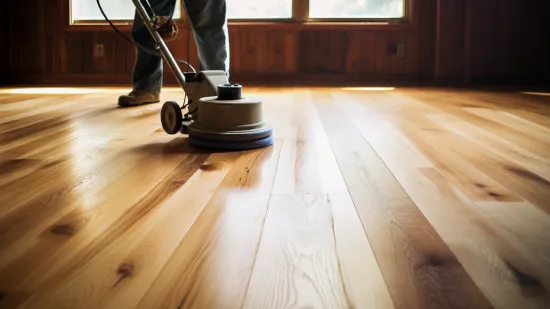
STEP 3. Sand the Floor with a Drum Sander
Now use the drum sander to sand the floor along the grain, overlapping each pass slightly for a smooth and uniform surface. Start with the coarsest sandpaper, like 40 or 60 grit, to remove the old finish effectively.
Feel the roughness disappear under your fingertips as you sand and imagine the transformation. The process may seem tedious, but the satisfaction of revealing the natural beauty of the maple hardwood is worth it.
Progress to finer grits, like 100 and 220, to achieve a flawless result. Embrace the rhythmic sound of the sander and the power it holds to rejuvenate the floor. Also, watch the layers of wear and tear vanish before your eyes, leaving behind a fresh canvas ready for its next chapter.
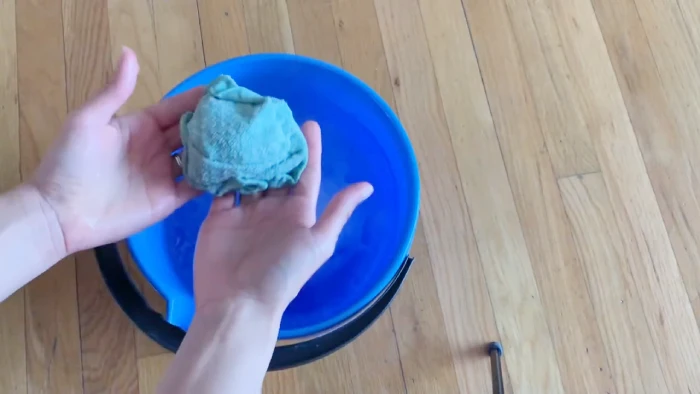
STEP 4. Clean the Floor Surface
After sanding the floor, thoroughly clean the surface before moving on to the next step. Cleaning the floor is a crucial step in the refinishing process as it ensures that there are no dust or debris particles left behind that could compromise the final finish.
Use a tack cloth to wipe the floor’s surface, covering the entire area. The tack cloth will effectively pick up any remaining dust or small particles that may have been missed during vacuuming and sanding.
STEP 5. Applying the First Coat of Finish
Now that you’ve thoroughly cleaned your maple hardwood floors, you can apply the first coat of finish. This is where the magic happens, and your floors come back to life. Grab your preferred polyurethane finish, whether water- or oil-based, and a paintbrush or floor applicator.
Make sure to apply a thin and even coat along the grain of the wood, ensuring no area is missed. Remember, patience is key here. Allow the first coat to dry completely, following the manufacturer’s instructions, which usually takes several hours, even overnight.
This will ensure a durable and long-lasting finish that will protect and enhance the natural beauty of your maple hardwood floors.
STEP 6. Sanding Between Coats
To achieve a smooth and flawless finish, gently sand the surface between coats of polyurethane. This will remove any imperfections and roughness that may have occurred during applying the previous coat.
Start using fine-grit sandpaper (220) to create a smooth texture. Sand in the direction of the wood grain, applying light pressure to avoid damaging the surface.
After sanding, vacuum and tack the floor to remove dust before applying the next finish coat. This ensures that the surface is clean and ready for the next layer of polyurethane.
STEP 7. Apply the Final Coat of Finish
For the final coat of finish, simply apply two to three more coats of polyurethane, allowing each coat to dry and sand between coats as before. This will ensure a smooth and durable finish for your maple hardwood floors.
Follow the manufacturer’s recommended drying times between coats to achieve the best results. This will allow the polyurethane to properly cure and bond with the wood, creating a strong protective layer.
Once you have applied the final coat, give the finish sufficient time to cure according to the manufacturer’s instructions. This may take several days, so be patient and avoid placing furniture back in the room or allowing foot traffic until the finish is fully cured.
STEP 8: Final Sanding and Buffing
After the final coat has dried and cured, you need to lightly buff the floor with a sanding screen to achieve a smooth and polished finish. This step is crucial to give your maple hardwood floors that silky-smooth texture and flawless appearance.
Using a sanding screen will help remove imperfections, such as small scratches or blemishes, and create a uniform surface. Make sure to gently touch and move back-and-forth, covering the entire floor area.
This process will enhance the aesthetic appeal of your floors and provide a protective layer against daily wear and tear. Remember to vacuum and tack the floor afterward to eliminate dust particles, ensuring a pristine finish.
What is the best finish for maple hardwood floors?
After completing the final sanding and buffing of your maple hardwood floors, it’s time to choose the best finish to protect and enhance their beauty. We strongly recommend an oil-based poly finish. Here’s why:
- Long-lasting protection: Oil-based finishes are known for their durability and longevity. They can withstand heavy foot traffic and daily wear and tear, ensuring your floors stay beautiful for years.
- Cost-effective: Not only do oil-based finishes provide superior protection, but they are also more affordable compared to water-based products. You can achieve the same level of quality at a fraction of the cost.
- Enhanced natural beauty: Maple hardwood floors have a unique grain pattern that deserves to be showcased. Oil-based poly finishes enhance the natural beauty of the wood, bringing out its rich colors and textures.
What is the best clear finish for maple floors?
The best choice is an oil-based poly finish to achieve a stunning, long-lasting finish on your maple floors. This type of clear finish provides exceptional durability and resistance to scratches, making it perfect for high-traffic areas like floors.
The oil-based formula penetrates deep into the wood, enhancing its natural beauty and creating a rich, warm color that will complement any decor. Additionally, the polyurethane in the finish forms a protective barrier that shields the wood from moisture, stains, and everyday wear and tear.
Applying this finish is straightforward, requiring just a few coats and minimal maintenance. With an oil-based poly finish, your maple floors will look beautiful and remain protected for years.
What grit sandpaper is suitable for maple floors?
Choose the right grit sandpaper to achieve the best results in refinishing your maple hardwood floors. After determining the best clear & glossy finish for maple floors, the next step is to consider the grit of the sandpaper.
Based on the background information provided, it is recommended to start with 60-grit sandpaper to remove any deep scratches or imperfections. Once the initial sanding is complete, you can move on to an 80-grit sandpaper to further smooth the surface and eliminate the scratches left by the previous grit.
Finally, for a flawless finish, it is advised to use 100-grit sandpaper as the final step. This will remove all previous scratches, leaving you with a beautifully refinished maple hardwood floor ready for staining or sealing.
Should I stain maple floors for refinishing?
Consider whether staining your maple floors is necessary or desired when refinishing them, as they are naturally hardy and beautiful. Maple floors have a natural beauty that is enhanced by their natural state. Staining maple floors can be tricky, as the wood does not absorb stain evenly.
Also, dark stains can make imperfections more visible and may not provide the desired effect. It’s best to avoid staining maple floors very dark, as it can compromise their durability and beauty.
Instead, embrace the natural color and grain of the wood by using a clear finish or a light stain that enhances the natural beauty of the maple.
How many times can I refinish maple floors?
Maple flooring can typically be refinished multiple times to extend its lifespan. Solid hardwood planks, including maple, can withstand up to ten refinishing treatments with proper care and maintenance over the years. This makes maple a durable and long-lasting flooring option.
However, remember that engineered hardwood has a thin layer of hardwood on top of a plywood core and can only be refinished once or twice. This is due to the limited thickness of the hardwood layer. Therefore, if you have engineered maple hardwood floors, carefully consider when to refinish them.
Embracing Timeless Beauty: The Revival of Your Maple Hardwood Floors
Refinishing maple hardwood floors is a labor of love that rewards you with revitalized flooring and a sense of accomplishment. By following the carefully outlined steps in this guide, you can transform your dull and worn maple floors into stunning features that enhance the aesthetic of your living space.
From the initial preparation and sanding to the application of the final coat of finish, each step plays a crucial role in achieving a professional-looking result. Remember, the key to success lies in patience, attention to detail, and using the right materials.
As you complete your refinishing journey, you’ll develop a deeper appreciation for the natural beauty of maple hardwood. With proper care and periodic refinishing, your maple floors will continue to shine for years.