How to Refinish Bruce Hardwood Floors: Nine DIY Steps to Follow
Do you have Bruce Hardwood Floors that have seen better days? Perhaps the finish is worn off, or some scratches and gouges need to be addressed. Refinishing your Bruce Hardwood Floors can breathe new life into your old and tired-looking floors, bringing back the luster and shine they once had.
To refinish your Bruce Hardwood Floors, you must prepare and clean the area by removing all furniture. Now assess your floor’s condition to determine if any repairs or replacements are necessary. Once you have gathered all the necessary supplies, you can start your refinishing project.
In this step-by-step guide, we’ll discuss refinishing your Bruce Hardwood Floors, giving them a fresh look. From sanding to staining, we’ll walk you through the entire process, ensuring your floors look like they were just installed. So, grab your tools, and let’s start transforming your floors.
How to Refinish Bruce Hardwood Floors: Step-by-Step Guide

You must take a few important steps when refinishing your Bruce Hardwood Floors.
- STEP 1. Prepare & clean the area
- STEP 1. Assess the condition of your floor
- STEP 3. Bring your necessary supplies
- STEP 4. Sanding the Bruce Hardwood Floor
- STEP 5. Staining the Bruce Hardwood Floor(optional)
- STEP 6. Applying the chosen finish
- STEP 7. Sanding between coats of finish
- STEP 8. Apply additional coats
- STEP 9. Allow for proper drying
Let’s discuss these steps in detail:
STEP 1. Prepare & Clean the Area
First, clear the room of all furniture and belongings, and cover adjacent surfaces with plastic sheeting or drop cloths to protect them from dust and debris. This is crucial before refinishing Bruce’s hardwood floors.
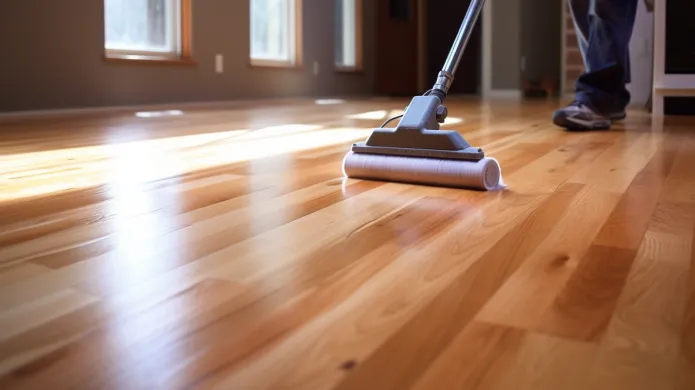
Once the room is prepared, it’s time to focus on cleaning the area. Begin by thoroughly cleaning the hardwood floor using a vacuum with a soft brush attachment.
This will effectively remove all particles from the floor surface. It is important to clean the floor before refinishing to ensure the restoration products adhere properly and achieve the best results. Take your time and cover every inch of the floor, paying special attention to corners and edges.
STEP 2. Assess the Condition of Your Floor
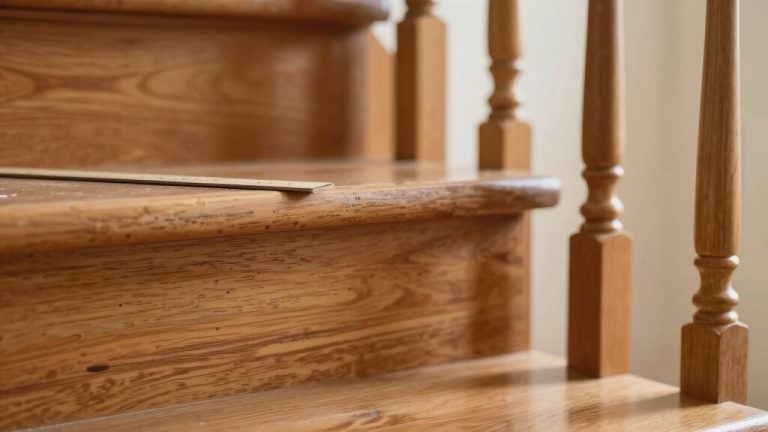
Now look closely at your floors and check for any fading, scratches, or visible damage. Look for wear and tear areas, and determine if they are primarily on the surface or if deeper issues need addressing.
Inspect the floor for any small gouges or imperfections. If you find any, don’t worry. You can easily fix them with a Bruce Touch-Up Kit filler stick that matches the color of your hardwood floor.
Apply the filler material into the gouges, filling them and slightly raising them above the surface. Allow the filler material to dry thoroughly, following the recommended drying time mentioned on the product packaging.
STEP 3. Bring Your Necessary Supplies
Bring all the tools and materials needed to refinish your hardwood floors. Here’s a list of essential supplies to gather:
- Drum or orbital floor sander: This powerful tool will help you remove the old finish and level the surface of your hardwood floors.
- Sandpaper of varying grits (coarse to fine): It’s important to have different grits of sandpaper to achieve a smooth and even finish.
- Dust mask and safety goggles: Protect yourself from dust and debris while sanding.
- Stain and high-quality finish: If you want to change the color of your hardwood floors, choose a stain that suits your preference. Ensure you have a durable finish, like polyurethane or water-based finish, to protect the wood.
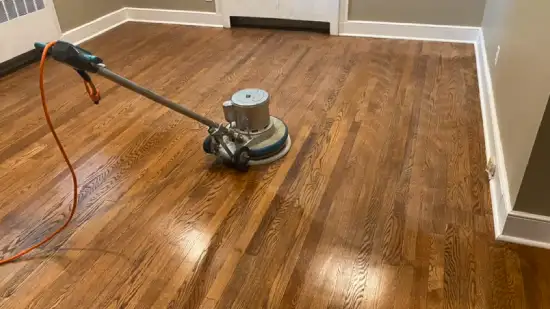
STEP 4. Sanding the Bruce Hardwood Floor
Start using coarse-grit sandpaper to remove the old finish and imperfections from the hardwood surface. This will help create a smooth base for refinishing your Bruce Hardwood Floors.
Attach the sandpaper to a drum or orbital floor sander and begin sanding. Move the sander in a back-and-forth motion, following the wood grain. Be sure to apply even pressure to avoid creating uneven spots.
As you sand, periodically check the progress to ensure you achieve the desired result. Once you have completed the initial sanding with the coarse-grit sandpaper, gradually switch to finer grits to achieve a smoother finish. This will help to remove any remaining imperfections and create a polished look.
STEP 5. Staining the Bruce Hardwood Floor (Optional)
Now that you have successfully sanded your Bruce Hardwood Floor, it’s time to move on to the next step: staining. Staining is an optional step that can enhance the color and richness of your hardwood floors. It allows you to customize your floors’ look to match your style and preferences.
Follow these steps to stain your Bruce Hardwood Floor:
- Choose the right stain: Select a stain color that complements the overall aesthetic of your space. Consider factors such as the existing decor, lighting, and personal taste.
- Prepare the floor: Ensure the sanded floor is clean and free from dust or debris. Use a vacuum or a damp cloth to remove any remaining particles.
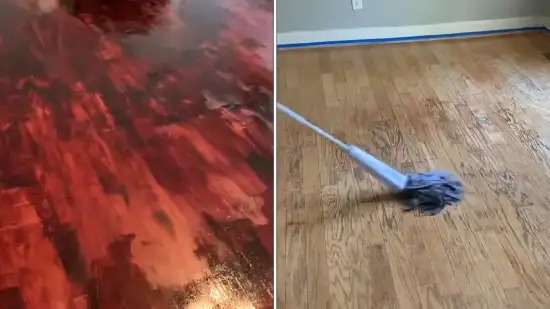
- Apply the stain: Follow the manufacturer’s instructions on evenly applying the stain. Use a brush or a rag to spread the stain toward the wood grain. Allow the stain to dry thoroughly before proceeding to the next step.
STEP 6. Applying the Chosen Finish
After the stain has dried, apply a thin layer of polyurethane finish to the floor using a foam applicator. This step is crucial in protecting and preserving the beauty of your Bruce Hardwood Floors.
A high-quality polyurethane or water-based finish is recommended for optimal results. Work toward the wood grain using a paintbrush or applicator pad to ensure an even application.
Applying a thin coat and allowing it to dry according to the manufacturer’s instructions is important. This will help prevent any streaks or bubbles from forming.
STEP 7. Sanding Between Coats of Finish
To achieve a smooth surface and ensure proper adhesion, lightly sand the floor between finish coats with a fine-grit sandpaper. This is crucial in refinishing as it helps remove imperfections and promote a more even finish application.
Here are some important things to remember when sanding between coats:
- Use fine-grit sandpaper (around 220 grit) to avoid damaging the previous finish coat.
- Sand toward the wood grain to prevent scratches and maintain a consistent look.
- Be mindful of the pressure applied while sanding. Too much pressure can result in uneven surfaces or even damage the wood.
- After sanding, thoroughly remove all dust using a tack cloth or vacuum to prevent it from interfering with the next finish coat.
STEP 8. Apply Additional Coats
You should apply two or three additional coats of finish, following the same process of applying, drying, and sanding between each coat.
This will ensure that your refinished Bruce Hardwood Floors have a durable and protective layer. Applying multiple coats will also enhance the appearance and longevity of your floors.
STEP 9. Allow for Proper Drying
Allow sufficient drying time between each finish coat to ensure it cures and dries completely. This step is crucial for achieving a beautiful and long-lasting finish on your Bruce Hardwood Floors.
When applying multiple coats of finish, waiting for each coat to dry before applying the next one is important. This allows the finish to fully cure and harden, providing maximum durability and protection for your floors.
The drying time will vary depending on the finish type, so following the manufacturer’s recommendations is important. Rushing this process can result in an uneven finish or even damage the floors.
Patience is key when allowing for proper drying, so resist the temptation to rush and ensure that each coat has ample time to dry before moving on to the next step.
Can I refinish a Bruce Hardwood Floor?
Refinishing a Bruce Hardwood Floor with the right tools and techniques is possible. Bruce Hardwood Floors are known for their durability and timeless beauty, making them a popular choice for homeowners.
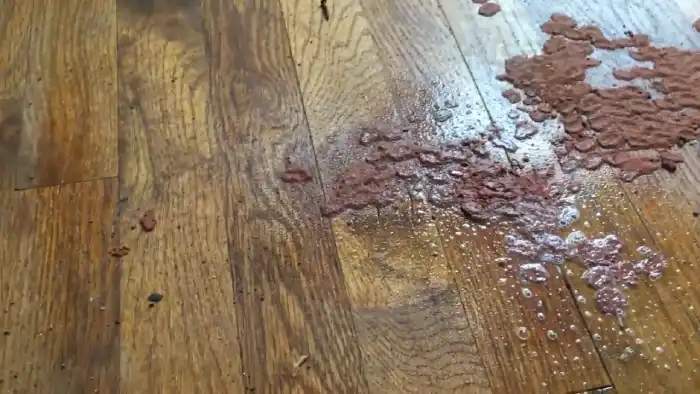
Over time, these floors can become worn and dull, losing their luster. Refinishing a Bruce Hardwood Floor involves several steps, including sanding down the surface to remove any scratches or imperfections, applying a new coat of finish to protect the wood, and allowing ample time for drying.
It is important to use the proper tools, such as a drum sander and edger, to ensure a smooth and even finish. Also, choosing the right finish is crucial to achieving the desired result.
What finish is best to use on Bruce Hardwood Floors?
Consider using a gloss urethane finish to achieve the best results on your Bruce Hardwood Floors. This finish adds shine and protects your floors from nicks and scratches. It is easy to apply and provides a long-lasting shine that can revive older floors without re-sanding or re-coating.
Here are some reasons why a gloss urethane finish is the best choice for your Bruce Hardwood Floors:
- Durability: The gloss urethane finish creates a protective barrier that helps prevent damage from daily wear and tear, including nicks and scratches.
- Easy Maintenance: You can easily clean your Bruce Hardwood Floors with a gloss urethane finish. Simply sweep or vacuum, and use a damp mop when necessary.
- Time Efficiency: Applying a gloss urethane finish is a quick and efficient way to refresh the look of your Bruce Hardwood Floors. It saves you time and effort compared to other refinishing methods.
Can I change the color of Bruce’s hardwood floors?
Changing the color of Bruce Hardwood Floors is possible through proper sanding and applying a stain. If you’re looking to update the appearance of your Bruce Hardwood Floors, this is a great option.
The process involves sanding down the existing finish until you reach the bare wood. This allows you to remove any previous stain or color. Once the floor is sanded, you can apply a stain of your choice.
Whether you want to go darker, lighter, or somewhere in between, various stain options are available to achieve the desired look.
It’s important to note that the final color may vary depending on the type and condition of the wood. Testing the stain on a small, inconspicuous area is always recommended before applying it to the entire floor.
Transform Your Space with Stunning Refinished Bruce Hardwood Floors
Refinishing your Bruce Hardwood Floors can be a rewarding and transformative process. Following the step-by-step guide, you can achieve stunning results and bring new life to your flooring. Make sure you choose the best finish to ensure durability and long-lasting beauty.
And remember, if you’re feeling adventurous, you can even change the color of your hardwood floors to create a new look for your space. So grab your tools and get ready to enjoy the accomplishment.