How to Get Hardwood Enshrouded: Complete Installation Guide
To get hardwood enshrouded, start by thoroughly preparing your subfloor cleaning, leveling, and drying it. Install an appropriate moisture barrier or vapor barrier suited to your subfloor type to prevent damage. Choose the correct underlayment and adhesive compatible with your hardwood and installation method: nail-down, glue-down, or floating.
Carefully lay planks with precise alignment, maintaining expansion gaps, then finish with secure baseboards and moldings. Following these steps guarantees durable, stable hardwood flooring. Explore detailed techniques to perfect your installation process.
Key Takeaways
- Prepare a clean, dry, and level subfloor by removing old coverings and checking moisture levels with a moisture meter.
- Install an appropriate vapor barrier or underlayment to protect hardwood from moisture damage and enhance durability.
- Choose the correct installation method—nail-down, glue-down, or floating—based on subfloor type and hardwood species.
- Lay the first row straight, maintain consistent spacing with expansion gaps, and install planks perpendicular to floor joists.
- Finish by fitting baseboards and moldings securely to walls, ensuring proper alignment and using finish nails with glue.
Preparing Hardwood and Workspace for Installation
Before you begin installing hardwood flooring, you need to remove all existing floor coverings and baseboards carefully to create a clean, unobstructed workspace. Strip carpet, vinyl, tile, or laminate down to the subfloor, prying baseboards and shoe molding gently if you plan to reuse them.
Remove tack strips and padding from carpeting. Dispose of debris and check for hazardous materials like asbestos consult a professional if found. Avoid walking on the subfloor with shoes during preparation to prevent damage before installation.
Thoroughly clean the subfloor by removing dust, wax, adhesives, and oils; sand uneven areas and vacuum afterward. Repair any structural damage or loose sections. Use moisture meters to confirm the subfloor’s dryness and ensure it’s level by sanding high spots and patching low ones.
Preparing the subfloor correctly is crucial because it provides a stable foundation for the hardwood flooring. Proper moisture control and dryness help prevent issues like warping or buckling after installation.
Install vapor barriers as needed, overlapping seams 4 to 6 inches for full coverage. Maintain stable room conditions before continuing. Maintaining these stable conditions supports the curing process of the flooring finish and ensures long-term durability.
Selecting the Appropriate Installation Method
You’ll need to match your installation method to your subfloor type and project requirements. Nail down suits wooden subfloors with speed and stability. Maintain proper spacing for expansion to prevent damage when nailing or stapling.
While glue down works best on concrete and offers sound reduction. Floating floors provide quick, adaptable installation but may affect floor feel and size limits. Ensuring floors are fully dried before installation is crucial to avoid issues related to moisture and finish drying times.
Comparing Installation Techniques
When selecting the appropriate installation method for hardwood flooring, you need to contemplate the subfloor type, wood species, and desired performance characteristics.
Nail-down and staple-down methods secure boards mechanically to wood subfloors, offering firm, quiet floors with minimal materials and low cost. Stapling is simpler but less angled, affecting holding strength. This method typically involves rolling out felt paper with a moisture vapor barrier to protect the wood subfloor, making it cost-effective and moisture-resistant.
Glue-down suits concrete subfloors, providing excellent sound reduction and stability but involves complex, costly installation and removal. Proper cleaning and maintenance can help preserve the glued floor’s integrity and appearance.
Floating floors rely on interlocking planks, offering quick, DIY-friendly installation and slight cushioning. However, they risk movement over large areas and require transition strips. Consider wood hardness: exotic species may split with staples, and glue-down demands compatible adhesives.
Balancing cost, durability, and performance guarantees you select a method that aligns with your flooring and subfloor conditions for long-term success. Additionally, regular upkeep, including removal of greasy residues, helps maintain floor beauty and safety.
Subfloor Compatibility Factors
Selecting the right installation method depends heavily on the subfloor’s material and condition.
For plywood, which offers stability and solid fastener grip, nail-down installations suit solid hardwood well. OSB requires thicker panels or additional fastening to avoid loose nails but remains acceptable. It is also important to level the subfloor before installation to ensure a smooth and stable base.
Concrete subfloors demand moisture barriers and favor engineered hardwood with glue-down methods due to vapor risks. Avoid particleboard for nail-downs; replacement is advised.
Ensure the subfloor is level, securely fastened, and clean, as unevenness or loose fasteners compromise flooring integrity. Additionally, using the correct underlayment can help smooth minor subfloor imperfections and provide essential moisture protection.
Moisture testing on concrete guides barrier use to prevent damage. Your choice between nail-down, glue-down, or floating hinges on these factors. Adapting subfloor preparation and selecting proper underlayments maximizes hardwood performance and longevity.
Pros and Cons
Although each hardwood installation method offers distinct advantages, understanding their pros and cons is essential to match your subfloor conditions, budget, and long-term maintenance plans.
Nail-down or staple-down installs provide solid, stable floors at a lower material cost but require wooden subfloors and risk plank damage during removal. Glue-down methods suit concrete subfloors and offer superior sound reduction and moisture protection; however, they involve complex installation, higher costs, and difficult removals.
Floating floors install quickly over various underlays, providing comfort and versatility, but may lack the durability and stability of other methods, sometimes needing expansion joints.
Consider labor, material costs, and future maintenance: nail/staple-down is cost-effective but less flexible; glue-down is durable but pricey; floating floors balance ease and comfort but may compromise longevity.
Choose based on your specific site and performance priorities. It is also important to select the correct padding and underlayment to avoid moisture buildup and protect the hardwood surface during installation.
Measuring and Planning the Hardwood Layout
Before laying down any hardwood, you’ll need to measure your room’s dimensions accurately to calculate the material required. Measure length and width, including alcoves or closets, then add 10% extra for waste.
Decide plank direction vertical for classic looks, horizontal to widen narrow rooms, or diagonal for style. For enhanced durability, it’s best to install planks perpendicular to floor joists to prevent sagging and buckling.
Snap a chalk line parallel to the main wall or light source for your starting row, maintaining a ¾-inch expansion gap with spacers. Protecting adjacent surfaces like baseboards during installation helps achieve a professional finish.
| Task | Tool/Method |
|---|---|
| Measure room length & width | Tape measure/laser meter |
| Mark starting line | Chalk line & carpenter’s pencil |
| Maintain expansion gaps | Spacers |
| Verify angles and layout lines | Square/framing square |
Step-by-Step Hardwood Installation Process
When you start installing hardwood flooring, make sure the subfloor is clean, dry, and flat to provide a stable foundation. Remove any debris, nails, or existing flooring that could interfere. It is important to check and level the subfloor to ensure stability and smoothness. Use a moisture meter to verify the subfloor’s moisture content is within acceptable limits before proceeding.
If using a floating floor, roll out underlayment tightly against the wall, sealing seams with adhesive tape. For glue-down floors, prepare adhesive directly on the subfloor. Begin by laying the first row straight and secure it; this row sets alignment. Install boards perpendicular to joists for stability, using a nailer or stapler to fasten tongues every 6-8 inches and near ends.
Use a mallet and tapping block to snug boards without damage. Cut and fit boards precisely around obstacles, trimming door casings as needed. Maintain consistent spacing and alignment throughout to guarantee a durable, professional finish. Remember to leave proper expansion gaps around the perimeter to accommodate seasonal wood movement.
Ensuring Proper Expansion Gaps and Flooring Stability
After securing each board and ensuring consistent alignment, you need to focus on maintaining proper expansion gaps to protect your hardwood flooring from damage. Expansion gaps accommodate wood movement due to humidity and temperature changes, preventing buckling, lifting, or cracking.
Use spacers to maintain uniform gaps during installation, then remove them once complete. The gap size depends on flooring type and room size:
| Flooring Type | Recommended Gap |
|---|---|
| Engineered hardwood | 8mm (5/16 inch) |
| Solid hardwood/bamboo | 10-15mm (3/8 to 5/8 inch) |
| Red oak (large rooms) | 1 inch total (1/2 inch each side) |
| Small rooms (10x12ft) | ~3/8 inch |
Keep at least 1/2 inch gaps between row ends and widths for stability. Conceal gaps with baseboards, never fill with rigid materials. Regular maintenance including vacuuming hardwood floors with soft attachments helps preserve the flooring’s integrity over time.
Finalizing With Trims, Baseboards, and Transitions
Although the flooring is securely installed, you still need to finalize the project by installing trims, baseboards, and junction moldings to cover expansion gaps and create a polished appearance.
Begin baseboard installation on the longest wall, using scarf joints with wood glue and finish nails for strong, seamless runs. Miter corners precisely to ensure tight fits without gaps. It is important to secure moldings to the wall rather than the floor to accommodate flooring movement.
Always ensure your work area is clean and free of dust to achieve proper adhesion. For alternatives, select appropriate moldings—T-moldings for similar floor heights, reducers for gradual slopes, and baby thresholds for vertical edges.
Use shims beneath thresholds and reducers to stabilize and prevent floor compression, allowing the floor to overlap slightly to maintain expansion space. Installing these moldings during the finishing phase helps protect the floor and enhance its durability.
Match molding color to flooring for visual continuity. Secure trims with finish nails and a nail set, and clean excess glue before finishing to ensure a professional, durable result. Proper application and drying times during this phase are essential to avoid damage and ensure longevity.
Essential Tools and Materials for Hardwood Installation
You’ll need reliable flooring nailers and staples to secure hardwood planks efficiently and evenly. Accurate measuring and cutting tools are essential to maintain tight seams and proper fit throughout the installation.
Additionally, using basic safety equipment such as safety glasses and work gloves is important to protect yourself during the installation process. Don’t overlook quality underlay and adhesives, as they provide stability, sound dampening, and moisture barriers critical for long-term performance.
Selecting the appropriate underlayment type based on moisture resistance and sound absorption needs is crucial for ensuring the durability and comfort of your hardwood floor.
Flooring Nailers and Staples
When installing hardwood flooring, choosing the right flooring nailer or stapler is crucial for achieving a secure, long-lasting fit. Manual nailers offer precise control by driving each cleat nail or staple with a heavy mallet, but pneumatic nailers connect to an air compressor, speeding installation while still requiring mallet strikes.
Using the proper fastening tools helps prevent damage and ensures durability during the installation process. Use 2” L-shaped cleat nails or 15-gauge staples for solid 3/4″ hardwood. Staples provide a strong grip, while nails allow slight wood movement. Ensure your nailer matches the fastener type to avoid damage.
Complement your setup with a heavy rubber mallet, nail set, and pull bar for tight fits. Maintain proper air pressure and safety gear to prevent misfires and ensure precise, durable fastening throughout the flooring project.
Measuring and Cutting Tools
Since accurate measurements and precise cuts determine the quality of your hardwood flooring installation, you need reliable measuring and cutting tools.
Start with a tape measure and a laser measure for exact room and plank dimensions. Use a chalk line to mark straight layout lines on the subfloor. Additionally, using spacers helps maintain consistent gaps between the wall and flooring for proper expansion.
Carpenters and combination squares ensure perfect right and angled cuts, while a level verifies subfloor flatness. For cutting, a circular saw handles straight cuts; a miter saw tackles angled cuts; and a jigsaw manages irregular shapes.
A table saw allows rip cuts for width adjustments, and a handsaw serves as a backup for minor cuts. Mark lines clearly with a pencil or marking knife. These tools guarantee precise, efficient work and a flawless hardwood floor installation.
Underlay and Adhesives
Although selecting the right hardwood planks is essential, choosing an appropriate underlayment and adhesive directly impacts your floor’s durability and performance.
Underlayments like felt, cork, foam, rubber, and black paper felt each offer unique benefits: moisture barriers, sound dampening, and thermal insulation. For damp areas, cork or rubber resists mold and moisture best.
Foam is lightweight but compresses over time, reducing effectiveness. Felt and black paper felt are easy to install and provide moderate vapor protection. Adhesives must match the hardwood and underlayment, ensuring strong, moisture-resistant bonding, especially for glue-down installations.
Evaluate your subfloor’s moisture level, room use, and hardwood type to select underlayments and adhesives that maximize longevity, prevent warping, and maintain structural integrity. Proper material pairing guarantees your hardwood floor performs reliably for years.
Additionally, underlayment plays a critical role in moisture barrier protection by preventing water and humidity from damaging the hardwood beneath.
Frequently Asked Questions
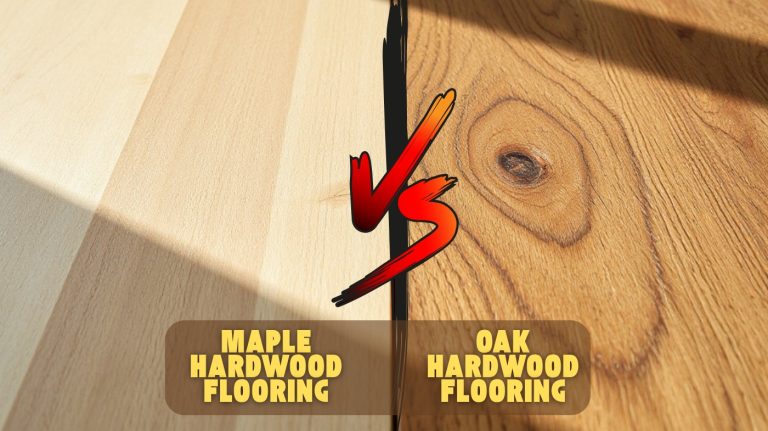
How Do Different Wood Species Affect Floor Durability and Maintenance?
You’ll find that wood species markedly impact floor durability and maintenance. Hardwoods like hickory offer extreme dent resistance, making them perfect for high-traffic areas but harder to install and refinish. Maple provides durability but demands strict humidity control to avoid warping.
White oak balances durability with moisture resistance, easing maintenance. Red oak is budget-friendly yet less hard, while exotic woods boast superior hardness but require specialized care and professional installation.
What Are the Environmental Impacts of Hardwood Flooring Production?
You might think hardwood flooring production heavily harms the environment, but it’s actually quite sustainable. Using wood byproducts to fuel drying kilns reduces fossil fuel use considerably.
Hardwood stores biogenic carbon, acting as a carbon sink throughout its lifespan. Compared to synthetic options, hardwood flooring has lower emissions, water use, and overall carbon footprint.
Sustainable forestry and efficient manufacturing further minimize environmental impacts, making hardwood a practical, eco-friendly choice.
Can Hardwood Floors Be Installed Over Radiant Heating Systems?
Yes, you can install hardwood floors over radiant heating systems, but you need to choose the right materials and methods. Engineered hardwood is more stable and better suited than solid wood.
Make sure the radiant system’s temperature is controlled to prevent damage, and use compatible installation techniques like glue-down or floating floors. Also, acclimate the wood to the heat environment before installation to minimize expansion or warping issues.
How Do You Repair Scratches or Dents on Hardwood Flooring?
To repair hardwood scratches or dents, first clean the area thoroughly to remove dirt. For light scratches, use a stain pen or color-matched wax sticks, then buff the surface.
For deeper dents, fill with wood putty matching your floor color, sand smoothly, and apply matching stain. Finish by sealing with polyurethane or wax. Always guarantee the area is dry before repairs, and consider professional help for extensive damage or large gouges.
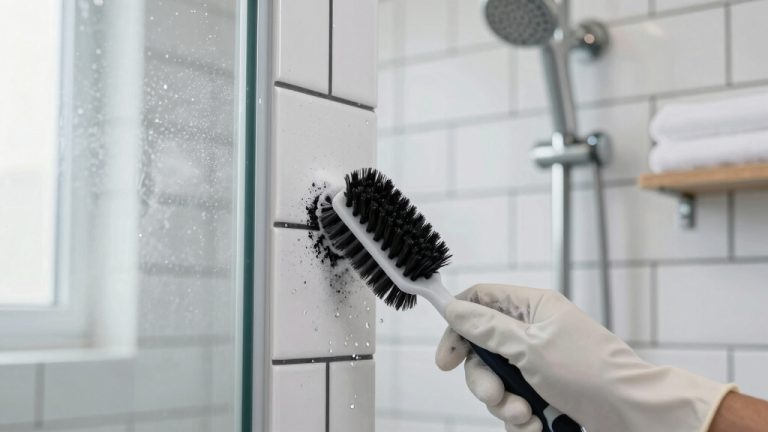
What Are the Best Cleaning Products for Maintaining Hardwood Floors?
Think of your hardwood floor like a vintage car you wouldn’t use any cleaner, right? You’ll want products like Bona Hardwood Floor Cleaner or Murphy Oil Soap, both gentle and residue-free for safe, effective maintenance.
Use microfiber mops and avoid excess water to prevent damage. For deep grime, Bona PowerPlus Deep Cleaner works quickly without leaving buildup. Choose pH-balanced, non-toxic cleaners to keep your floors pristine and protected over time.
Master the Art of Getting Hardwood Enshrouded for Lasting Results
Now that you’ve mastered preparing, measuring, and installing hardwood with precision, are you ready to achieve a flawless finish? Remember, maintaining proper expansion gaps and securing trims guarantees long-term stability and aesthetic appeal.
With the right tools and careful planning, hardwood enshrouded installation becomes a manageable, professional-grade task. Stay meticulous, follow each step diligently, and your flooring will not only look stunning but also stand the test of time.