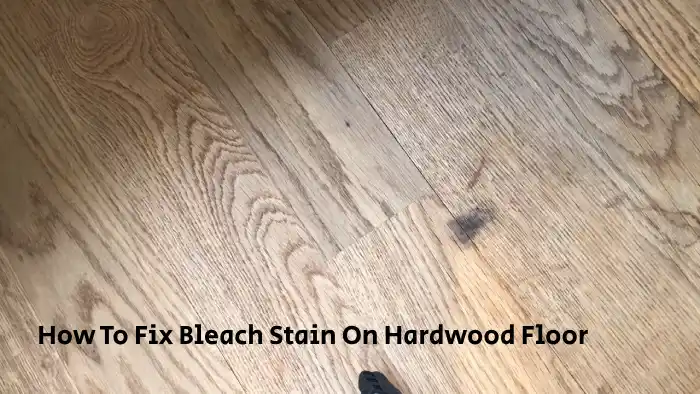
How to Fix Bleach Stain on Hardwood Floor: 6 Easy Steps
Accidental bleach spills on hardwood floors can cause unsightly stains. While bleach can cause discoloration on wood surfaces, there are steps you can take to repair and restore the affected area.
Fixing bleach stains on hardwood floors involves neutralizing the bleach, drying the floor, sanding the affected area, and optionally staining or refinishing the floor for a uniform appearance. It’s easy to fix the bleach stain on hardwood floors with a little patience and care.
We’ll walk you through the steps to fix bleach stains on hardwood floors. Follow our step-by-step guide to remove bleach stains on hardwood floors and restore them to their original condition. So, let’s get started.
How to Fix Bleach Stain on Hardwood Floor: Steps to Follow

Follow these simple steps to fix a bleach stain on the hardwood:
- Step #1: Wipe the affected area
- Step #2: Neutralize the bleach
- Step #3: Dry the floor
- Step #4: Assess the damage
- Step #5: Sand the affected area
- Step #6: Stain the floor (optional)
Let’s take a look at the steps:
Step #1: Wipe the Affected Area
Start by grabbing a clean towel or some paper towels and gently blotting the bleach spill, taking care not to rub and make the stain worse.
If you’re not careful, you may spread the bleach even further, making the stain much worse. So, be gentle and take your time.
Step #2: Neutralize the Bleach
Neutralizing the damage caused by bleach is essential to prevent further harm to your beloved flooring, so let’s get to work.
After wiping the affected area, it’s time to neutralize the bleach. Mix a solution of 1 part hydrogen peroxide with 10 parts water in a bowl.
Soak a clean towel in the solution and lay it over the bleach stain, ensuring it covers the entire affected area.
The hydrogen peroxide will react with the bleach and neutralize its harmful effects. Allow the solution to sit for approximately 10 minutes to ensure complete neutralization.
After the soaking period, carefully remove the towel and remove any excess hydrogen peroxide from the floor. Use a clean towel to avoid reintroducing bleach to the affected area.
Once the excess hydrogen peroxide has been wiped away, allow the floor to air dry completely before proceeding with any further treatment. Neutralizing the bleach is a crucial step in repairing the damage caused by bleach on your hardwood floor.
Step #3: Dry the Floor
Now it’s time to let your floor dry completely, so grab a book or your favorite show to pass the time. Ensuring the floor is completely dry before proceeding to the next step is crucial.
This is because moisture can affect the outcome of subsequent steps, potentially damaging the hardwood floor.
You can use a clean, dry towel to wipe away any excess moisture to dry the floor. Alternatively, you can let it air dry naturally.
It’s important to note that if you use a towel, ensure it’s clean and dry to avoid leaving any residue or lint on the floor.
Once the floor is dry, you can move on to the next step: apply a hardwood floor refinisher to repair the bleach stain.
Step #4: Assess the Damage
After allowing the floor to dry completely, it’s time to evaluate the extent of the bleach stain. Take a close look at the affected area and determine if there is any visible discoloration or damage.
If the stain is no longer noticeable and the wood appears unaffected, you may not need to take further action. However, if the stain is still prominent or the wood is discolored, it’s necessary to proceed with the next steps to repair the bleach stain on your hardwood floor.
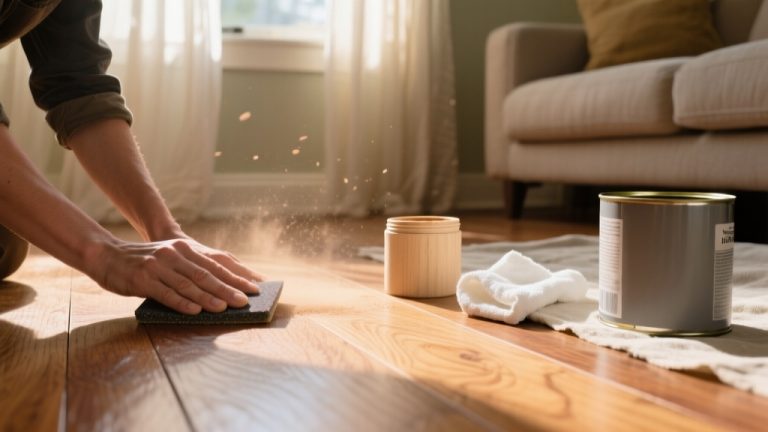
Step #5: Sand the Affected Area
After assessing the damage, it’s time to smooth out the affected spot by sanding it with a fine-grit sandpaper. This process helps remove the top layer of discolored wood and prepares it for refinishing.
When sanding, remember to go toward the wood grain to avoid causing further damage to the surface. Sanding the bleach stain on a hardwood floor is a delicate process that requires attention to detail.
It’s vital to use fine-grit sandpaper to avoid damaging the surface further. Sanding helps to create a smooth surface, making it easier to refinish the affected area.
Once you’ve finished sanding, you can proceed to refinish the spot with a new coat of finish.
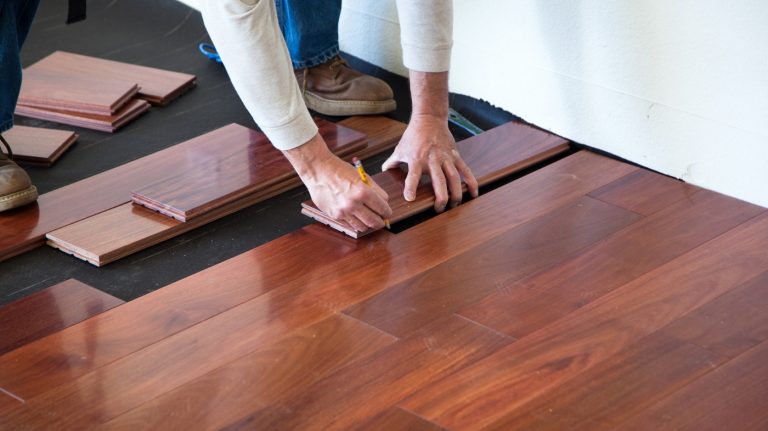
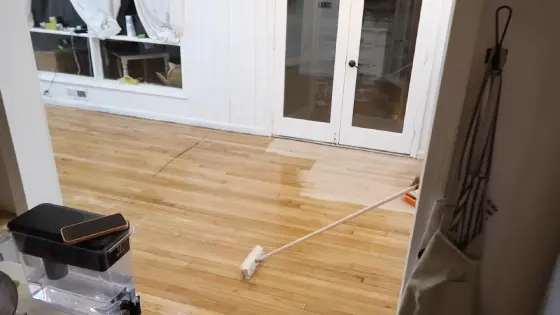
Step #6: Stain the Floor (Optional)
If the discoloration persists despite sanding, you may want to experiment with applying a darker shade to match the surrounding tones, following the instructions on the staining product carefully.
Staining the affected area can help hide the bleach stain and create a uniform appearance with the rest of the floor. However, before staining, ensure the sanded area is completely clean and free of any dust or debris, as this can affect the staining process.
To ensure that the stain matches the surrounding tones, choosing the right shade of stain is important. Consider the type of wood and the color of the surrounding floorboards when selecting a stain.
To help you choose the right shade, use the table below as a guide. This table shows the most commonly used stain colors and the type of wood they work best on.
Remember that the final color may vary depending on the wood’s natural color and the number of coats applied.
How Can You Protect Hardwood Floors From Bleach Damage And Other Stuff?
You’ve invested time and money into your beautiful hardwood floors, but it’s important to know how to protect them from potential damage.
Using bleach or other harsh cleaners can have a detrimental effect on the appearance and longevity of your floors. Here’s how you can protect your hardwood floors.
1. Choose Alternative Cleaning Solutions
To protect your hardwood floors from bleach damage and other harmful substances, there are several steps you can take. First, practice regular maintenance and cleaning using gentle, pH-neutral cleaners specifically formulated for hardwood floors.
Second, place door mats and rugs strategically to prevent dirt and debris from being tracked in and scratching the floors.
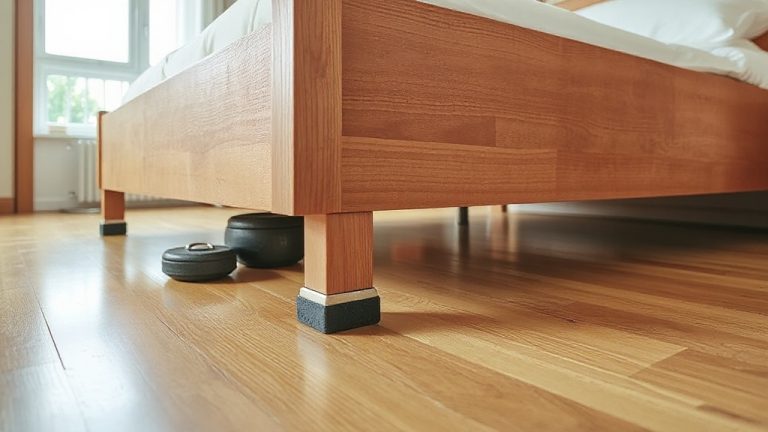
Third, use furniture pads to prevent scratches and dents from heavy objects.
Additionally, it’s important to avoid wearing shoes indoors and to trim your pet’s nails regularly to prevent scratches.
2. Regular Maintenance and Cleaning
Keeping hardwood floors clean and dust-free regularly not only protects them from scratches and debris but also maintains their natural beauty and shine.
To maintain your hardwood floors, establish a routine cleaning schedule to prevent dirt and debris from scratching the surface.
Sweep or vacuum the floor regularly using a soft-bristle broom or a vacuum cleaner with a hardwood floor attachment.
Wipe up spills promptly with a slightly damp cloth to prevent liquid from seeping into the wood and causing damage.
Additionally, avoid using harsh chemicals or bleach on your hardwood floors, as they can cause discoloration and damage. Instead, choose alternative cleaning solutions that are safe for hardwood floors.
| Maintenance Tips | Benefits |
| Establish a cleaning schedule | Prevent scratches and debris |
| Sweep or vacuum regularly | Maintain natural beauty and shine |
| Wipe up spills promptly | Prevent liquid damage |
| Avoid harsh chemicals | Prevent discoloration and damage |
3. Place Door Mats and Rugs Strategically
By strategically placing doormats and rugs, you’ll not only add a cozy touch to your home but also create a barrier that catches dirt, debris, and moisture, preventing them from being tracked onto your beautiful hardwood floors.
Place doormats at every entryway to your home, encouraging guests to wipe their feet before entering.
Additionally, consider placing rugs in high-traffic areas, such as the living room or hallway, to protect the floors from scratches and scuff marks caused by shoes and furniture. However, be sure to choose rugs with non-slip backing to prevent slips and falls.
4. Use Furniture Pads
Make sure your furniture glides smoothly across your hardwood floors by attaching felt or rubber pads to the legs, preventing unsightly scratches and scuffs that can mar the beauty of your flooring.
Regularly checking and replacing worn-out pads is key to maintaining their effectiveness. But what exactly are the best options for furniture pads? Consider the following table when selecting the right pad for your needs:
| Material | Durability | Cost |
| Felt | Good | Affordable |
| Rubber | Excellent | More expensive |
| Cork | Good | Mid-range cost |
Felt pads are a popular and affordable option, offering good durability and protection for your floors. Rubber pads, although more expensive, provide excellent protection and are particularly useful for heavier furniture pieces.
Cork pads are a mid-range option, offering good protection and durability while also being environmentally friendly. By carefully selecting the right furniture pads, you can help ensure your beautiful hardwood floors remain in top condition for years.
5. Avoid Wearing Shoes Indoors
To prevent dirt and debris from ruining your beautiful hardwood floors, it’s best to encourage a no-shoe policy inside your home and provide designated slippers or socks for everyone.
Shoes can track in abrasive substances like gravel and sand, which can scratch and damage the surface of your floors. Additionally, bleach and other harsh chemicals can cause discoloration and deterioration of hardwood floors.
By enforcing a no-shoe policy, you can minimize the risk of damage to your floors and ensure they stay looking their best for years.
Encourage your household members and guests to leave their shoes at the door and provide comfortable, slip-resistant slippers or socks for them to wear inside.
This simple step can go a long way in protecting your hardwood floors and keeping them in top condition.
6. Trim Pet Nails Regularly
Keep your furry friends from unintentionally scratching and ruining your beautiful hardwood floors by regularly trimming their nails and wiping their paws after walks.
It’s important to keep their nails short to prevent any accidental damage to the floors, and wiping their paws will remove any potential chemicals or debris they may have picked up outside.
This not only protects your floors from scratches and stains but it also promotes good hygiene for your pets.
Use proper pet nail trimmers and avoid cutting too close to the quick, which can cause bleeding and discomfort for your pets.
7. Control Humidity Levels
To further protect your hardwood floors, it’s important to control the humidity levels in your home. Maintaining a consistent humidity level between 35% and 55% can prevent the wood from expanding or contracting excessively, which can cause damage over time.
You can use humidifiers or dehumidifiers as needed, especially during dry or humid seasons. To ensure you’re effectively controlling the humidity levels in your home, consider using a hygrometer to measure the moisture in the air.
Additionally, be sure to address any leaks or water damage immediately, as excess moisture can also cause damage to your hardwood floors.
Will vinegar remove bleach stains from the hardwood floor?
Vinegar’s acidic properties can help neutralize the bleach and minimize discoloration from fading caused by the spill. To use vinegar for removing bleach stains, simply mix two parts water with one part vinegar and apply it to the stained area using a sponge or cloth.
After applying the vinegar mixture, be sure to dry the hardwood thoroughly. Once the stain is gone, you can refinish the floor if needed.
However, it’s important to keep in mind that the success of vinegar in removing bleach stains may vary depending on the severity of the stain and the type of hardwood.
It’s always best to test a small, inconspicuous area first and consult a professional if needed.
Will a little bleach hurt hardwood floors?
Using bleach as a regular cleaning agent on your hardwood floors can cause discoloration and damage to the wood surface.
Even a small amount of bleach, if left in contact for an extended period, can penetrate the wood fibers and result in permanent stains or bleached patches.
The wood surface can become brittle and start to crack, leading to costly repairs or even a complete replacement of the flooring. It’s crucial to immediately wipe up any bleach spills and avoid using bleach on hardwood floors.
Instead, use safer cleaning methods specifically designed for hardwood surfaces, such as a mixture of water and vinegar or a hardwood floor cleaner recommended by the manufacturer. These methods are gentle on the wood and won’t cause any harm or discoloration.
Bring Your Hardwood Floor Back to Life After a Bleach Stain
Dealing with a bleach stain on your hardwood floor may seem daunting, but with the right approach, you can effectively repair and restore the affected area.
By following the steps outlined above, you can minimize the appearance of the bleach stain and bring back the natural beauty of your hardwood floor.
Remember to act quickly by wiping the affected area and neutralizing the bleach with hydrogen peroxide. Allow the floor to dry thoroughly before assessing the damage. If the stain persists, proceed with sanding the area and following the wood grain to avoid further damage.
Depending on the severity of the stain, you may consider applying a darker stain to match the surrounding floor color. If the stain remains noticeable, refinishing the entire floor might be necessary for a uniform appearance.
Throughout the process, follow safety precautions and test any cleaning solutions or products on a small, inconspicuous area before applying them to the entire floor.