How to Dry Hardwood Floor: Dangers of Moisture
To dry your hardwood floor efficiently, start by identifying whether it’s solid or engineered wood to choose the right method. Quickly remove any standing water with towels and a professional wet vacuum, focusing on seams and crevices.
Use drying mats combined with air movers and dehumidifiers to extract trapped moisture. Monitor moisture levels using calibrated meters, aiming for 6–8% wood moisture content in a controlled environment.
Proper care prevents warping and mold. More detailed steps can help you fully restore your floor.
Key Takeaways
- Immediately remove standing water using towels and wet vacuums to prevent moisture damage and warping of hardwood floors.
- Use extraction mats connected to high-pressure air movers for efficient moisture removal beneath the surface.
- Monitor moisture content with calibrated pin-type or pinless meters aiming for 6–8% to ensure thorough drying.
- Control indoor humidity (40–60%) and temperature (60°F–80°F) to maintain optimal drying conditions and prevent wood cupping.
- Clear furniture and protect the floor with breathable mats while using dehumidifiers and fans to promote even drying.
Identifying Your Hardwood Floor Type
Before you begin drying your hardwood floor, you need to identify its type accurately, as solid hardwood and engineered hardwood require different approaches due to their distinct constructions. Solid hardwood consists of a single, solid wood piece, typically ¾ inch thick, allowing multiple sanding and refinishing cycles.
Solid hardwood is made from a single wood piece, about ¾ inch thick, enabling repeated sanding and refinishing.
Engineered hardwood features multiple layers with a hardwood veneer top, offering greater dimensional stability in moisture-prone areas like basements.
Additionally, the grade of the wood, such as Prime or Rustic, affects the floor’s appearance and durability. Its multi-layer construction also makes engineered hardwood more resistant to moisture and warping compared to solid hardwood.
To identify your floor, inspect plank thickness and edges: solid planks are uniform, while engineered floors show layered construction on plank sides. Knowing your floor type helps determine drying methods and precautions, preventing damage.
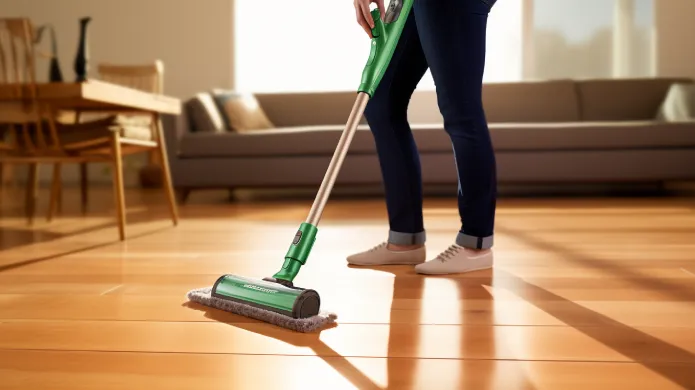
Removing Surface and Trapped Water Effectively
You should start by removing standing water immediately with absorbent towels to prevent wood damage.
Clearing the area by removing furniture and rugs is important since wet items can reintroduce moisture, delaying drying Clear the Area. Then, use extraction mats to apply even pressure and draw out trapped moisture beneath the surface.
Finally, operate a wet vacuum designed for hardwood floors to ensure thorough water removal from crevices and joints. After drying, it is wise to consider applying a fire retardant product to protect the wood from potential fire hazards in the future.
Immediate Water Removal
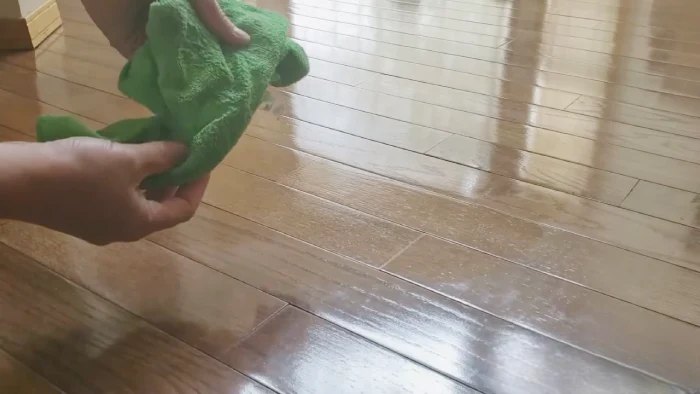
Although time is critical, promptly removing surface and trapped water from hardwood floors prevents warping and mold growth.
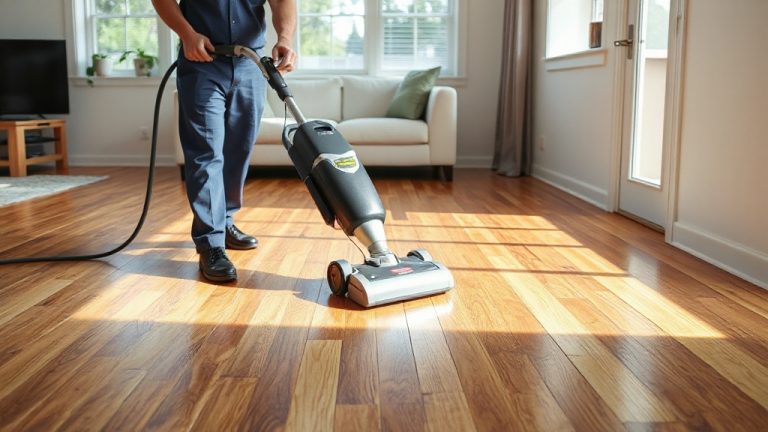
Start by soaking up visible water with absorbent towels or microfiber mops, wringing them out frequently to avoid spreading moisture. Avoid standard vacuums; instead, use a wet/dry vacuum for efficient water extraction.
Immediate drying and assessment should begin within 24–48 hours to prevent permanent damage and mold growth. It is essential to dry immediately after damp cleaning to prevent warping or buckling of the wood.
Remove standing water within 24–48 hours and clear furniture or rugs that retain moisture. For trapped water between boards, thoroughly towel dry gaps, then use a wet vacuum to extract deeper moisture. Applying absorbent materials like baking soda overnight can aid drying.
Maintain safety by ensuring water sources are fixed and wearing protective gear when handling wet items. These steps minimize damage and prepare floors for further drying processes.
Extraction Mat Usage
When dealing with hardwood floor water damage, extraction mats offer a highly effective solution for removing both surface and trapped moisture.
These mats use vacuum pressure to extract water vapor not only from the floor’s surface but also beneath the top layer, preventing warping and mold. Proper drying methods help maintain the floor’s finish and prevent long-term damage often caused by excess moisture.
You connect multiple mats via a single hose, covering large areas efficiently. Gasketed edges create tight seals that maximize suction. For ideal results, pair mats with high-pressure air movers like the Dri-Eaz DriForce, which push moisture vapor toward the mats.
The system is compatible with Dri-Eaz DriForce® air movers or Sandia Sniper Flood Pumpers for enhanced drying performance. Designed specifically for hardwood, mats come in various sizes and require thorough cleaning after use.
Their durable PVC construction and modular components allow flexible setup and maintenance, making them essential for precise, targeted drying in hardwood water damage restoration. Using appropriate drying equipment and techniques is crucial to protect hardwood floors from surface deterioration and ensure restoration success.
Wet Vacuum Techniques
Since thorough water removal is essential to prevent hardwood floor damage, mastering wet vacuum techniques is crucial for effective drying. Begin by removing furniture and soaking up standing water with towels to reduce vacuum strain. Act quickly because water from pipe bursts or leaks can cause lasting damage if not addressed immediately.
Use a professional wet vacuum designed for water extraction, testing suction before starting. Vacuum slowly over the entire floor, overlapping passes and continuing beyond visible moisture to extract water trapped in pores and joints. Proper timing and allowing floors to dry completely are critical steps in avoiding further damage.
Focus on seams and crevices using crevice tools, repeating cycles as needed. Frequently empty the canister to maintain suction and avoid pressing too hard to protect the finish. After vacuuming, clean with a non-sudsing disinfectant and perform a second vacuum pass.
Employ dehumidifiers and moisture monitoring and monitor moisture levels until readings confirm thorough drying.
Utilizing Professional Drying Equipment
To effectively dry hardwood floors, you’ll rely on professional drying equipment designed to remove moisture from both surface and subfloor layers.
Floor drying mats paired with high-pressure air movers create negative pressure, extracting moisture directly beneath the hardwood. Dri-Eaz Rescue Mat Hardwood Floor Drying Systems demonstrate proper installation procedures for effective drying.
Systems like Injectidry HP-PLUS deliver controlled hot, dry air across extensive floor areas, ensuring targeted drying with reliable warranties. Integrating LGR dehumidifiers within containment barriers accelerates moisture evaporation by lowering ambient humidity and isolating the drying zone.
Choosing the correct finish type, such as matte finish, can also influence how moisture affects the wood during the drying process. Before drying, use extraction mats linked to high-efficiency extractors to remove standing water, optimizing drying speed.
Modular accessories and penetrating moisture meters enhance setup customization and provide precise moisture readings, allowing you to manage drying dynamically. Employing these tools collectively prevents wood damage, ensuring efficient, thorough hardwood floor restoration.
Monitoring Moisture Levels and Environmental Conditions
To effectively dry your hardwood floor, you need to monitor moisture levels using appropriate measurement techniques like pin-type or pinless meters calibrated to your wood species.
Additionally, be aware that some engineered wood flooring may emit formaldehyde, which can affect indoor air quality during drying.
Simultaneously, control environmental conditions by tracking temperature and relative humidity with data loggers to maintain ideal drying rates.
Maintaining proper moisture levels helps prevent issues like cupping, warping, and gaps caused by moisture imbalance.
Moisture Measurement Techniques
Although measuring moisture in hardwood floors can be challenging, selecting the right moisture meter and following proper procedures guarantees accurate monitoring.
Use pin-type meters with calibrated pins to detect localized moisture by electrical resistance, or pinless meters that emit electromagnetic signals for non-invasive surface readings up to one inch deep. Always set your meter to the specific wood species for precise results.
Take at least four readings per 100 square feet, averaging values from multiple points to identify moisture variations. Record moisture content for both hardwood and subfloor, comparing results to the ideal 6–8% range.
Be aware that pinless meters offer broad area scans but less precision, while pin-type meters provide detailed gradients. Regular monitoring ensures you detect moisture issues early, maintaining floor integrity throughout drying and installation.
Consider the Environmental Moisture Conditions since the equilibrium moisture content varies with humidity and temperature, affecting wood stability. Additionally, understanding local labor costs can impact decisions on when and how to address moisture problems effectively.
Environmental Condition Control
How do you maintain ideal moisture levels in hardwood floors during drying? First, monitor indoor relative humidity closely, keeping it between 40% and 60% to prevent shrinkage or swelling.
Use humidifiers in dry conditions and dehumidifiers when humidity rises excessively. Regular sweeping with a high-quality broom can help remove surface dust that might trap moisture and affect drying.
Maintain stable temperatures between 60°F and 80°F, avoiding direct heat sources like radiators that cause rapid drying and wood movement stress. Because temperature fluctuations, especially in colder months can accelerate drying, avoid sudden temperature changes.
Block direct sunlight on floors to minimize temperature spikes and uneven moisture loss. Ensure proper ventilation to support even drying and finish curing. Regularly measure moisture content to detect fluctuations early.
Schedule drying during mild seasons and acclimate wood indoors for at least 48 hours. These controls prevent cracks, gaps, warping, and surface damage, ensuring hardwood floors dry evenly and maintain structural integrity.
Cleaning and Protecting Floors During the Drying Process
When managing hardwood floors during the drying process, maintaining cleanliness and protection is essential to prevent damage and guarantee even moisture evaporation.
Start by removing all furniture and obstacles, then thoroughly sweep or vacuum debris to avoid embedding dirt when moisture is present. Using a vacuum cleaner designed for hardwood floors can help remove fine dust and particles without scratching the surface.
Keep hardwood floors clean and clear to ensure even drying and prevent damage during moisture evaporation.
Spot clean stains with nonabrasive hardwood-safe cleaners and mop in small sections using a slightly damp microfiber mop, avoiding excess water. Physically protect floors by minimizing foot traffic until fully dry and using breathable protective mats that facilitate evaporation.
Maintain controlled temperature and humidity while ensuring good ventilation without direct water exposure. Employ fans and dehumidifiers to promote uniform drying. Use penetrating moisture meters to measure moisture inside the boards and subfloor to monitor drying progress.
These steps collectively safeguard the floor’s finish, reduce risks of swelling or warping, and support a consistent drying process that preserves hardwood integrity.
Establishing Containment and Controlled Drying Environments
Because hardwood floors are highly sensitive to moisture, establishing containment and controlled drying environments is critical to guarantee efficient and uniform drying while preventing further damage.
Use 6-mil polyethylene sheeting sealed with painter’s tape to isolate the wet area, preventing moisture spread and cross-contamination.
Maintain negative pressure by exhausting moist air outside the containment, accelerating evaporation and improving equipment efficiency. Deploy LGR dehumidifiers, drying mats, and air movers configured to circulate warm, dry air evenly.
Immediate action involves locating the leak and vacuuming or mopping standing water to prevent further damage from water damage. Monitor temperature (100°F–105°F) and relative humidity (below 40%) inside the sealed zone with thermal hygrometers, ensuring ideal conditions.
Employ penetrating moisture meters and infrared cameras for precise moisture mapping and progress tracking. Inspect seals daily to avoid leaks. This controlled environment focuses drying efforts, reduces drying time, and minimizes risks like mold or structural damage.
Understanding the Drying Timeline and Moisture Targets
After setting up a controlled drying environment, understanding the expected drying timeline and moisture targets helps you manage the restoration process effectively.
Drying time varies by water exposure and finish type, minor wetting dries in 2–3 days, while moderate flooding may take up to 4 weeks to fully cure. You should target a moisture content between 6–9%, aligned within 10% of unaffected wood benchmarks, to avoid damage.
| Water Exposure | Drying Time | Moisture Content Target |
|---|---|---|
| Surface wetting | 2–3 days | 6–9% |
| Light spills | 12–24 hrs initial, 2–3 days full cure | 6–9% |
| Moderate flooding | 2–7 days drying, 2–4 weeks cure | 6–9% |
Use calibrated moisture meters to track progress accurately and prevent under- or over-drying. Keep in mind that maintaining ambient temperature between 65°F and 75°F and controlling relative humidity are crucial factors to ensure proper drying times and avoid moisture-related damage.
Post-Drying Care and Hardwood Floor Restoration
Although drying completes a crucial phase in hardwood floor restoration, inspecting the floor meticulously for residual damage guarantees you address any persistent issues before refinishing.
Examine boards for warping, cupping, finish cracking, and mold; use a moisture meter to confirm uniform dryness. Using a moisture meter provides a precise assessment of moisture levels, which is essential to ensure the floor is completely dry before proceeding.
Thoroughly inspect hardwood floors after drying to identify warping, cracking, mold, and ensure even moisture before refinishing.
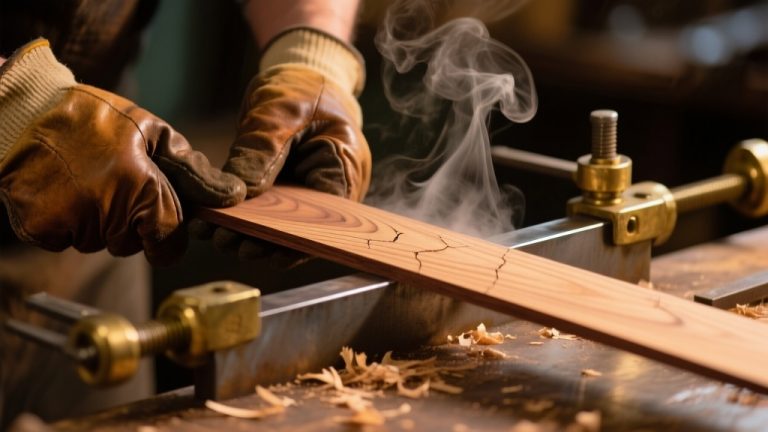
Replace severely damaged planks, matching species and dimensions, and acclimate replacements before installation. After thorough cleaning and disinfecting with a non-abrasive solution, allow the floor to dry fully.
Sand the entire surface evenly once moisture levels are consistent, then stain the repairs to blend seamlessly. Apply finish with proper ventilation, avoiding traffic until cured. Post-restoration, maintain humidity between 30–50%, clean with minimal water, and protect the floor with felt pads to prevent damage and prolong durability.
Frequently Asked Questions
Can Hardwood Floors Be Dried Without Professional Equipment?
Yes, you can dry hardwood floors without professional equipment by promptly removing standing water with towels or wet vacuums. Then, increase airflow using fans and open windows. Using portable dehumidifiers helps reduce indoor humidity and speeds drying.
However, these methods mainly address surface moisture; deep moisture trapped beneath planks or in the subfloor may require professional tools. Monitor drying conditions carefully to avoid wood damage from uneven or rapid drying.
Is It Safe to Use Household Fans for Drying Hardwood Floors?
Think of household fans as helpful helpers, not miracle workers, when drying hardwood floors. You can safely use them to boost airflow and speed evaporation, but they don’t control humidity, critical to avoid warping or cracking.
Run fans at medium speed, combine with open windows for ventilation, and monitor humidity closely. For heavy water exposure, rely on professional equipment. Otherwise, fans work well if you manage moisture and airflow thoughtfully.
How Does Humidity Outside Affect Indoor Hardwood Floor Drying?
You’ll find that outdoor humidity directly impacts indoor hardwood floor drying by influencing indoor relative humidity. High outdoor humidity slows moisture evaporation from the wood, extending drying times and increasing the risk of finish defects like scuffing or poor adhesion.
Conversely, low outdoor humidity speeds drying but may cause wood shrinkage and cracking. To manage this, monitor indoor humidity closely and use dehumidifiers or humidifiers to maintain ideal 30-55% levels for balanced drying.
What Signs Indicate Hardwood Floors Are Drying Unevenly?
You’ll notice uneven drying in hardwood floors through signs like cupping, where edges rise above the center, and crowning, where the center bulges higher than the edges. Buckling causes boards to lift off the subfloor, while warping leads to sagging or separating planks.
Visible changes include cracks, discoloration, and lifting nails. Monitoring these indicators helps you catch moisture issues early and prevent long-term damage.
Can Drying Hardwood Floors Prevent Mold Growth Completely?
Think of mold prevention like stopping a weed from growing, you can’t just cut the leaves, you need to remove the roots. Drying hardwood floors quickly and thoroughly reduces moisture, which mold needs to thrive, but it won’t completely prevent mold.
Mold spores may already be present, and hidden moisture or damage can still allow growth. Combine drying with sealing, cleaning, and humidity control for effective mold prevention.
Extend Your Floor’s Life With Smart Drying Strategies
Contrary to the common belief that hardwood floors dry naturally without intervention, relying solely on ambient air often leads to warping and damage. You need to actively control moisture levels and use professional drying equipment to prevent lasting harm.
By identifying your floor type, monitoring conditions, and maintaining a controlled environment, you guarantee effective drying. Following these precise steps not only preserves your hardwood’s integrity but also extends its lifespan, confirming that proactive drying is essential, not optional.