How to Clean up Drywall Dust From Hardwood Floors: 3 Steps [DIY]
Drywall installation and sanding can create a significant amount of dust that settles on surfaces throughout the house during a home renovation. Hardwood floors, in particular, are vulnerable to damage from this fine, powdery substance.
Dust from drywall can scratch and dull hardwood floors if not cleaned up properly. Homeowners must know how to clean up drywall dust from hardwood floors to preserve their beauty and longevity.
Cleaning up drywall dust from hardwood floors is difficult, but it can be done effectively with the proper tools and techniques. You can easily clean drywall dust from hardwood floors by sweeping, vacuuming, and mopping.
We will share how to clean drywall dust from your hardwood floors, including what tools to use and how to avoid damaging them. Following these steps, you can ensure that your hardwood floors remain sturdy and free from damage during and after your renovation project.
Step-By-Step to Clean up Drywall Dust From Hardwood Floors
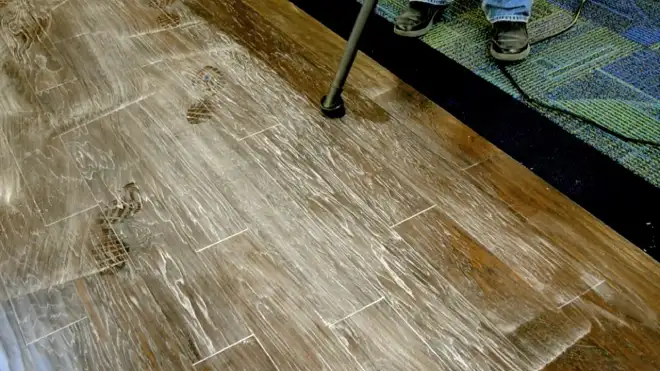
The right tools and techniques are crucial when cleaning drywall dust from wooden floors.
Things You’ll Need
It is essential to have the right cleaning materials and tools to remove drywall dust from hardwood floors effectively.
Along with a drop cloth to protect the surrounding area, a dust mask is necessary to protect your lungs from inhaling fine particles. Also, a broom and dustpan, vacuum cleaner, and wet-mopping cloths are indispensable tools in cleaning.
Step 1. Sweep It Up
Sweeping dust from the edges to the center can increase dust collection efficiency by 50%. When cleaning up dust from hardwood floors, it is essential to use a broom to sweep up as much dust as possible before using a vacuum.
This initial sweeping can help prevent the dust from spreading further throughout the room and make it easier to collect with the vacuum.
To ensure that the sweeping process is as effective as possible, it is recommended to use a drop cloth to cover the floor and any furniture in the room. This will help to prevent the dust from settling on these surfaces and make the cleaning process much easier.
Step 2. Run the Vacuum
To remove any dust and debris, use the soft bristle brush attachment on your vacuum cleaner to clean the areas where the flooring meets the walls. This will ensure that even the smallest dust particles are cleaned up, preventing damage to your hardwood floors.
Here are three tips to keep in mind when using your vacuum cleaner to clean up drywall dust:
- When using the brush attachment, turn off the beater bar. This will prevent any scratches or damage to your hardwood floors.
- Place a nylon stocking over the end of the vacuum hose. This will help to trap the dust and prevent it from being blown back into the air.
- Move the vacuum cleaner slowly and methodically over the affected areas. This will give the vacuum enough time to collect all the dust and debris.
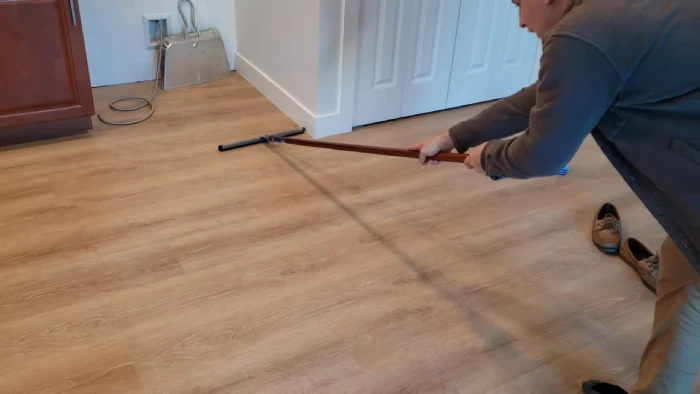
Step 3. Mop the Floor With a Damp Cleaning Cloth
Ensuring the complete removal of all debris and particles, the next step in cleaning involves gently wiping down the entire floor with a damp mopping cloth. This is crucial in eliminating any remaining drywall dust that may have settled on your hardwood floors.
The cloth’s dampness helps capture and hold the dust particles, preventing them from being spread around the room. When mopping the floor, it is important to focus on cleaning the cracks and crevices where drywall dust accumulates.
These areas are often overlooked during vacuuming and can hold significant dust. By thoroughly wiping these areas with a damp cloth, you can ensure your floors are completely clean and free of drywall dust.
How do you keep hardwood floors clean when renovating?
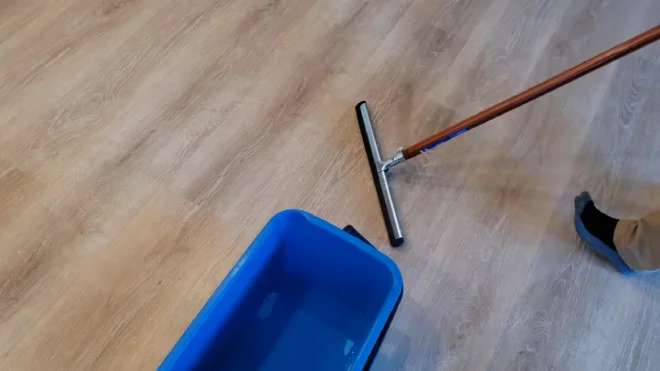
To maintain hardwood floors’ integrity when renovating an interior, they must be kept clean. Follow these tips to keep your hardwood clean during indoor renovation project:
#1 Cover the Floors:
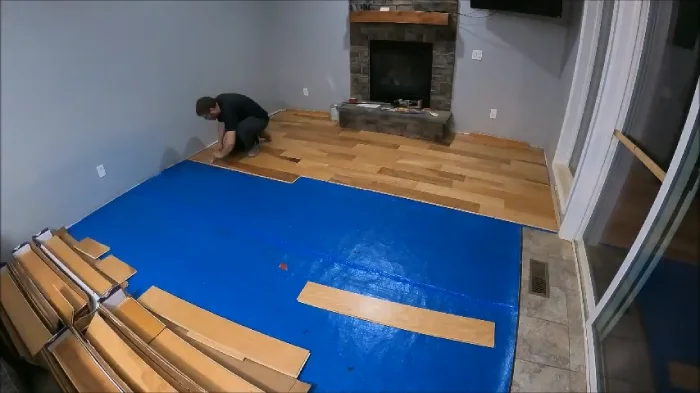
Maintaining flooring integrity during home renovations involves using a protective covering to prevent particulate matter from settling and causing damage. Covering your hardwood floors is the best way to protect them from drywall dust and debris.
Here are some options to consider:
- Paper: Using brown kraft paper or rosin paper is an affordable option to provide a protective barrier for your floors. It is easy to install, and the paper can be taped down to prevent it from moving around during renovation.
- Plastic: Plastic sheeting is another option that can provide a waterproof surface to prevent moisture from seeping through to your hardwood floors. Be sure to use non-slip plastic to prevent any accidents from occurring.
- Ram Board: This is a heavy-duty temporary floor protection that can be used for long-term renovation projects. It is made from recycled materials and is durable enough to withstand heavy traffic. It is also slip-resistant, making it a safer option for your flooring.
Once you have covered your floors, the next step is to sweep regularly with a soft broom to keep the dust and debris from accumulating.
#2 Sweep With a Soft Broom:
A soft broom is gentle enough to pick up the dust particles without scratching the floor’s surface. This is perfect for hard-to-reach areas like corners and under furniture.
Using a soft-bristled broom is essential to avoid scratching your floors. Also, it’s best to sweep in one direction, starting from the farthest point in the room and working towards the door. This technique ensures you don’t miss any spots and prevents dust from accumulating in one area.
#2 Use a HEPA Air Purifier:
A HEPA air purifier can reduce particulate matter and other harmful airborne contaminants in the indoor environment, improving air quality.
The High-Efficiency Particulate Air (HEPA) filter is designed to remove 0.3 micron dust particles. As a result, the HEPA air purifier can capture and trap most of the drywall dust, preventing it from settling on hardwood floors.
To maximize the effectiveness of the HEPA air purifier, it is important to follow these guidelines:
- Choose a purifier with a sufficient Clean Air Delivery Rate (CADR) for the room size
- Position the purifier in the center of the room, away from obstacles
- Run the purifier continuously throughout the renovation project and for several days afterward to ensure all airborne particles are captured
- Replace the HEPA filter according to the manufacturer’s instructions to maintain optimal performance.
Can I wet mop up drywall dust?
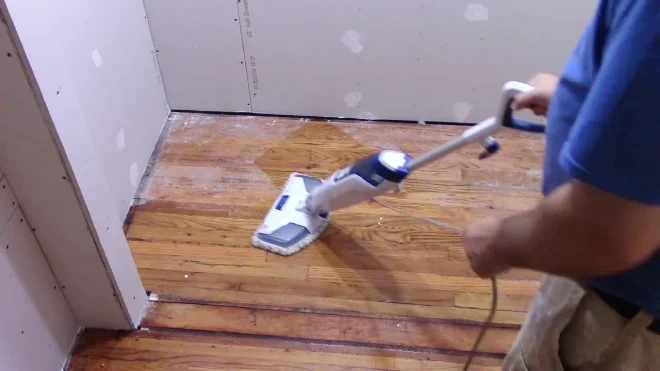
The efficacy of wet mopping as a viable method for minimizing airborne particulate matter during post-construction clean-up has been established, allowing for the removal of potentially harmful dust from various surfaces.
Wet mopping drywall dust with a damp cloth will reduce the amount of airborne particles that can cause respiratory problems.
Remember that wet mopping may not completely remove all drywall dust from hardwood floors. In some cases, the drywall dust can become embedded in the wood grain, making it difficult to remove with just a mop.
Additional cleaning methods may be necessary in these situations, such as using a vacuum cleaner or a soft-bristled brush to dislodge the drywall dust before mopping.
Does drywall mud residue come off of hardwood floors?
While drywall dust can be easily removed with a damp rag, removing drywall mud residue from hardwood floors can be challenging. Drywall mud residue is a thick, sticky substance that can adhere to hardwood floors, leaving stains and discoloration if not cleaned properly.
One effective way to remove drywall mud residue from hardwood floors is to use a vacuum cleaner with a soft-bristle brush attachment. The soft bristles on the attachment help to loosen the residue from the surface of the hardwood floors without causing any damage.
Does drywall dust ruin floors?
Drywall dust poses a significant threat to indoor air quality. A study found that homes’ average airborne dust particles during construction were 10 to 100 times higher than normal.
One major concern with drywall dust is its potential to ruin wood floors. When drywall dust settles on hardwood floors, it can cause the finish to crack, leaving unsightly marks and making the wood vulnerable to damage. If left untreated, it can also cause permanent damage to the floor, necessitating costly repairs.
One of the main reasons drywall dust damages hardwood floors is that it is abrasive and gritty. When the dust is left on the floor for extended periods, it can slowly wear down the finish and the wood underneath.
This can result in scratches, scuffs, and other marks that can be difficult to remove. Over time, the damage can become so severe that the floor needs to be sanded down and refinished, which can be expensive and time-consuming.
Protect Your Hardwood Floors Scratches: Cleaning Up Drywall Dust Carefully
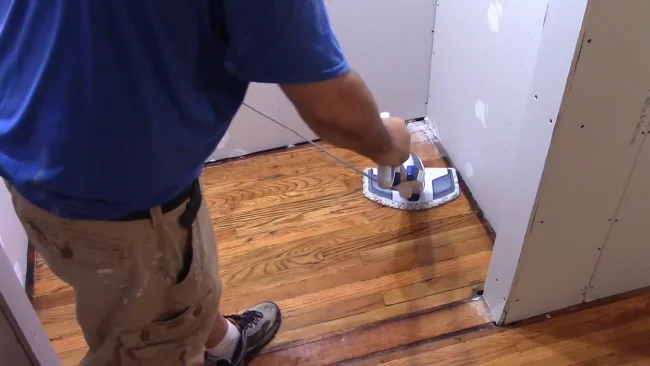
When cleaning up drywall dust from hardwood floors, following those steps are important to ensure your floors are properly protected and maintained. While wet mopping may seem like a quick solution, it can cause more harm than good.
Instead, use a vacuum with a HEPA filter to remove as much dust as possible. Then, gently clean the floors with a damp mop or cloth with a mild cleaning solution.
By taking these precautions and following a thorough cleaning process, you can ensure that the hardwood floors remain in top condition. As the saying states, ‘Preventive care is better than cure.’

