How to Clean Scratched Hardwood Floors: 7 DIY Steps [Effective]
You love your hardwood floors, but a lot of wear and tear has left them scratched and dull. You want to restore their natural shine, but you need help figuring out where to start.
With a few simple steps, you can clean and fix scratched hardwood floors and have them look as good as new.
To clean scratched hardwood floors, remove any loose dirt and debris with the broom or vacuum. Then, prepare a cleaning solution and dampen the mop or cloth with it before cleaning the scratched areas. After that, don’t forget to rinse the floor and dry it thoroughly to avoid any water damage.
Let’s get into the nitty-gritty details. Keep reading for a breakdown of all the steps to come.
How to Clean Scratched Hardwood Floors: Steps to Follow
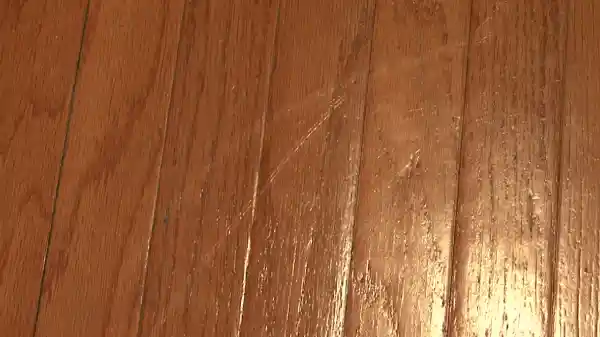
If you want to clean scratched hardwood floors, here are the steps to follow:
Step #1: Gather the necessary supplies
Step #2: Remove loose dirt and debris
Step #3: Prepare a cleaning solution
Step #4: Dampen the mop or cloth
Step #5: Clean the scratched areas
Step #6: Rinse the floor
Step #7: Dry the floor
Let’s get into the details:
Step #1: Gather the Necessary Supplies
Gather some supplies before you start reviving the natural beauty of your precious wooden surfaces. Here are the four items you need to gather:
- Vacuum cleaner or broom to remove dirt, dust, and debris from the floor surface and crevices.
- Microfiber mop or soft cloth to wipe down the floor with a cleaner and remove any remaining dirt or grime.
- Bucket warm water to dilute the cleaner and rinse the mop or cloth.
- pH-neutral hardwood floor cleaner and soft-bristle brush or sponge – to safely and effectively clean the hardwood floors without causing damage or leaving residue.
With these supplies in hand, you’re ready to tackle the task of cleaning scratched hardwood floors. Remember to take your time, work methodically, and use gentle motions to avoid further damaging your beautiful hardwood floors.
Step #2: Remove Loose Dirt and Debris
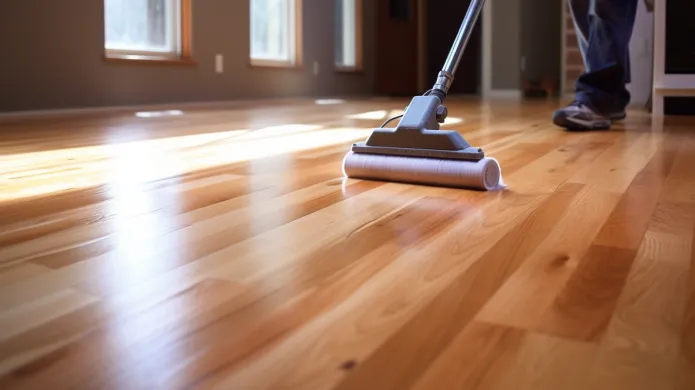
To restore the natural beauty of your valuable wooden surfaces, grab your vacuum or broom and sweep away any loose dirt and debris.
Removing them before you begin cleaning can prevent further damage and ensure a smoother, more effective cleaning process.
When sweeping or vacuuming your floors, use a soft brush attachment or a broom with soft bristles to avoid scratching the surface.
Start at one end of the room and work your way towards the other, sweeping or vacuuming in short, overlapping strokes.
Pay special attention to high-traffic areas, as these are often the most susceptible to scratches and damage. Once you’ve removed all loose dirt and debris, you’re ready to move on to the next step in the cleaning process.
Step #3: Prepare a Cleaning Solution
Get ready to restore your wooden surfaces’ natural beauty by mixing warm water with a pH-neutral cleaner. Let’s bring your floors back to life.
To prepare a cleaning solution for your scratched hardwood floors, fill a bucket with warm water. Next, add a small amount of a pH-neutral hardwood floor cleaner into the bucket, following the manufacturer’s instructions regarding the appropriate dilution ratio.
To avoid causing additional damage to the wood surface, using a pH-neutral cleaner is essential. Using harsh chemicals or products with high acidity can cause discoloration or even strip the finish off the floors. By utilizing a cleaner with a pH-neutral composition, you can proficiently eliminate dirt and grime while maintaining the integrity of the wood surface.
Step #4: Dampen the mop or cloth
Now it’s time to revive your wooden surfaces. Dip the microfiber mop or cloth into the cleaning solution, ensuring it’s only slightly damp to avoid water damage.
Remember, excess moisture can cause damage to your hardwood floors, so it’s important to take the time to dampen the mop or cloth properly.
Step #5: Clean the Scratched Areas
As you gently glide the damp cloth across the surface, the scratches fade away, and the natural beauty of the wood shines through once again. You need to apply light pressure and avoid scrubbing vigorously to prevent scratches from worsening.
Instead, work in small sections and wipe with the grain of the wood for the best results. Rinse and wring out the mop or cloth frequently to prevent dirt or grime from spreading.
This will ensure that you’re cleaning the surface effectively without causing any damage.
Step #6: Rinse the Floor
After gently wiping away the residue from the cleaning solution, a damp cloth glides across the surface, revealing the natural beauty of the wood as it shines through once more.
Ensure to thoroughly rinse the floor to remove any remaining cleaning solution or dirt, as these can cause damage to the hardwood over time.
Step #7: Dry the Floor
Removing any remaining moisture on the surface after rinsing the floor with clean water is important. Take a clean, dry microfiber mop or cloth and wipe the floor in a back-and-forth motion, covering the entire surface.
Pay extra attention to areas that may have more moisture, such as near the sink or in the bathroom. Scratched hardwood floors are more susceptible to water damage, so it’s crucial to dry the surface completely before walking on it.
Once you’ve thoroughly wiped the floor, take a step back and inspect it to ensure that there’s no remaining moisture.
How to Fix Scratched Hardwood Floors?
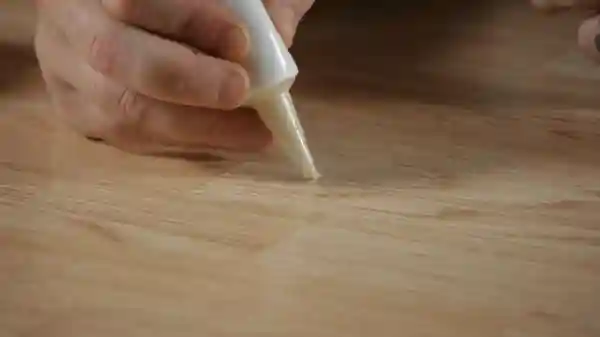
If you’re looking to fix scratched hardwood floors, you can try a few methods. Here are some methods:
1. Fill With Wood Filler
Restore the natural beauty of your beloved wooden floors with a quick fix that seamlessly fills any imperfections. You can use a wood filler that matches the color of your hardwood floor to fix minor scratches.
Before applying the filler, make sure to clean the scratched area and ensure it’s free of dust and debris. This will ensure a smooth and even finish once the filler is applied.
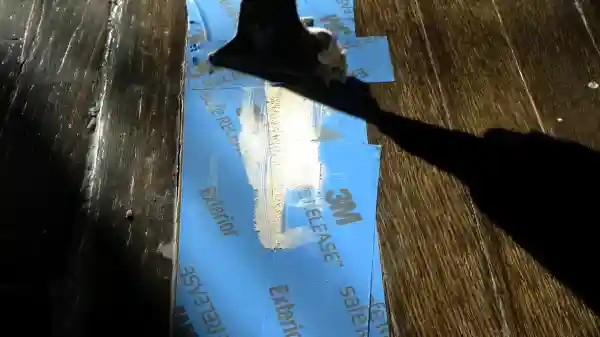
Apply a small amount of wood filler to the scratch using a putty knife or a plastic scraper. Be careful not to overfill the scratch, as that’ll make it difficult to level with the surrounding floor. Smooth out the filler and let it dry according to the manufacturer’s instructions.
Once dry, lightly sand the filled area to level it with the surrounding floor. Then, apply a protective finish or wax to blend it with the rest of the floor. This’ll ensure that the repaired area looks natural and blends in seamlessly with the rest of the floor.
2. Sand and Refinish
Get ready to transform the look of your wood floors by sanding and refinishing the damaged area, giving it a brand-new shine. Here’s how to do it:
- Clean the floor thoroughly: Before you start sanding, ensure the floor is free of dirt or debris. Use a broom or vacuum to remove any loose particles, and then wipe the floor down with a damp cloth to remove any remaining dust or dirt.
- Sand the scratched area: Use a fine-grit sandpaper or sanding block to sand the scratched area, going with the wood grain. Gradually blend the sanded area into the surrounding floor to ensure a smooth transition.
- Apply a new coat of finish or stain: After sanding, clean the floor again to remove the sanding dust. Then, apply a fresh coat of finish or stain to match the rest of the floor. Follow the manufacturer’s instructions for drying and curing times.
By following these steps, you can restore the beauty of your hardwood floors and make them look as good as new. Just take your time and work carefully to achieve the best results.
3. Use a Wood Touch-up Pen
You can easily use a wood touch-up pen for shallow scratches or small chips. This is a quick and easy solution that works best for minor imperfections.
To use a wood touch-up pen, you’ll first need to choose a color that matches the hardwood floor you’re trying to fix.
Fill in the scratch with the pen once you’ve got the right color. It’s important to be precise and take your time to avoid making the scratch worse. Once you’ve filled in the scratch, wipe away any excess with a clean cloth.
Do white vinegar and olive oil fix hardwood floor scratches?
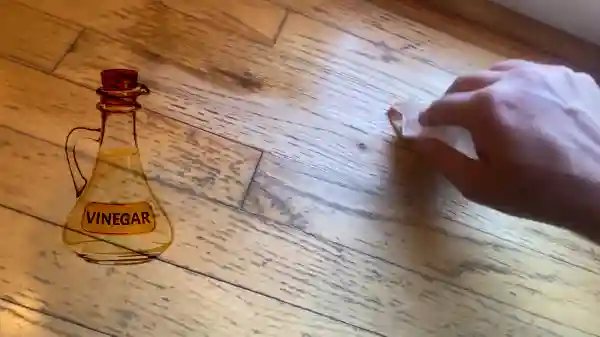
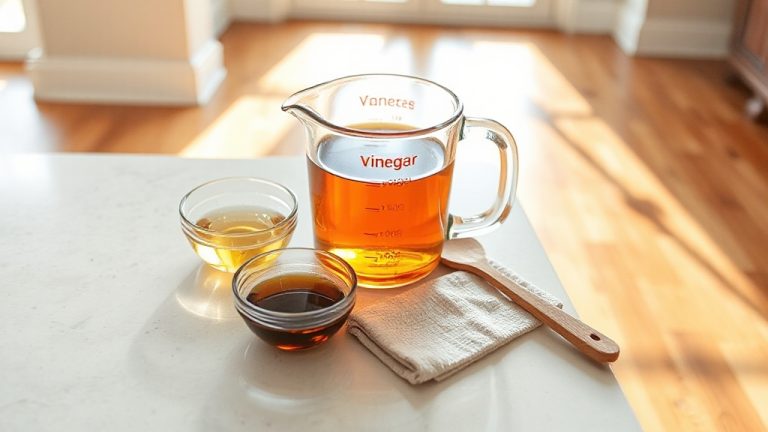
White vinegar and olive oil can help to minimize the appearance of scratches on hardwood floors. By blending 3/4 cup of vegetable oil with 1/4 cup of white vinegar, the mixture can be applied to scratches using a rag or paper towel.
The oil moisturizes and darkens the wood, while the vinegar acts as a mild abrasive to buff out shallow scratches.
But, this method is more suitable for small, surface-level scratches and may not completely eliminate deep gouges or significant damage.
Can toothpaste get scratches out of hardwood floors?
Toothpaste can help minimize hardwood floor scratches when used properly. But remember to note that toothpaste is not a guaranteed fix, and its effectiveness may vary depending on the severity and depth of the scratches.
When applying toothpaste, it is recommended to use non-gel toothpaste without any added whitening agents or abrasive particles, as these could potentially cause further damage to the wood.
Also, be sure to apply a small amount of toothpaste to a damp cloth and gently rub in circular motions over the scratches. Afterward, wipe away any residue and assess the results.
Can you use soapy water to clean scratched hardwood floors?
Soapy water can be used to clean scratched hardwood floors, as long as certain precautions are taken.
It’s best to avoid using harsh additives or abrasive properties in the soap, as they can further dull or scratch the finish of the floor.
To create a cleaning solution, add a quarter cup of mild dishwashing soap to a bucket of water and use a soft mop or cloth to clean the surface gently.
You need to be careful not to soak the floor or use excessive moisture, as prolonged exposure to water can cause damage to the wood.
Clean Your Scratched Hardwood Floors and Revive the Beauty
Cleaning and fixing scratched hardwood floors can help restore their beauty and maintain their longevity. By following the steps outlined for cleaning scratched hardwood floors, you can effectively remove dirt and debris while preserving the floor’s finish.
For deeper scratches, employing methods like filling with wood filler, sanding and refinishing, or using a wood touch-up pen can help restore the floor’s appearance.
Remember to take your time, work carefully, and follow manufacturer instructions for the best results.
With the right approach, you can revive your scratched hardwood floors and enjoy their natural elegance once again.

![How to Clean Scratched Hardwood Floors: 7 DIY Steps [Effective]](https://anyshelter.com/wp-content/uploads/2023/06/How-to-Clean-Scratched-Hardwood-Floors.webp)
