How To Clean Hardwood Floors After Sanding: 8 Steps to Consider
Congratulations on completing the hardwood floor sanding. But the work is not finished yet. The next step is to clean the floors thoroughly to remove all the dust and debris left behind by the sanding process.
But how to clean hardwood floors after sanding without damaging them?
To begin, you’ll need to gather the necessary supplies for hardwood floor cleaning. Then you can start by sweeping and vacuuming the floors to remove larger particles.
Afterward, you can dust mop the floors to capture smaller particles and prepare a cleaning solution for damp mopping. Next, dry the floors and inspect them for any damage or debris you might have missed.
With our expert tips, you will quickly find your floors clean and ready for refinishing. So, let us get started.
Steps on How Do You Clean Hardwood Floors after Sanding
If you’ve just finished sanding your hardwood floors, clean them properly to ensure a smooth and polished finish. Here’s a step-by-step guide on cleaning hardwood floors after sanding:
- Step 01: Gather the necessary supplies
- Step 02: Start by sweeping
- Step 03: Vacuum the floor
- Step 04: Dust mop the floor
- Step 05: Prepare the cleaning solution
- Step 06: Damp mop the floor
- Step 07: Dry the floor
- Step 08: Inspect the floor
Step 01: Gather the Necessary Supplies
Let’s get started on refreshing your newly sanded floors by gathering all the necessary supplies. Grab a broom, vacuum with a soft brush attachment, microfiber dust mop, and cleaning supplies for spotless hardwood floors that are ready for sealing or staining.
Step 02: Start By Sweeping
Make sure to sweep the entire floor thoroughly, paying extra attention to corners and edges where dust accumulates. To ensure that you’re sweeping effectively, use the following tips:
- Use long, even strokes to move the broom across the floor.
- Sweep in one direction to avoid pushing dust around.
- Sweep into a pile in the center of the room and use a dustpan to collect the debris.
- Use a small broom or brush to sweep away any dust in hard-to-reach areas.
Step 03: Vacuum the Floor
Now it’s time to make those floors shine by giving them a thorough vacuuming. Start by attaching a soft brush to your vacuum cleaner and making your way across the entire floor surface.
Take extra care when reaching corners, edges, and hard-to-reach areas to ensure that all the dust particles have been removed.
Using a vacuum cleaner with a soft brush attachment removes any remaining dust particles left behind during the sanding process. This will ensure that your hardwood floor is spotless and debris-free.
Step 04: Dust Mop the Floor
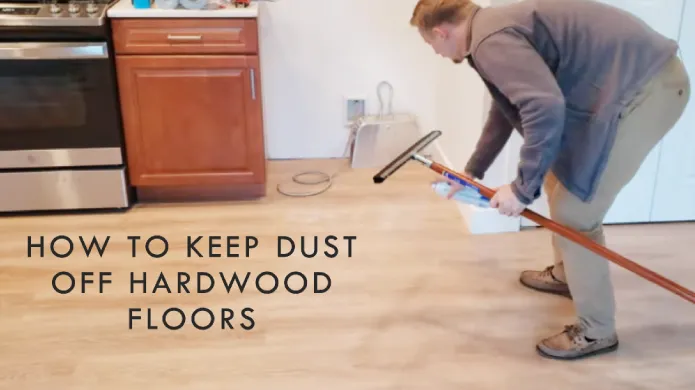
After vacuuming, grab a microfiber dust mop to pick up any lingering dust and achieve a spotless surface. A microfiber dust mop is great for cleaning hardwood floors after sanding because it’s gentle and effective.
Simply run the mop over the floor surface in a back-and-forth motion to collect any remaining dust and debris. The microfiber material is soft and won’t scratch the surface of your floors as other cleaning tools might.
When using a dust mop, always ensure the mop head is clean before you begin. This’ll prevent any dirt or debris from being spread around your floors during cleaning.
Step 05: Prepare the Cleaning Solution
Mix mild wood floor cleaner with warm water for a gentle cleaning solution for hardwood floors. Here’s how to do it:
- Fill a bucket with warm water. The water should be warm but not hot, as hot water can damage your hardwood floors.
- Add a small amount of mild wood floor cleaner to the water. Be sure to follow the manufacturer’s instructions regarding the appropriate dilution ratio.
- Use a gentle cleaning solution to protect your floors. Avoid using harsh chemicals or abrasive cleaners, as they can strip the finish from your hardwood floors.
- Stir the cleaning solution gently to mix the cleaner and water together.
Step 06: Damp Mop the Floor
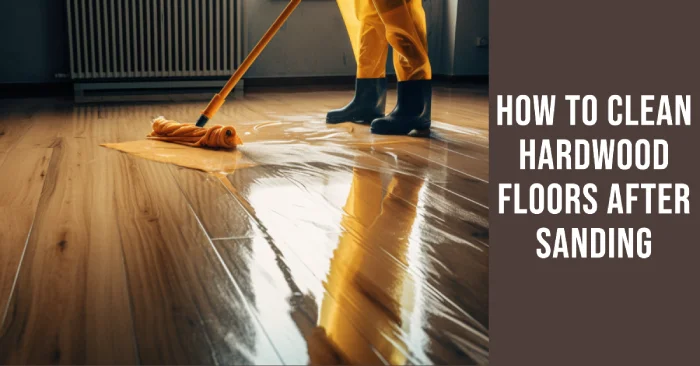
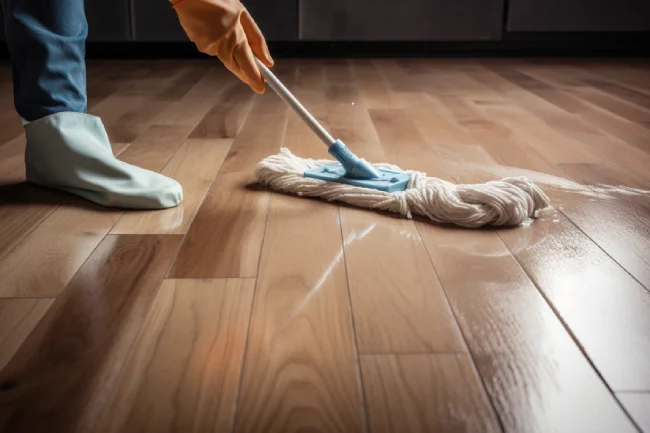
Grab your trusty mop or mop pad and dip it into the gentle cleaning solution you’ve prepared. Then, wring out any excess water and start mopping the floor in small sections, moving with the grain of the wood to avoid damage.
Remember, too much water can harm your newly sanded hardwood floors. Ensure to wring out the mop or pad thoroughly. Work in small sections to ensure that you don’t miss any spots and to prevent the solution from drying on the floor.
Step 07: Dry the Floor
It’s crucial to thoroughly dry the floor after mopping to prevent any water damage or warping. This is especially important after sanding, as the wood is more vulnerable to moisture. To speed up the drying process, use a fan or open windows to increase air circulation in the room.
- Also, follow these three steps to ensure that the floor is completely dry:
- Use clean, lint-free cloths to dry the floor, removing any excess moisture.
- Check for any areas where water may have pooled, such as corners or under furniture. These areas may require extra attention to ensure they are completely dry.
- Leave the floor untouched for at least 24 hours before walking on it or placing any furniture back on it.
Step 08: Inspect the Floor
Now that the floor’s dry, take a peek at any leftover dust or debris.
You can use a flashlight to help you see any small particles that may have been missed. If you find any tough spots, try using a slightly dampened cloth to get rid of them. But, be careful not to use too much water as this can damage the hardwood.
How soon can I clean my hardwood floors after sanding?
You’ll want to hold off for around two weeks before cleaning your newly sanded floors well to ensure they have enough time to settle and cure properly.
Although it may seem tempting to clean up the dust and debris right away, doing so too soon can cause damage to the newly sanded surface. The curing process is crucial for the longevity and durability of your hardwood floors, so stay patient and wait until they’re fully cured before cleaning.
During the curing process, the surface of your floors will harden and become more durable. This allows for a better seal when applying a finish, which will help protect your hardwood floors from wear and tear over time.
Can I use rubbing alcohol to clean wood after sanding?
If you’re looking for a quick fix to remove bacteria and stains from your newly sanded wood surface, rubbing alcohol is a good idea. But beware, it could end up damaging your beautiful hardwood investment.
While it can kill bacteria and microbes, rubbing alcohol is a solvent and can strip the protective layer of your hardwood finish. This can lead to discoloration, warping, and even splitting of the wood.
It’s best to avoid using rubbing alcohol altogether and opt for other cleaning methods that won’t harm your floors.
Is it OK to clean hardwood floors with water?
To keep your investment looking beautiful for years, you should take care when using water as a cleaning solution for your hardwood. While it seems like a quick and easy solution, using water can cause more harm than good.
Here are some reasons why:
- Water can seep into the wood and cause it to expand, resulting in cracks and splinters.
- Excess water can also lead to warping, which can cause your flooring to buckle and become uneven.
- Water can damage the finish on your hardwood, causing it to wear down more quickly over time.
- Certain types of hardwood, such as engineered wood, are more sensitive to moisture and can be especially vulnerable to water damage.
- Even if you dry your floors thoroughly after cleaning them with water, there’s still a risk of moisture getting trapped in between the planks and causing damage.
Instead of water, a cleaning solution specifically designed for hardwood floors is best. This will not only help prevent damage but also help maintain the integrity of your flooring.
Can you walk on hardwood floors after sanding?
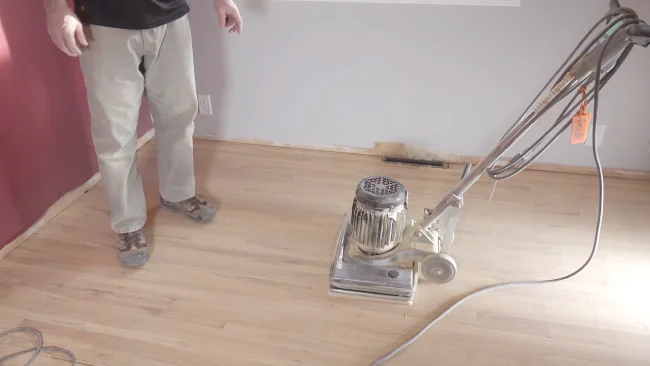
While walking on your floors after sanding is generally safe, you should wait at least 24 hours before doing so. Waiting 48 hours before walking on your hardwood floors is recommended for the best results.
Keeping pets and heavy furniture off the floors is essential during this waiting period. Start by walking on the floors with just socks to avoid scratching the newly sanded surface.
If you must move furniture back into the room, lift it and not drag it across the floor. Waiting a few extra days before putting furniture back in place will also allow the finish to cure fully, ensuring it’s durable and long-lasting.
Keep Your Hardwood Floors Clean and Safe After Sanding
It’s essential to give your hardwood floors ample time to settle and dry out after sanding before attempting to clean them. Waiting for at least 24 hours is recommended to ensure the wood is fully prepared.
Although using rubbing alcohol can work wonders, caution is necessary as excessive usage of rubbing alcohol can lead to wood damage.
Utilizing water to clean your hardwood floors is entirely safe and practical. But, it’s crucial to be extra careful not to overuse water while cleaning as it could lead to water damage in the flooring.
Remember to dry your floors thoroughly to prevent any harm to the wood. So, by following the above steps, you can easily maintain and keep your hardwood floors in excellent condition after sanding for centuries.

