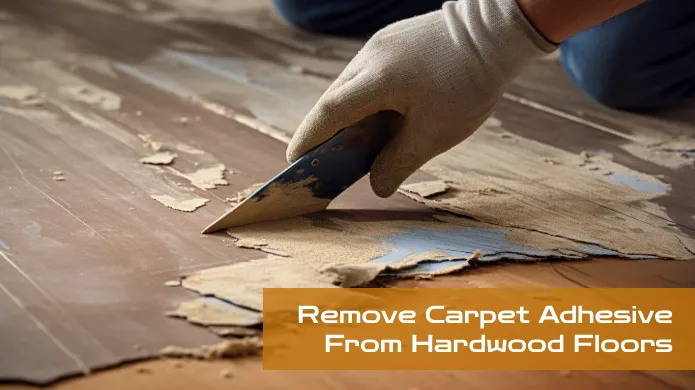
How to Clean Dirt in Grooves of Hardwood Floors: 6 Methods [Easy DIY]
Hardwood floors are a popular and attractive flooring option for many homes, but they require regular cleaning to maintain their beauty and durability. Over time, dirt and debris can settle into the grooves between planks, and traditional cleaning methods may not be enough to remove it all.
To effectively clean dirt in the grooves of hardwood floors, some specific techniques and tools must be used. These include vacuuming, sweeping, mopping, and using a steam cleaner. However, it’s important to be mindful of the type of cleaner and technique used, as some may damage the wood or finish.
With the right knowledge and approach, it’s possible to clean these hard-to-reach spaces deep and restore the appearance of your hardwood floors.
How to Clean Dirt in Grooves of Hardwood Floors: 6 Simple Methods
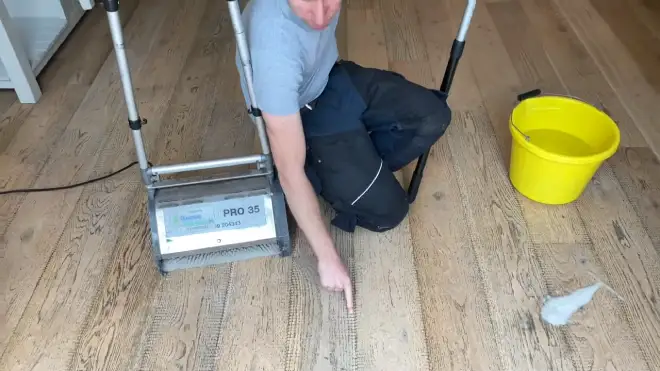
The accumulation of dirt in the grooves between hardwood planks can be difficult to remove. To help, here are six methods for cleaning the crevices of your hardwood floor.
Method ONE: Vacuuming The Floor
Using a standard vacuum cleaner is the simplest and most effective way to clean dirt from the grooves in hardwood. Start by vacuuming the entire floor surface, paying special attention to high-traffic areas where dirt accumulates more quickly.
Next, move on to the crevices. Use the brush attachment of your vacuum cleaner and gently run it along each groove, ensuring that all dirt is removed. Be careful not to press too hard, as this could scratch or damage the wood and finish.
Method TWO: Using a Steam Cleaner
Dirt and grime can be effectively removed from grooves by steam-cleaning hardwood floors. It involves using high-temperature steam to break down the dirt, which can then be wiped away with a cloth or mop.
Before beginning the process, it is important to seal the hardwood floor properly, as excess moisture could cause damage.
To start, fill the steam cleaner’s water tank according to its instructions and wait for it to heat up. Once ready, hold the cleaner over the groove you want to clean and press the trigger to release steam onto the area. Move slowly along each groove in the direction of the wood grain.
Be sure not to linger too long on one spot, which could also cause damage. After steaming all grooves, wipe away any remaining moisture with a dry cloth or mop. Avoid walking on the floor until it has fully dried.
Method THREE: Scrubbing the Grooves With a Brush
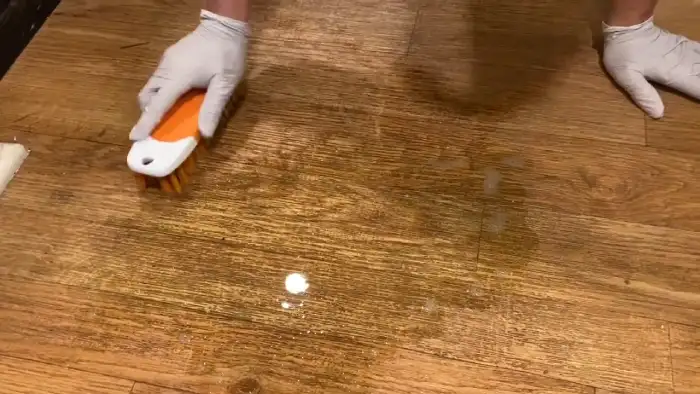
Scrubbing the grooves with a brush effectively cleans dirt and grime buildup on hardwood floors. Before starting, ensure that you have the right tools for the job. You will need a stiff-bristled scrub brush, warm water, and a cleaning solution specifically designed for hardwood floors.
To begin, mix your cleaning solution according to the manufacturer’s instructions. Dip your scrub brush into the mixture and start working it into the grooves of your hardwood floor. Use small circular motions while applying firm pressure to dislodge any dirt or debris stuck in between the boards.
Ensure not to oversaturate your floors with too much water as this can cause damage over time. After you’ve scrubbed all the grooves on your hardwood floor, wipe off any excess moisture with a damp mop or cloth.
Method FOUR: Run a Damp Mop Over the Grooves
Keeping the wooden surface pristine requires employing a damp mop to carefully sweep over the minute crevices on the flooring, ensuring no residue is left behind. This technique is particularly useful for cleaning cracks in hardwood floors.
To effectively clean grooves in hardwood floors using a damp mop, you can follow these tips:
- Wet the sponge mop with water, wring it out completely, and mop the floors. However, extra effort is required when cleaning the grooves between floorboards.
- Use a soft, non-abrasive mop to avoid scratching the surface of the wood.
- Avoid using too much water, as excess moisture can cause damage to the wood.
- Use a clean mop head to avoid spreading dirt and grime.
- After cleaning, allow the floor to dry completely before walking on it.
Method FIVE: Use a White Vinegar Solution
An eco-friendly alternative to chemical-based cleaning products is white vinegar to remove stubborn stains and grime from hardwood floor grooves.
To begin, dilute half a cup (120 ml) of white vinegar in one gallon (3.8 L) of water and mix thoroughly. Then, moisten a microfiber towel in the mixture and wring it out completely before starting to scrub the cracks in the floorboards.
The vinegar solution will break apart any grime or dirt accumulated in the cracks, making removing it easier. For areas with stuck-on debris, use a soft-bristled toothbrush to scrub the surface. The vinegar solution will help break apart the debris, making it easier to remove with the toothbrush.
When using this method, remember not to use too much water on the hardwood floors as it can cause damage. With this method, you will be able to effectively remove stubborn stains and dirt and be doing so in an environmentally-friendly way.
Method SIX: Scrape Gunk Out of the Grooves
You can dislodge and extract gunk from between the wooden floorboard grooves using a plastic putty knife or similar tool. Positioning the knife in the crack between the boards and moving it back and forth gently breaks apart the debris.
Once the debris is dislodged, it can be scraped using a knife. A plastic butter knife could also be used for this purpose. After scraping the gunk out of the cracks, run a vacuum cleaner over the floor to remove the loosened dirt.
This method of cleaning the cracks in hardwood floors requires a certain level of care and attention to detail. It is important to be gentle while using the putty knife to avoid damaging the wood.
How to Protect Hardwood Floors Grooves after Cleaning?
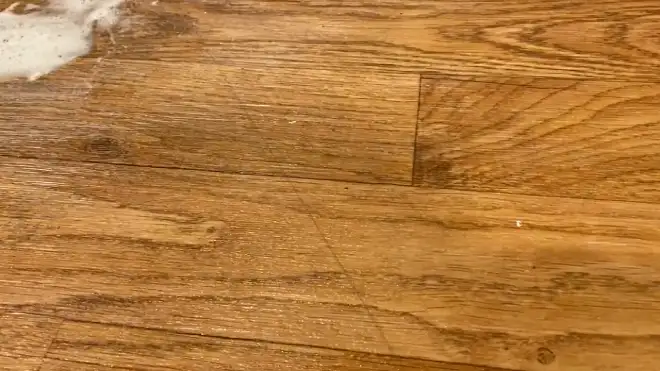
Maintaining your hardwood floors does not have to be difficult. These tips will keep dirt and debris from settling into hardwood grooves:
1. Drying the Floor
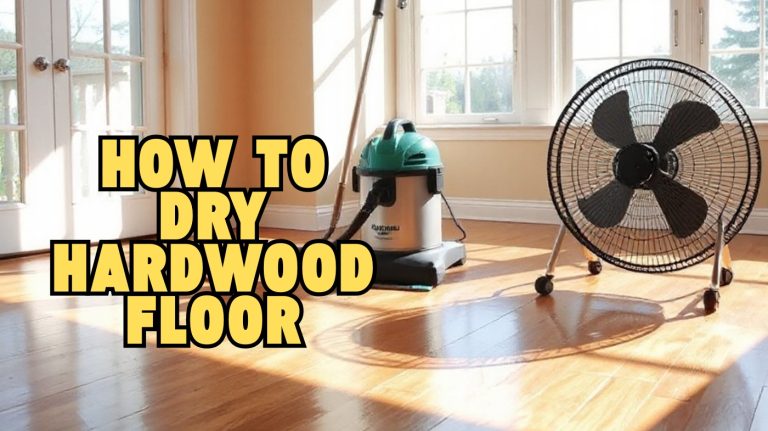
After thoroughly cleaning the grooves of hardwood floors, it is crucial to ensure that the floor dries completely before any further action. Dampness can cause damage, such as warping or buckling, and even lead to mold growth. Proper drying techniques should be implemented for a successful outcome.
One effective method is to use fans in the room to increase air circulation and aid in evaporation. This technique works best when opening windows or doors to allow fresh air into the space.
Another option is using a dehumidifier to remove excess moisture from the air. This device draws in humid air and releases dry air into the environment, significantly speeding up the drying process.
Additionally, placing towels or old rags over wet spots can help absorb excess water trapped within the wood’s crevices. Remember that proper drying ensures the longevity of your hardwood floors. Failure to dry effectively could result in costly repairs down the line.
2. Buffing The Floor
After cleaning all the dirt out of hardwood floors, buffing is another essential way to maintain its appearance and prolong its lifespan.
Buffing refers to using a machine with rotating pads coated with an abrasive material to remove scratches and scuffs on the surface layer of the wood floor. This method not only improves the overall look but also enhances durability.
Before starting, ensure all furniture and debris are removed from the area.
The first step in buffing involves attaching an appropriate pad to the machine – typically a white or beige one for light polishing or a brown or black one for heavy-duty work. It’s important to read manufacturer instructions carefully before beginning, as different machines may require varying techniques.
Once you’ve attached an appropriate pad, slowly run it across your hardwood floor while holding onto both handles tightly.
3. Applying Hardwood Floor Wax
Applying hardwood floor wax is essential in maintaining the appearance and durability of your flooring. This process helps to protect the wood from scratches, stains, and discoloration caused by regular wear and tear. Besides that, it also gives a glossy finish to the floors, making them look shiny and brand new.
Before applying any wax on the hardwood floor surface, clean it thoroughly to remove all dirt particles from the grooves using a vacuum cleaner or broomstick.
After cleaning, apply a thin layer of wax evenly across the entire surface area using a soft cloth or mop. It is advisable not to use too much wax as this can cause build-up over time.
Once applied, leave it for some time before buffing it with a dry cloth until there are no visible streaks.
Additionally, avoid walking on freshly-waxed floors immediately after application as this could lead to damages such as footprints or smudges.
Why is It Important to Clean Dirt from the Hardwood Floor Grooves?
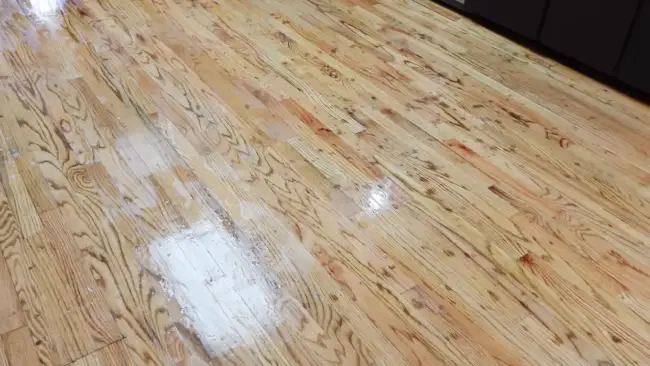
Elevate your home decor with timeless hardwood floors that radiate warmth. Maintenance is key to keeping them looking their best, especially when getting rid of dirt and debris from those pesky grooves. Discover why it’s crucial to keep your hardwood floor grooves clean.
Here are just a few:
Aesthetics and Appearance
The appearance of the hardwood floor is crucial, as it can significantly impact a room’s overall look and feel. Dirt and debris accumulation in the grooves can be unsightly and make the flooring look dirty.
Regular cleaning of the grooves is essential to maintaining the appearance of the hardwood floors, ensuring they remain clean and fresh.
Preventing Scratches and Damage
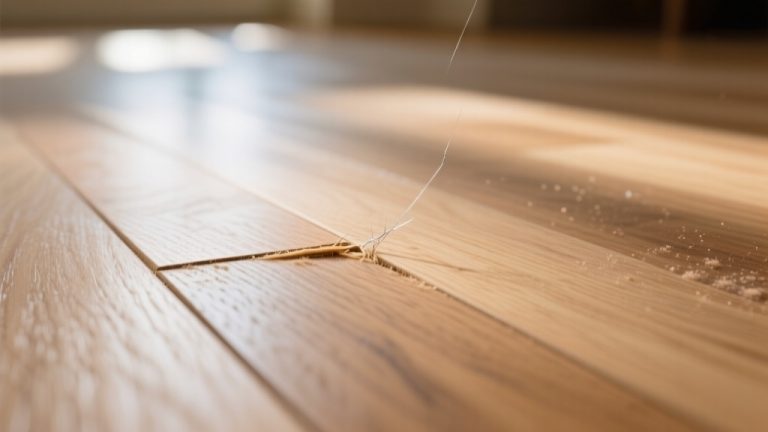
Dirt and debris can scratch the surface of hardwood floors, which can cause damage and wear down the wood. As people walk on the surface, dirt and debris can be ground into the grooves, causing continuous scratching.
It’s easy to keep your hardwood floors looking beautiful by regularly cleaning the grooves.
Maintaining Hygiene
Hardwood floors with deep grooves can trap dirt, dust, and allergens that can affect indoor air quality. If these contaminants are left uncleaned, they can contribute to respiratory issues and allergies.
Keep the air quality of your indoor space high by regularly cleaning the grooves on your floors.
Preventing Staining
Dirt and spills can penetrate the hardwood floor grooves, causing stains and discoloration over time. Removing dirt promptly can prevent settling and staining. By keeping the grooves of the floor clean, the floor will continue to look fresh and vibrant, adding warmth and elegance to any home.
How to Prevent Dirt from Accumulating in the Grooves of Hardwood Floors?
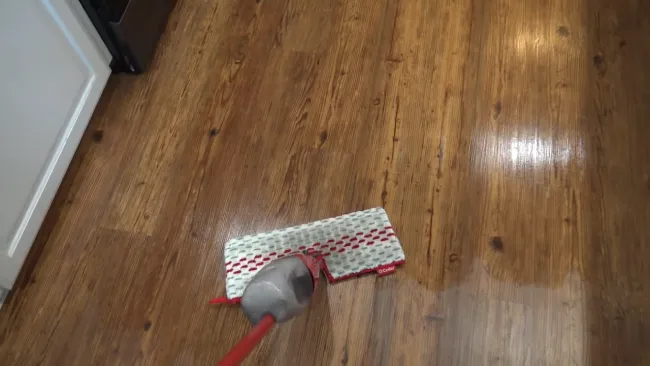
Don’t stress about keeping your hardwood floors clean. Here are some easy tips to help you keep dirt out of those pesky grooves:
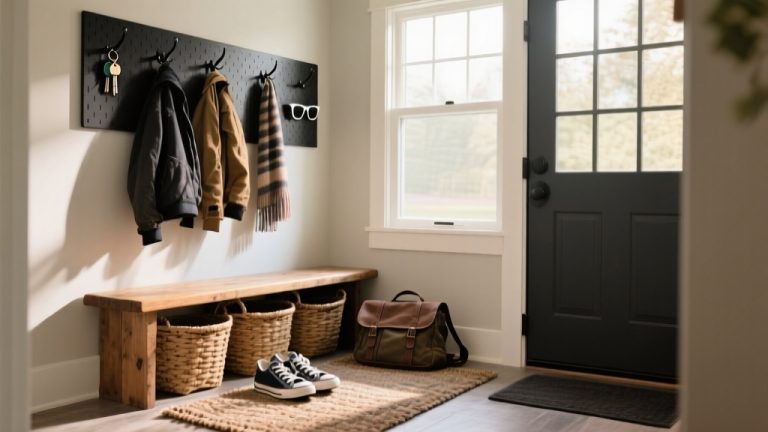
Start with a doormat: One of the best ways of keeping dirt off your hardwood floors is by using doormats. Place them at all entrances to prevent dirt and debris from tracking inside your home. Not only do they protect your floors, but they also add an aesthetic appeal to your entryway.
Regularly sweep or vacuum: It is essential to regularly sweep or vacuum your hardwood floors to prevent dirt accumulation in the grooves. Use a soft-bristled broom to avoid scratching the wood surface. Remember that the goal is to keep dirt out of hard-to-reach places.
Mop with care: Mopping is an excellent way to remove dirt from your hardwood floors. However, you need to be careful not to oversaturate the floors. Use a damp mop and avoid soaking the floors since too much moisture can damage the hardwood.
Wipe up spills promptly: Spills and moisture can cause long-term harm to hardwood floors if ignored. They can seep into the grooves and damage the wood if left unaddressed. To avoid this, wipe up spills promptly using a soft cloth.
Use furniture pads: Consider using furniture pads to protect hardwood floors from scratches and dents caused by heavy furniture. These pads prevent dirt and debris buildup around furniture legs and help maintain the condition of your floors. Remember to replace any worn-out pads promptly to maintain their effectiveness.
How often should You clean the hardwood floors to prevent dirt buildup?
To prevent dirt buildup on your hardwood floors, it is recommended that you clean the grooves at least once every few months. The frequency will vary, however, depending on factors like foot traffic and the environment the floors are in.
If your hardwood floors are in a high-traffic area or in a place with high humidity, they might need more frequent cleaning to avoid dirt and debris buildup. Also, if you have pets or kids who play on the floor a lot, you might have to clean it more often than if you live alone.
Is it necessary to remove furniture before cleaning the hardwood floor grooves?
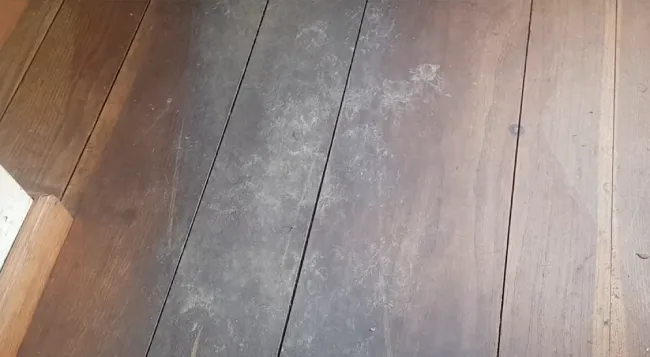
Removing your furniture before cleaning your hardwood floors is highly recommended. The reason is that furniture can hinder the cleaning process and prevent complete access to the floor grooves.
Furthermore, furniture can trap dust and debris, making it more difficult to thoroughly clean.
Removing furniture beforehand ensures that the hardwood floor grooves are fully exposed, allowing for a more effective and efficient cleaning process. Therefore, removing furniture and clearing the floor area before beginning the cleaning process is best to ensure optimal results.
Remember moving furniture may cause scratches on the hardwood floor or damage to the furniture itself. So take extra precautions when handling and moving furniture pieces.
Add Elegance to Your Home With Hardwood Floors
Hardwood floors are a timeless and stunning feature in any home, but with their beauty comes responsibility. The accumulation of dirt and debris in hardwood floors’ grooves can break down the wood’s integrity and strip away its shine.
By following this guide, homeowners can keep their hardwood flooring looking new and keep it durable for years to come. It may take some effort to clean hardwood floors properly, but it will undoubtedly pay off in the long run.
Preserving the natural beauty of hardwood flooring is as important as removing dirt.

