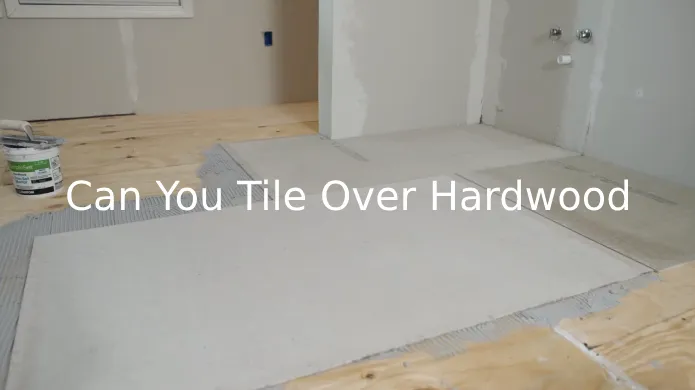
Can You Tile Over Hardwood: Ten DIY Steps to Follow
Have you ever considered transforming your hardwood floors with beautiful tiles but are concerned that tiling over hardwood floors might cause damage? Is it possible to tile over hardwood? You can tile over hardwood floors, but you must prepare the surface properly before laying the tiles.
To tile over your hardwood flooring, you need to clear the room of furniture. Then choose the proper tiles that complement your style and meet your functional needs. After that, use an underlayment to provide a solid and stable base and start tile installation.
In this step-by-step guide, we’ll discuss how to tile over hardwood and create a stunning new look for your space. So keep reading for detailed information.
How to Tile Over Hardwood: Step-by-Step Guide to Transform Your Space
If you’re looking to transform your space by tiling over hardwood, there are several key steps you need to follow.
- Step 1: Assess and prepare your hardwood floor
- Step 2: Choose the right tiles
- Step 3: Prepare the underlayment with backer board
- Step 4: Seal and tape joints
- Step 5: Prime the wood surface
- Step 6: Select flexible adhesive and grout
- Step 7: Plan and install tiles
- Step 8: Grout and finishing touches
- Step 9: Apply silicone sealant
- Step 10: Final touches and enjoy
Let’s discuss these steps in detail:
Step 1: Assess and Prepare Your Hardwood Floor
To prepare your hardwood floor for tiling, start by clearing the room of furniture and any existing flooring. This will give you a clean and blank canvas to work with.
Once the room is clear, you should assess the condition of your hardwood floor to ensure a successful tile installation. Here are four key steps to take:
- Inspect for loose boards: Walk across the floor and identify any boards that may be loose or damaged. Secure them with screws to create a stable surface for tiling.
- Address creaks or excessive flexibility: If you notice any areas that creak or feel excessively flexible, you must reinforce the subfloor. This can be done by adding additional support beams or plywood.
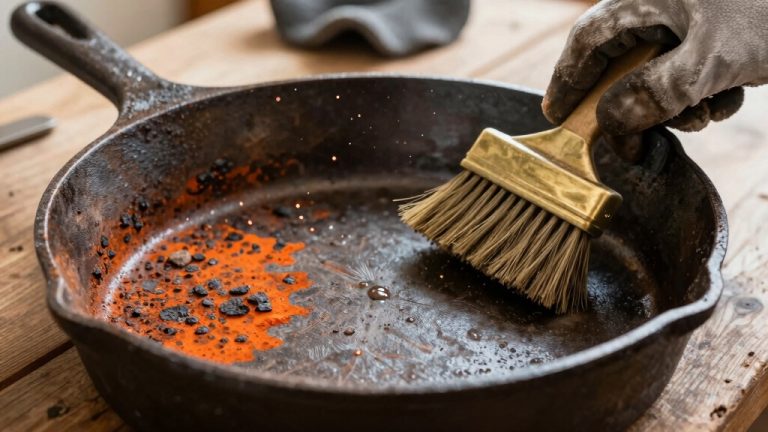
- Clean and prepare the surface: Thoroughly clean the hardwood floor, removing dirt, dust, or debris. Sand any rough patches or imperfections to create a smooth, level base for the tiles.
- Consider moisture protection: Hardwood floors are sensitive to moisture, so taking precautions is important. Apply a moisture barrier or sealant to protect the wood from potential water damage.
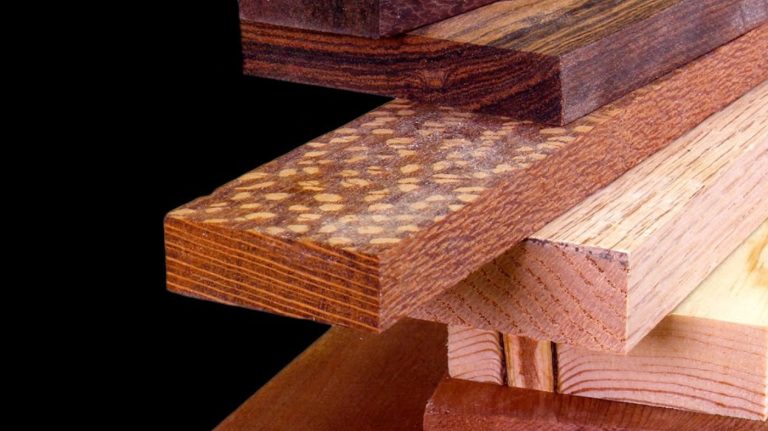
Step 2: Choose the Right Tiles
When choosing the perfect tiles for your hardwood floor, consider porcelain or ceramic options for their durability and moisture resistance. These tiles are ideal for areas with high foot traffic and are less prone to damage from moisture, making them a great choice for bathrooms or kitchens.
Also, porcelain and ceramic tiles come in a wide range of colors, textures, and patterns, allowing you to find the one that matches your personal preferences. Here’s a table showing the key differences between porcelain and ceramic tiles:
| Porcelain Tiles | Ceramic Tiles |
| Extremely durable | Moderately durable |
| Low water absorption | Higher water absorption |
| Suitable for both indoor and outdoor use | Mostly recommended for indoor use |
| Requires special tools for cutting | It can be cut with regular tile cutters |
| Generally more expensive | Generally more affordable |
Step 3: Prepare the Underlayment with Backer Board
Start by cutting the backer board to fit the room, ensuring you leave small gaps for expansion. This step is crucial as it provides a solid, stable base for your tiles.
Here are two important things to keep in mind when preparing the substrate with the backer board:
- Choose the right backer board: Opt for cement or fiber cement backer board, both durable and moisture-resistant. This will ensure that your tile installation stands the test of time.
- Measure and cut accurately: Take precise room measurements and cut the backer board accordingly. It’s essential to have a snug fit, but remember to leave small gaps around the edges to allow for expansion.
Step 4: Seal and Tape Joints
Once the backer board is securely placed, seal the seams between the panels using mesh tape and thin-set mortar for added stability. This step is crucial to prevent movement or flexing between the panels, ensuring a strong and stable surface for your tile installation.
Mesh tape is specifically designed to reinforce the joints and prevent any cracks or gaps from forming. It acts as a barrier, holding the panels together and preventing moisture from seeping through.
Thin-set mortar is then applied over the mesh tape, creating a solid bond between the panels and further enhancing the overall strength of the substrate. This combination of mesh tape and thin-set mortar supports the backer board, ensuring your tile installation will be long-lasting and durable.
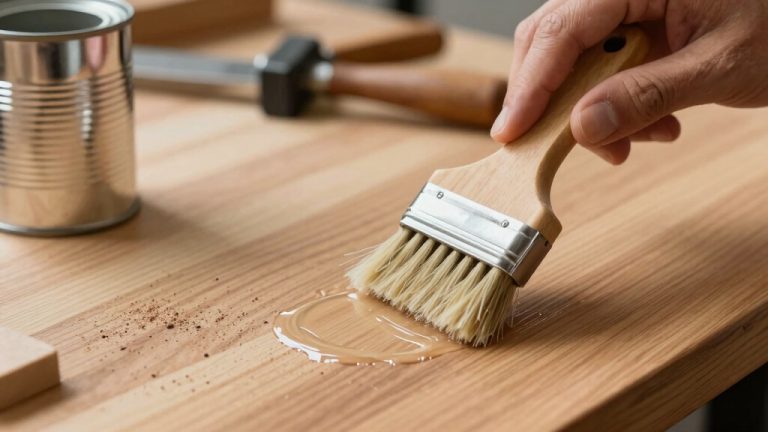
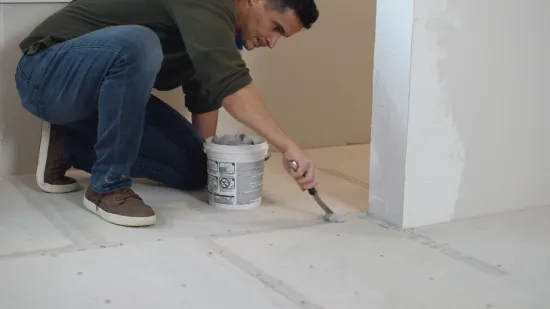
Step 5: Prime the Wood Surface
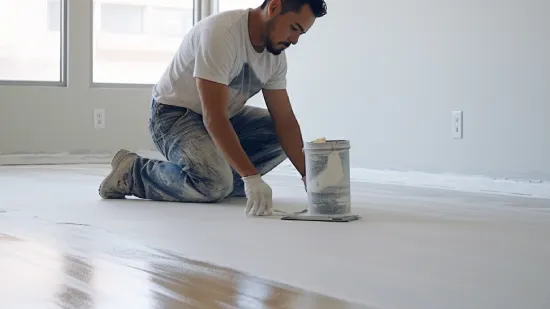
To improve tile adhesive bonding, apply diluted primer over the backer board for better adhesion to the wood beneath. This is crucial when tiling over hardwood, as it helps create a strong bond between the glue and the wood surface.
Here are four reasons why priming the wood surface is important:
- Enhanced adhesion: Primer acts as a bonding agent, ensuring the tile adhesive sticks firmly to the wood. The adhesive may not adhere properly without primer, leading to tiles that can easily come loose.
- Moisture protection: Primer provides a protective barrier, preventing moisture from seeping into the wood. This is especially important in areas prone to high humidity or moisture, as it helps prevent damage to the wood and prolongs the lifespan of the tiles.
- Smooth surface: Primer helps create a smooth and even surface, allowing for better tile installation. It fills in any imperfections or gaps in the wood, ensuring a level surface for the tiles.
- Improved durability: By priming the wood surface, you increase the overall durability of the tile installation. The primer helps strengthen the bond between the adhesive and the wood, making it less likely for the tiles to crack or shift over time.
Step 6: Select Flexible Adhesive and Grout
When selecting flexible adhesive and grout, choose options that can accommodate the natural flexibility of wood. This is crucial in preventing cracks from forming due to the movement of the wooden floor.
Flexible adhesive and grout are designed to move and flex with the wood, ensuring the tiles stay in place without cracking or popping out. These types of adhesives and grouts have a higher level of elasticity, allowing them to withstand the expansion and contraction of the wood.
Following the manufacturer’s instructions when applying these products is important, as they may require specific mixing ratios or application techniques. By selecting flexible adhesive and grout, you can confidently tile over hardwood, knowing your flooring will remain durable and crack-free.
Step 7: Plan and Install Tiles
Start by measuring and marking the center of the room for the tile layout. This step is important to ensure a balanced and visually appealing arrangement. Once you have determined the center, you can begin the installation process.
Here are some key steps to consider:
- Prepare the surface: Ensure the hardwood floor is clean, dry, and debris-free. If needed, sand down any uneven areas to create a smooth surface for the tiles.
- Apply a primer: Before installing the tiles, it’s recommended to apply a primer to the hardwood floor. This will help create a better bond between the adhesive and the tiles, ensuring a more durable installation.
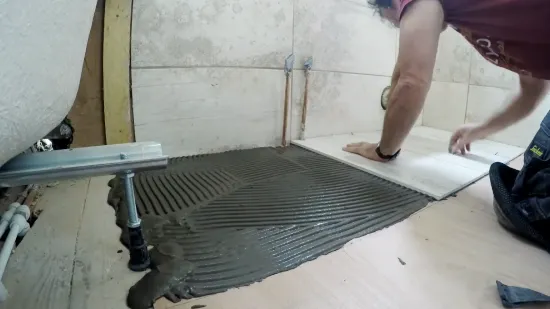
- Spread adhesive: Use a notched trowel to spread adhesive on the floor. Follow the manufacturer’s instructions for the correct adhesive type and application method.
- Install the tiles: Press the tiles firmly into the adhesive, starting from the center and working outward. Use tile spacers to maintain even spacing between the tiles.
Step 8: Grout and Finishing Touch
Grab a rubber float and apply grout between the tiles for the finishing touches. This step is crucial to ensure your tiles are properly sealed and protected. Grout fills in the gaps between tiles and helps prevent water and dirt from seeping in and causing damage.
To make the grouting process easier, you can use a 2-column and 5-row table to keep track of the different types and colors of grout you have used in each area of your project.
This will help you stay organized and ensure a consistent look throughout. After applying the grout, use a damp sponge to wipe away any excess and let it cure.
Step 9: Apply Silicone Sealant
To ensure flexibility and prevent cracks, apply silicone sealant along room edges and transitions. This is crucial in maintaining the integrity of your tiled floor and preventing any water damage or shifting of tiles over time.
Silicone sealant also creates a waterproof barrier that helps to prevent water from seeping into the gaps between tiles, reducing the risk of mold and mildew growth. By sealing the edges and transitions, you provide added strength and stability to your tiled floor, making it less prone to cracking or shifting.
Step 10: Final Touches and Enjoy
After completing the final touches, take a moment to step back and admire your beautifully transformed space. Your new tiled hardwood floor brings your home a modern and stunning look. Now that all the hard work is done, it’s time to enjoy your refreshed space.
Whether you’ve chosen a classic subway tile or a trendy hexagon pattern, the result is a floor that adds style and elegance to any room. The durability of the tiles combined with the warmth and beauty of hardwood creates a unique and inviting atmosphere.
Can I tile directly on hardwood flooring?
You can’t tile directly on hardwood flooring because it may expand, contract, and cup with changes in temperature and humidity. However, alternative options exist for a tiled floor over your hardwood.
Here are some alternatives:
- Remove the hardwood: If your hardwood flooring is in poor condition or you prefer a tiled floor, remove the hardwood and install a tile backer board before tiling. This provides a stable and level surface for the tiles.
- Use a floating floor: Another option is to install a floating floor system over the hardwood. This involves placing an underlayment and then installing the tiles on top. The floating floor system allows movement and flexibility, reducing the risk of hardwood damage.
- Install a decoupling membrane: A decoupling membrane can separate the tile from the hardwood. This membrane absorbs movement and protects the tiles from cracking or becoming loose.
- Consult a professional: If you need clarification on the best approach for your situation, consulting with a professional is always a good idea. They can assess the condition of your hardwood and provide expert advice on the best way to proceed with tiling.
Does the tile need an underlayment on hardwood?
If installing tile on hardwood, use underlayment for stability and support. Tile is a strong material but needs a solid base to prevent cracking and shifting over time.
Underlayment serves as the stabilizing layer between the hardwood and the tile adhesive, typically a thin-set mortar. It provides a level surface, ensuring the tile is properly aligned and securely adhered to.
Also, an underlayment helps to minimize any imperfections or irregularities in the hardwood, creating a smooth and even surface for the tile installation. It also helps to reduce the transmission of sound and provides some insulation properties.
How thick should the tile underlay be?
The recommended minimum thickness for the underlay of the cement sheet is 6mm. When tiling over hardwood, ensure that you have a proper underlayment. Here are four reasons why the thickness of the underlay is crucial:
- Stability: A thicker underlay provides a stable base for the tiles, preventing them from shifting or cracking over time.
- Moisture protection: A thicker underlay helps to protect the hardwood from moisture damage that can occur with tile installations.
- Sound insulation: A thicker underlay helps to reduce noise transmission, making your space more peaceful and quiet.
- Durability: A thicker underlay adds an extra layer of durability, ensuring your tiles will last longer and withstand daily wear and tear.
Should tile underlay be glued down on hardwood?
When tiling over hardwood, it’s recommended to glue the underlay down in addition to nailing it. Hardwood floors can be more prone to movement and flexing than other flooring types.
Gluing the underlay helps to provide additional stability and prevents the tiles from cracking or shifting over time. To give you a better understanding of the benefits of gluing the underlay, let’s take a look at the following table:
| Benefits of Gluing Underlay on Hardwood | Explanation |
| Enhanced stability | Gluing the underlay ensures it is firmly attached to the hardwood floor, reducing the risk of movement and flexing. |
| Improved tile adhesion | The glued underlay creates a solid surface for the tiles to adhere to, resulting in better overall tile adhesion. |
| Minimized risk of tile cracking | By providing additional support and stability, glued underlay helps to reduce the chances of tiles cracking or breaking. |
| Longer-lasting tile installation | The combination of gluing and nailing the underlay helps to create a durable and long-lasting tile installation. |
Achieve a Stunning Tile Floor over Hardwood with Simple DIY Steps
We understand that tiling over hardwood flooring is possible but requires careful preparation to ensure a successful outcome. By following a step-by-step guide, you can transform your space and create a stunning tile floor.
Remember to use an underlayment to provide stability and prevent moisture damage. The underlayment should be thick enough to provide adequate support, and it can be glued down to the hardwood for added security.
With the proper techniques and materials, you can achieve a beautiful tile floor that will enhance the beauty of your home.