Best Way to Remove Hardwood Floors: Finishing Strong
To remove hardwood floors best and fastest, start by equipping yourself with essential tools like a circular saw, pry bar, and safety gear. Prepare your work area by clearing furniture and protecting surfaces from dust.
Set your saw blade just below the wood thickness to cut manageable sections without damaging the subfloor. Pry boards up carefully with consistent leverage, then remove nails and debris thoroughly.
This method guarantees clean removal and minimizes damage. Explore further for detailed techniques to perfect the process.
Key Takeaways
- Use a circular saw set slightly less than board thickness to cut hardwood into manageable 1-2 foot sections for easier removal.
- Wedge a pry bar under the board edge and pull back sharply in small increments to lift boards without causing damage.
- Move the pry bar every 8-10 inches along the board length for consistent leverage and reduced splintering risk.
- Remove nails with a nail claw or vice grips, and use a magnetic sweeper to collect scattered fasteners quickly.
- Clear debris regularly, vacuum fine dust, and protect adjacent surfaces to maintain safety and minimize cleanup effort.
Get Essential Tools and Safety Gear for Hardwood Removal

Before you begin removing hardwood floors, you need to gather the essential tools and safety gear to guarantee an efficient and safe process.
Start with a circular saw or worm drive saw to cut boards into manageable sections. Next, have a pry bar, crowbar, or gooseneck wrecking bar ready for levering boards upward.
Begin by cutting boards with a circular or worm drive saw, then lever them up using a pry bar or wrecking bar.
A mallet, dead blow mallet, or sledgehammer will help drive tools beneath the flooring. For fastener removal, use a nail claw, curved vice grips, or an air locker gun.
Prioritize personal protection by wearing safety glasses, a dust mask, gloves with padded palms, knee pads, and sturdy boots.
Proper preparation with these tools and gear reassures you can work efficiently while minimizing injury risk during hardwood floor removal. Additionally, understanding the properties of polyurethane adhesive used in engineered hardwood can help you plan for effective removal and minimize subfloor damage.
Prepare and Protect Your Work Area From Dust and Damage
To make certain a clean and damage-free environment during hardwood floor removal, start by clearing the work area of all furniture, electronics, and personal items.
Next, protect adjacent surfaces and fixtures to minimize dust spread and potential damage. Use tarps to cover heavier objects and light fixtures.
Remove floor vents and baseboards to access the flooring edges cleanly. Mark the removal boundary clearly with masking tape to maintain precise cutting lines.
- Remove all movable items from the room
- Cover immovable furniture and fixtures with tarps
- Take out floor vents and baseboards near the floor
- Place tarps in nearby rooms to contain dust
- Outline removal zones with masking tape
These steps guarantee a controlled, safe workspace, reducing cleanup and preserving your home’s condition. Always wear protective gear such as gloves and masks to safeguard yourself from dust and chemical exposure during the removal process.
How to Cut Hardwood Floors for Removal Safely?
Begin by setting your circular saw blade to a depth slightly less than the hardwood flooring thickness to avoid damaging the subfloor.
Cut perpendicular lines across the boards, creating sections about 1 to 2 feet wide for manageable removal.
Make multiple passes to ensure clean cuts through the hardwood without reaching the subfloor. Expect dust generation; wear safety gear.
It is important to clear debris and nails from the work area beforehand to maintain a safe and level subfloor.
Here’s a quick reference for cutting sections:
| Section Width | Nails per Plank | Saw Passes Needed |
|---|---|---|
| 1 ft | 2-3 | 2-3 |
| 2 ft | 4-6 | 4-6 |
| 3 ft | 6-9 | 6-9 |
Cutting in controlled sections preserves subfloor integrity and simplifies prying in the next step.
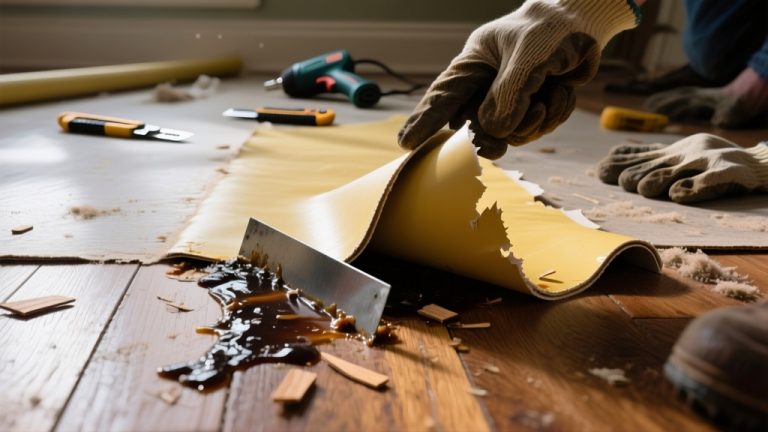
How to Pry up Hardwood Floors Without Damage?
Once you’ve cut the hardwood into manageable sections, you’ll want to carefully pry up each board to avoid damaging the subfloor or the flooring itself.
Start by wedging a pry bar underneath a board’s edge and pull back sharply to lift it. Work incrementally, moving the pry bar every 8–10 inches.
Begin by wedging the pry bar under the board’s edge, pulling back sharply in small increments.
If you meet resistance, gently tap the underside with a mallet or chisel to loosen the board without cracking it. For preserved floors, pry one end slowly while tapping the tongue side to reduce stress.
Use a gooseneck wrecking bar for better leverage.
Tap the pry bar gently to avoid splintering.
Work along the board length, not just one spot.
Keep a debris container nearby to clear scraps promptly.
Wear protective gear to prevent injury during prying.
When refinishing floors, consider whether to remove baseboards or use edge sanding techniques to protect them and achieve a professional finish.
Remove Nails and Clean Up After Hardwood Removal
After prying up the hardwood boards, it’s essential to clear out all nails, staples, and debris to guarantee a safe and clean workspace.
Use a handheld magnet or magnetic sweeper to quickly gather scattered fasteners.
Employ a nail claw or curved vice grips to extract stubborn nails and staples efficiently.
Work methodically to avoid leaving any metal fragments embedded in the subfloor.
Next, sweep the area thoroughly to collect wood chips and sawdust.
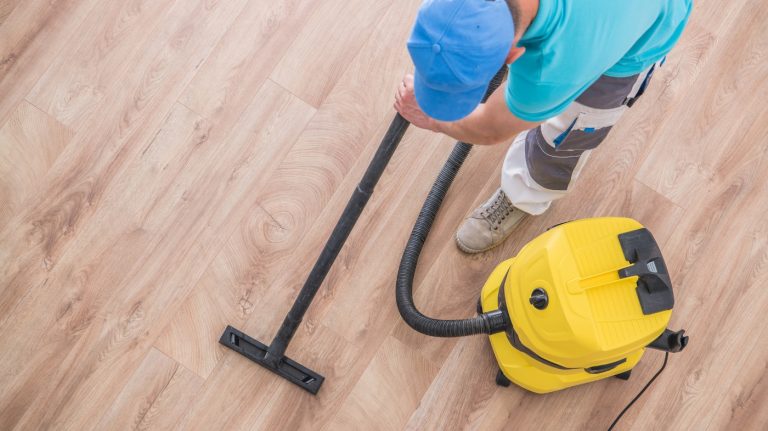
Follow up with a shop vacuum to remove fine dust and small debris particles, ensuring the surface is spotless.
Proper cleanup prevents hazards during subsequent flooring installation and protects tools and workers.
Dispose of all waste according to local guidelines, and inspect the subfloor carefully for any remaining fasteners or damage before proceeding.
For best results, always use proper tools to minimize damage to the subfloor during removal.
Frequently Asked Questions
Can Hardwood Floors Be Removed Without Professional Help?
Yes, you can remove hardwood floors without professional help if you’re prepared with the right tools and safety gear.
You’ll need a circular saw, pry bar, mallet, and nail removal tools.
Prepare the area by clearing furniture and protecting surroundings.
Cut boards into sections, pry them up carefully, and remove fasteners efficiently.
Stay cautious with dust and debris, and inspect the subfloor after removal to make certain it’s ready for new flooring installation.
How Long Does Hardwood Floor Removal Typically Take?
When it comes to hardwood floor removal, time’s of the essence. You’ll typically spend one to three days on a standard 200-500 square foot area, depending on your experience and tools.
Cutting boards into manageable sections, prying, removing fasteners, and cleanup each demand precision. If you’re methodical and use the right equipment, you’ll work efficiently.
Rushing might cause damage, so pace yourself to get the job done right.
What Are the Environmental Considerations for Disposing of Hardwood Flooring?
You should prioritize recycling or repurposing hardwood flooring to minimize landfill waste.
Avoid burning treated or finished wood since it releases toxins.
Contact local waste facilities to determine proper disposal methods for wood debris and nails.
Consider donating salvageable planks to reduce environmental impact.
Properly separate and dispose of any adhesives or finishes, following local hazardous waste guidelines to prevent soil and water contamination.
This responsible approach protects ecosystems and complies with regulations.
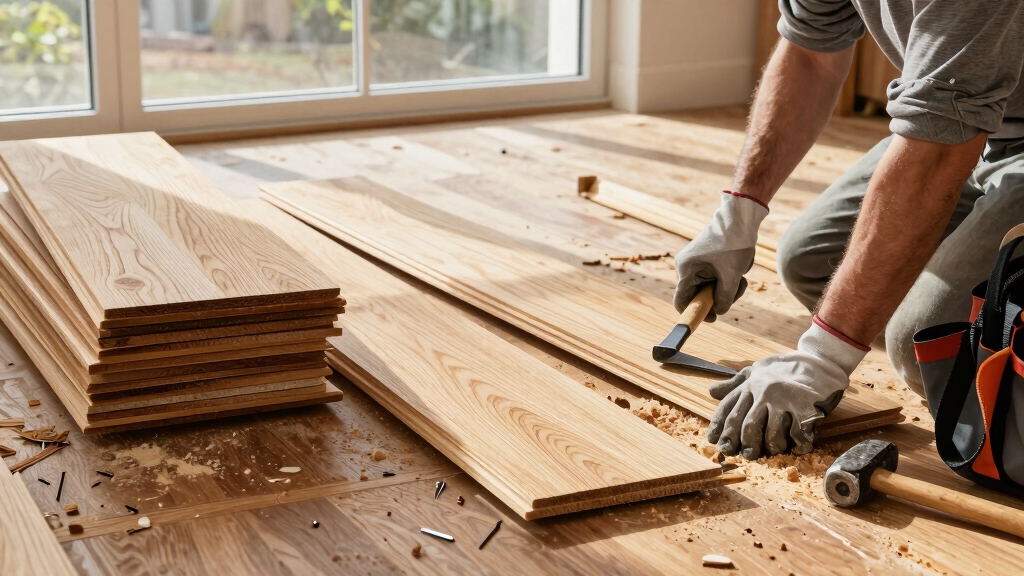
Is It Possible to Reuse Hardwood Flooring After Removal?
Yes, you can reuse hardwood flooring after removal, like carefully unwrapping a fragile gift.
When you pry up boards slowly and preserve tongues and grooves, you maintain their integrity.
Inspect each plank for damage, remove nails, and clean thoroughly.
Salvaged flooring can be repurposed for new installations, furniture, or creative projects.
Just make certain proper storage to avoid warping, and follow local guidelines if donating or selling the reclaimed wood.
How to Handle Hardwood Floor Removal in Homes With Asbestos?
You must never attempt hardwood floor removal if asbestos is suspected. Instead, hire a licensed asbestos abatement professional who’ll conduct proper testing and safely remove hazardous materials.
They’ll follow strict containment, ventilation, and disposal protocols to protect you and your home. DIY removal risks disturbing asbestos fibers, causing serious health hazards.
Always prioritize professional assessment and abatement to guarantee safety and regulatory compliance during floor removal in asbestos-containing homes.
From Start to Finish: Wrapping Up Your Flooring Project
Removing hardwood floors may seem intimidating, but with the right tools and careful steps, you can tackle it efficiently. Remember, patience is your best ally. Rushing only invites damage and extra work.
By preparing your space, cutting precisely, prying carefully, and cleaning thoroughly, you’ll preserve both your floors and peace of mind.
So, gear up, stay focused, and transform your space one plank at a time. Every great project starts with a solid foundation.