How to Paint Hardwood Floors? Tips for a Flawless Finish
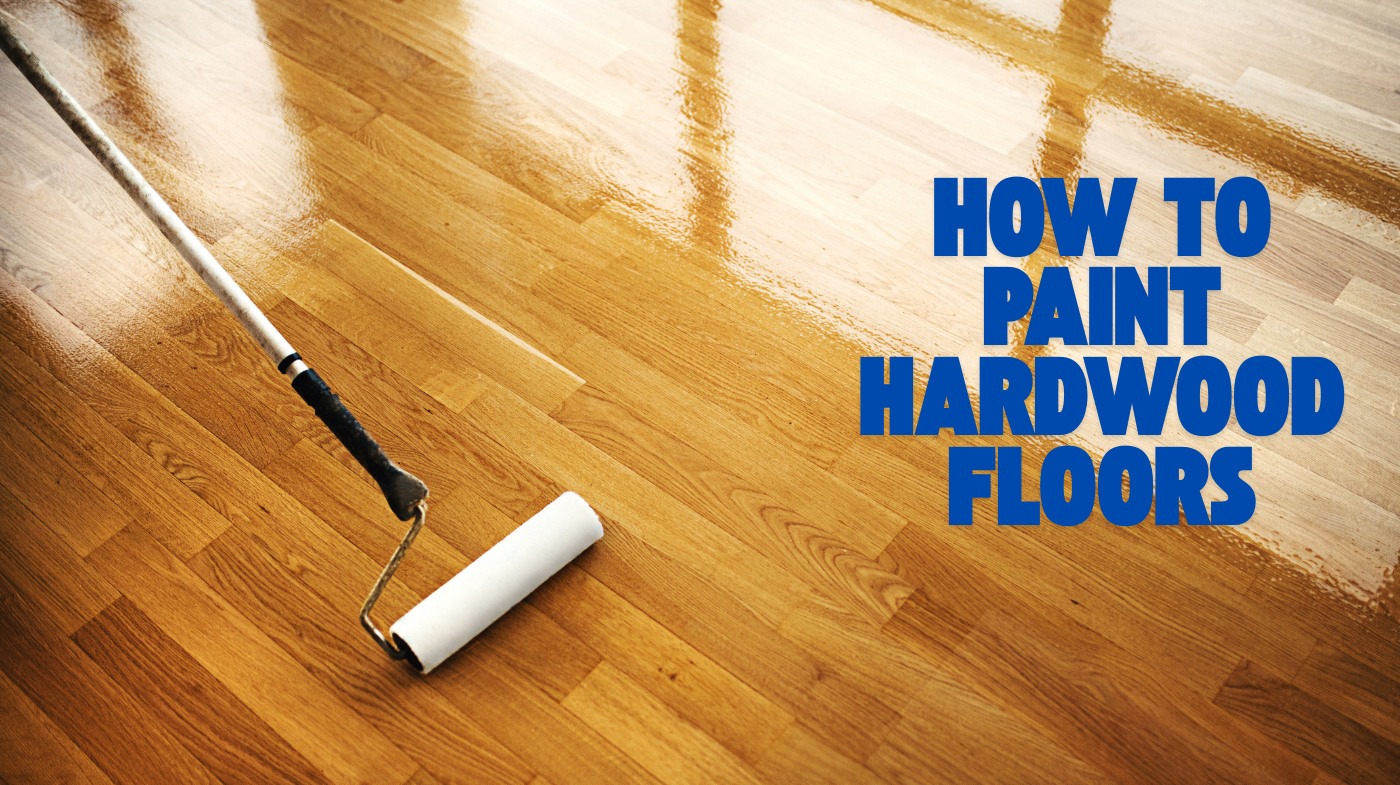
To paint hardwood floors, start by thoroughly cleaning and sanding with 150-200 grit sandpaper. Repair any damage before applying a quality floor primer using smooth, even strokes.
Then paint with durable, floor-specific acrylic or polyurethane paint in thin coats, working with the wood grain. Allow proper drying and curing times in a well-ventilated space before walking on the surface.
Finish with a clear polyurethane sealer for protection, and maintain regularly to keep your floor looking great. For detailed steps and tips, keep exploring the process.
Key Takeaways
- Thoroughly clean, repair, and sand hardwood floors with 120-200 grit sandpaper to ensure proper paint adhesion and a smooth surface.
- Apply a floor-specific primer evenly using a brush and roller, sanding lightly between coats for optimal coverage and durability.
- Use water-based acrylic or polyurethane floor paint with a satin or semi-gloss finish for slip resistance and long-lasting wear.
- Allow at least 24 hours drying time between coats and ensure proper ventilation and controlled humidity for effective curing.
- Protect and maintain painted floors with regular cleaning, prompt touch-ups, felt pads under furniture, and avoid heavy dragging or moisture.
Preparing Hardwood Floors for Painting
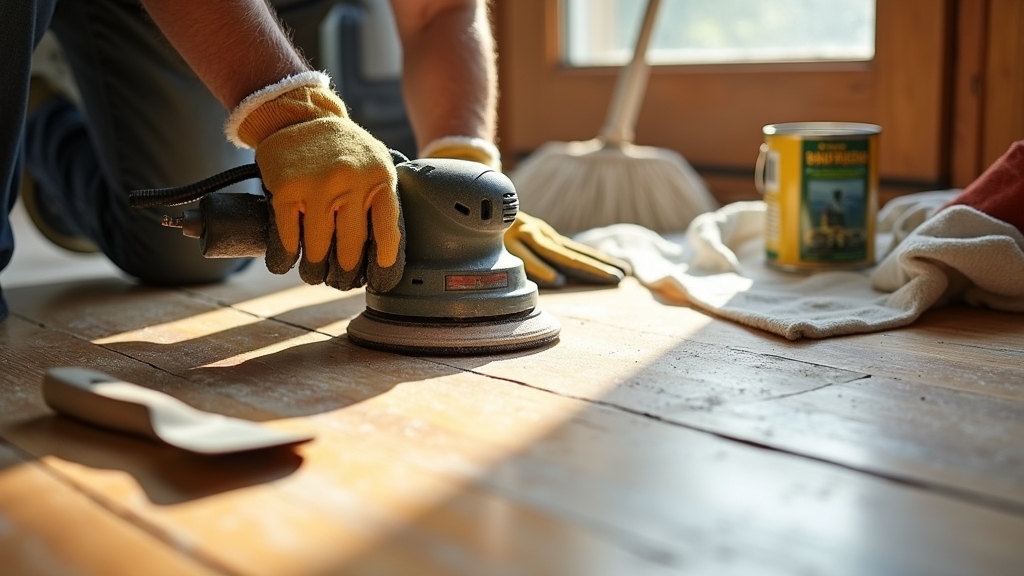
Before you start painting, you need to prepare your hardwood floors thoroughly to guarantee the paint adheres properly and lasts.
Begin by removing all dust, dirt, and debris with a vacuum and broom. Then mop using a wood floor cleaner or degreasing solution to eliminate oils and grime. Avoid wax or oily cleaners that hinder adhesion. Verify the floor is completely dry before sanding.
Next, sand the surface with 150-grit sandpaper. Use a floor sander for large areas and hand sand edges for evenness. Sanding is important to ensure the surface is receptive to paint.
Remove sanding dust with a vacuum and tack cloth. Carefully remove baseboards and fixtures to access edges fully, or protect them with painter’s tape if removal isn’t possible.
Control moisture and humidity, confirming the floor is dry before proceeding to priming and painting.
Selecting the Right Paint and Materials
When selecting paint for your hardwood floors, choose a product designed specifically for floor use to guarantee durability and proper adhesion.
Water-based acrylic paints offer easy cleanup and low odor. Polyurethane paints provide a glossy, wear-resistant finish. It is important to use paint that will not damage the floor’s finish, similar to how gentle cleaning methods protect hardwood surfaces.
Water-based acrylic paints are easy to clean with low odor, while polyurethane delivers a glossy, durable finish.
Consider satin or semi-gloss finishes for balanced slip resistance and sheen. Using a primer tailored for floors ensures better adhesion and longer-lasting results. Primers create a bond to the surface, especially important if the floor is bare or previously uncoated.
Don’t forget to test color samples, as removing paint from hardwood is difficult.
- Choose floor-specific paints like water-based acrylic or polyurethane
- Select finishes balancing durability and slip resistance (satin or semi-gloss)
- Use a proper primer for adhesion and coverage
- Consider anti-slip paint variants for safety in moisture-prone areas
- Always test paint colors on a small floor section before full application
Essential Tools for the Job
Although selecting the right paint is essential, having the necessary tools for preparation, safety, painting, and cleanup will guarantee your hardwood floor project runs smoothly and produces professional results.
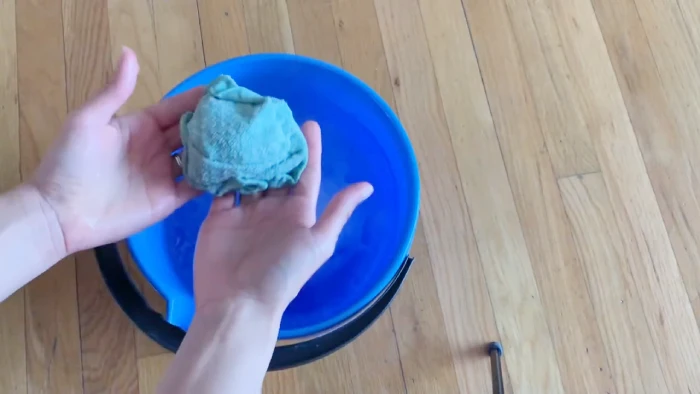
Start with an orbital sander for smoothing large areas and knee pads for comfort. Use a dust mask, vacuum, and tack cloths to eliminate dust thoroughly. It is important to remove all dust and debris completely with a vacuum and damp rag to ensure a smooth surface. Additionally, preparing the subfloor properly can prevent unevenness and ensure better paint adhesion.
For safety, equip yourself with respirators, safety glasses, gloves, hearing protection, and shoe covers to protect both you and your floors.
When painting, use paint rollers with extension poles for coverage, brushes for detail work, painter’s tape to protect edges, and a ladder for hard-to-reach spots. Using underlayment beneath the hardwood can improve floor stability and extend its life, which is crucial if repainting is part of a larger renovation.
Finally, clean efficiently with a shop vac, damp towels, degreasers, dust mops, and rags. Keep utility knives, hammers, and pry bars handy for repairs and prep.
Step-by-Step Primer Application
Since proper primer application sets the foundation for a durable and attractive finish, you’ll want to follow a careful, step-by-step process.
Begin by selecting the right primer for your hardwood and mixing it thoroughly for consistency. Start priming from the farthest corner, cutting in edges with a brush before rolling the main floor area with a microfiber roller. The primer can be applied directly with an 8 mm microfiber roller, which ensures efficient and even coverage efficient coverage. Using microfiber tools helps prevent scratches and provides a smooth application.
Apply thin, even coats, maintaining a wet edge to avoid lap marks. Allow each coat to dry fully, then lightly sand and clean the surface before the next coat.
- Choose primer type based on finish and wood
- Cut in edges with angled brush
- Roll primer in thin, even coats
- Maintain wet edge for uniform coverage
- Sand lightly between coats for smoothness
Techniques for Applying Paint on Hardwood
To achieve a smooth, professional finish on hardwood floors, you’ll need to master specific brush and roller techniques.
Use a high-quality floor finish applicator, such as a short-nap mohair roller or a fine brush, to assure even coverage. It is important to avoid excess moisture during application to protect the wood finish.
Apply paint in sections covering 3 to 4 floorboards, working with the wood grain to avoid lap marks and achieve a consistent texture. Roll gently to prevent bubbles and maintain a wet edge throughout.
Use a brush to cut in edges before rolling larger areas. Apply multiple thin coats, allowing about 2 hours to dry between each. For durability, consider a third coat and always follow manufacturer instructions for the best results. This methodical approach guarantees a flawless, long-lasting painted hardwood floor surface.
Proper Drying and Curing Practices
When you’re working on your project, it’s super important to follow the drying time guidelines that match the finish you choose. This ensures everything cures properly. Plus, keeping the area well-ventilated really helps manage humidity and temperature.
These factors play a huge role in how quickly things dry and how great the final finish looks. Proper ventilation and environmental control also contribute to achieving a uniform surface texture. Understanding the difference between dry to the touch and fully cured stages helps you know when it’s safe to proceed with additional coats or use the floor.
Drying Time Guidelines
Although proper drying and curing can be time-consuming, following precise guidelines guarantees a durable, smooth finish on your hardwood floors. Ensuring proper air circulation during the drying process helps accelerate evaporation and prevents uneven drying.
You need to respect the difference between dry time, when paint feels dry enough to walk on carefully, and cure time, when it fully hardens for heavy use. Understanding that cure time involves both solvent evaporation and chemical hardening is essential for long-lasting results.
Different paints have varying drying schedules; latex dries faster than oil-based, but all require at least 24 hours before foot traffic and up to a week for full curing. Environmental factors such as temperature and humidity significantly influence these drying and curing times.
Applying thin coats and avoiding early recoating speeds drying. Maintain a controlled environment to prevent delays.
- Apply thin, even layers for uniform drying
- Wait at least 24 hours after the final coat before walking on floors
- Follow manufacturer drying times per paint type
- Avoid recoating before previous coat dries fully
- Allow a full week before moving furniture back onto the floor
Ventilation Importance
When drying and curing hardwood floor paint, guaranteeing proper ventilation is essential for preventing moisture buildup and promoting even drying.
Open windows to create cross-ventilation and use fans to enhance air circulation, which accelerates drying and removes harmful paint fumes. Using mats with waterproof surfaces nearby can help protect the floor from accidental spills during the drying process.
Maintain a controlled temperature and humidity level, as your HVAC system plays a key role in this, preventing warping and wood decay.
Keep air bricks clear to allow ventilation beneath floorboards, reducing mold risk. Avoid smoking or using flammable materials near the work area to minimize combustion hazards.
Before starting the painting process, conduct an initial floor assessment to identify areas that may require special attention or protection during drying. Regularly check and maintain ventilation systems to ensure ideal airflow.
Proper ventilation not only safeguards the wood’s integrity but also protects your indoor air quality and health by reducing toxic fume exposure during the curing process.
Curing Duration Tips
Since proper curing guarantees the durability and appearance of your hardwood floor finish, you must understand the distinct dry and cure times for each finish type.
Dry time means the surface feels dry, but the finish hasn’t reached full hardness—that takes cure time. For example, oil-based finishes may feel dry in 4–24 hours but need up to 28 days to fully cure. It is important to recognize that drying involves evaporation of solvents or water, while curing is a chemical process that hardens the finish. Ensuring the environment is free of dust and debris during curing helps prevent imperfections in the finish.
To protect your floor and avoid damage, follow these tips:
- Wait the full cure time before placing heavy furniture or rugs.
- Test the finish’s hardness with a fingernail on a hidden spot.
- Ensure good airflow and moderate temperature to speed curing.
- Apply each coat only after the previous one is dry.
- Follow manufacturer guidelines closely for each finish type. Regular maintenance and cleaning procedures can help preserve the finish over time.
This methodical approach preserves your floor’s longevity and appearance.
Maintaining Painted Hardwood Floors
Hey there! If you’ve got painted hardwood floors, it’s super important to keep them clean on a regular basis. Just remember to use gentle methods—this way, you’ll protect that finish and keep any damage at bay. Using a microfiber mop with a damp pad can help clean without over-wetting the floor.
And oh, spills? Don’t let them linger! Address them right away. Plus, try to avoid using too much moisture; that will help maintain the paint’s integrity for longer. Always test cleaning solutions in an inconspicuous area before applying them broadly to ensure the paint stays safe.
Now, if you start to notice any chips or scratches, don’t wait too long to do something about it. A quick touch-up with matching paint can really help extend the lifespan of your floors.
Trust me, a little care goes a long way!
Cleaning and Care
Although painted hardwood floors add charm and durability, maintaining their appearance requires consistent cleaning and careful care. To protect the painted surface, always remove rugs and furniture before cleaning.
Use a mild cleaner made for painted wood, applied with a damp mop, not wet or steam cleaned. Avoid harsh chemicals and abrasive tools that can damage the finish. It is best to use a latex enamel finish for a durable, attractive surface that withstands regular cleaning. Additionally, regular sweeping helps prevent dirt buildup that could scratch the painted surface.
Manage moisture by wiping spills immediately and keeping indoor humidity between 35% and 55%.
Regular dust mopping and placing felt pads under furniture legs prevent scratches and wear.
Sweep or dust mop regularly to remove dirt and grit. Test cleaning solutions on a hidden area first.
Use breathable mats at entryways to reduce tracked-in debris.
Avoid walking on floors with damaging footwear. Immediately dry any wet spots to prevent warping or peeling.
Repair and Touch-ups
When you notice chips, scratches, or peeling on your painted hardwood floors, prompt repair guarantees longevity and maintains their appearance.
Begin by examining damage closely. Sand edges gently with 150-220 grit sandpaper to smooth roughness and feather paint overlaps.
Clean debris and remove loose flakes, ensuring the surface is dry and oil-free. Fill deep gouges with wood filler; once dry, sand smooth. It is important to remove all dust thoroughly before proceeding to painting to ensure proper adhesion.
Use matching floor paint compatible with your finish. Apply thin coats with a small brush, letting each dry thoroughly.
For exposed wood, consider a primer before painting. After curing for several days, lightly sand and apply a clear polyurethane topcoat to protect repairs, blending edges carefully.
Repeat clear coats as needed, avoiding buildup. Regular touch-ups preserve your floor’s beauty and durability effectively.
Common Issues and How to Fix Them
Since painted hardwood floors endure constant wear, you can expect issues like peeling, chipping, and uneven finishes to arise over time.
These problems often stem from insufficient preparation, moisture, or using the wrong paint. To fix common issues:
Lightly sand streaks or chipped areas before recoating.
Isolate and repair blisters caused by trapped moisture.
Perform touch-ups on minor chips with sanding and paint.
For extensive damage, sand the entire floor and repaint.
Always test paint compatibility on a small section first.
Addressing problems promptly prevents further damage and helps maintain the floor’s appearance.
Proper preparation and using floor-specific paints reduce the risk of failure.
Focus on repairing localized damage efficiently, and avoid rushing the process to maintain a smooth, durable finish.
Tips for Long-Lasting Results
Addressing common problems like peeling and chipping lays the foundation for a durable painted hardwood floor.
But ensuring long-lasting results requires careful attention throughout the process. Start by thoroughly cleaning and sanding the floor with 120-200 grit sandpaper to improve adhesion. Scuffing the floor with an orbital sander enhances paint adhesion and durability.
Repair cracks and fill holes before applying a high-quality wood primer, allowing it to dry completely.
Apply paint in thin, even coats using brushes for edges and rollers for open areas, following manufacturer drying times and applying multiple coats.
Finish with a clear polyurethane sealer for protection against wear and moisture, sanding lightly between coats for smoothness.
Maintain your floor by avoiding heavy dragging, using felt pads, cleaning gently, and touching up wear spots promptly to preserve the finish and durability over time.
Frequently Asked Questions
Can I Paint Hardwood Floors Over Carpet or Laminate?
You shouldn’t paint hardwood floors installed over carpet because the carpet’s moisture and uneven surface can cause paint to peel or fail.
Painting directly on laminate isn’t ideal either; it requires specialized finishes and thorough preparation to guarantee adhesion.
If you want a durable, attractive finish, it’s best to paint hardwood floors that are properly sanded and primed or consider replacing laminate with a paintable surface.
How Do Painted Floors Affect Home Resale Value?
Painted hardwood floors can lower your home’s resale value since most buyers prefer natural wood finishes. They may see painted floors as less durable or lower quality.
While professional painting that matches current trends mightn’t drastically harm value, it usually won’t add the premium associated with traditional hardwood.
If resale is a priority, keep in mind that natural, well-maintained hardwood floors generally attract broader buyer appeal and higher offers.
Is It Safe to Paint Hardwood Floors With Pets in the House?
It’s not safe to paint hardwood floors with pets in the house unless you take strict precautions.
Keep pets out of the painting area until floors fully dry and fumes dissipate, usually 24-48 hours. Use low-VOC, quick-drying paint and guarantee strong ventilation.
Store all supplies securely to prevent ingestion. Prepare a pet-safe zone away from the work area and monitor pets closely for any signs of distress during and after painting.
Can I Use Spray Paint on Hardwood Floors?
You absolutely shouldn’t use spray paint on hardwood floors unless you want a disaster waiting to happen.
Spray paint lacks durability and won’t hold up under foot traffic or cleaning.
Instead, choose water-based polyurethane or oil-based floor finishes made specifically for hardwood.
If you insist on spraying, prepare thoroughly, use proper sprayers, ensure ventilation, and expect uneven coverage plus difficulties in future refinishing.
It’s safer and smarter to pick the right floor finish.
How Often Should I Repaint My Hardwood Floors?
You should repaint your hardwood floors every 3 to 5 years, depending on wear and traffic.
High-traffic areas might need repainting more often, while low-traffic spots last longer.
Watch for signs like scratches, fading, or peeling paint before repainting.
Proper maintenance, including cleaning and touch-ups, can extend the time between repaints.
Avoid repainting too frequently to prevent damaging the wood beneath the finish.
Transform Your Space with Painted Hardwood Floors
Painting your hardwood floors can transform your space dramatically. Did you know that properly prepped and painted floors can last up to 10 years with minimal touch-ups?
By following each step from thorough preparation to careful drying, you guarantee durability and beauty. Use the right tools and paint, and maintain your floors regularly to avoid common issues.
With patience and precision, your painted hardwood floors will stay stunning and resilient for years to come.

